We rolled back into town yesterday from Santa Cruz, haggard and sandy, about an hour before a neighborhood birthday party. I think they said no gifts but in my head that equates to “small, less permanent gift” (i.e. we don’t need any more plastic crap in our house)
Pre-Make Stuff Up I might have grabbed an ice cream coupon, some taco scratch n sniff stickers, or a small book. But, if I CAN make something, I SHOULD make something.
So I rounded up some left over party supplies et voila!
These are super fast to make, and make really great party favors!
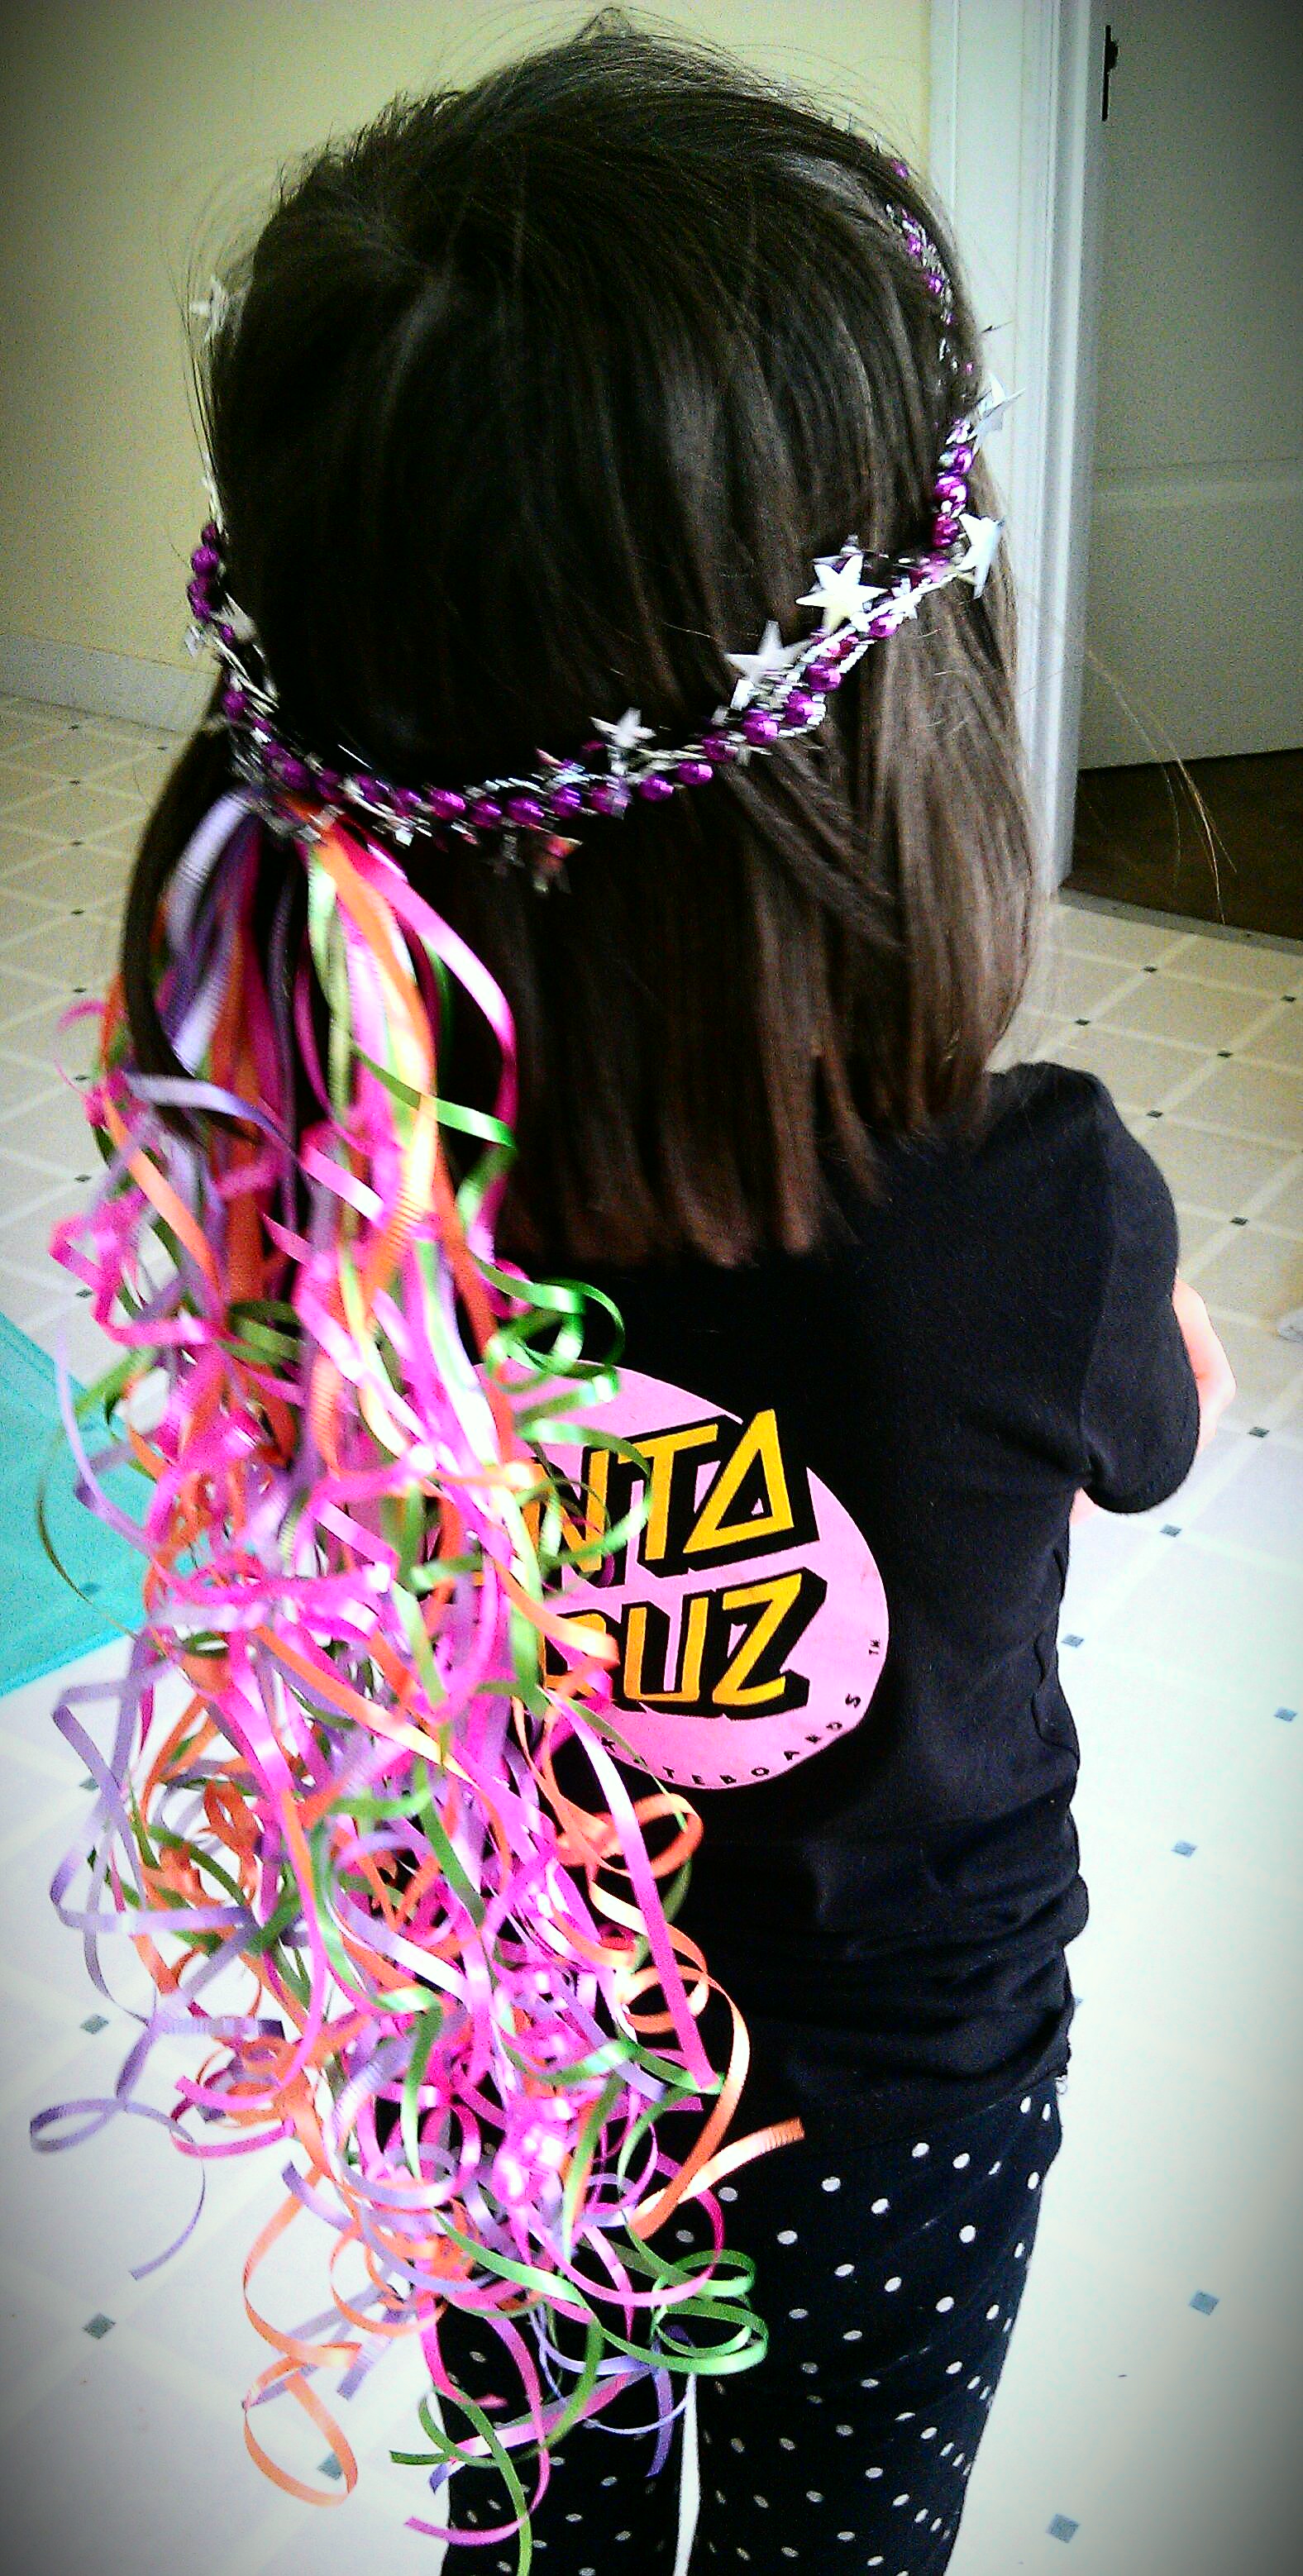
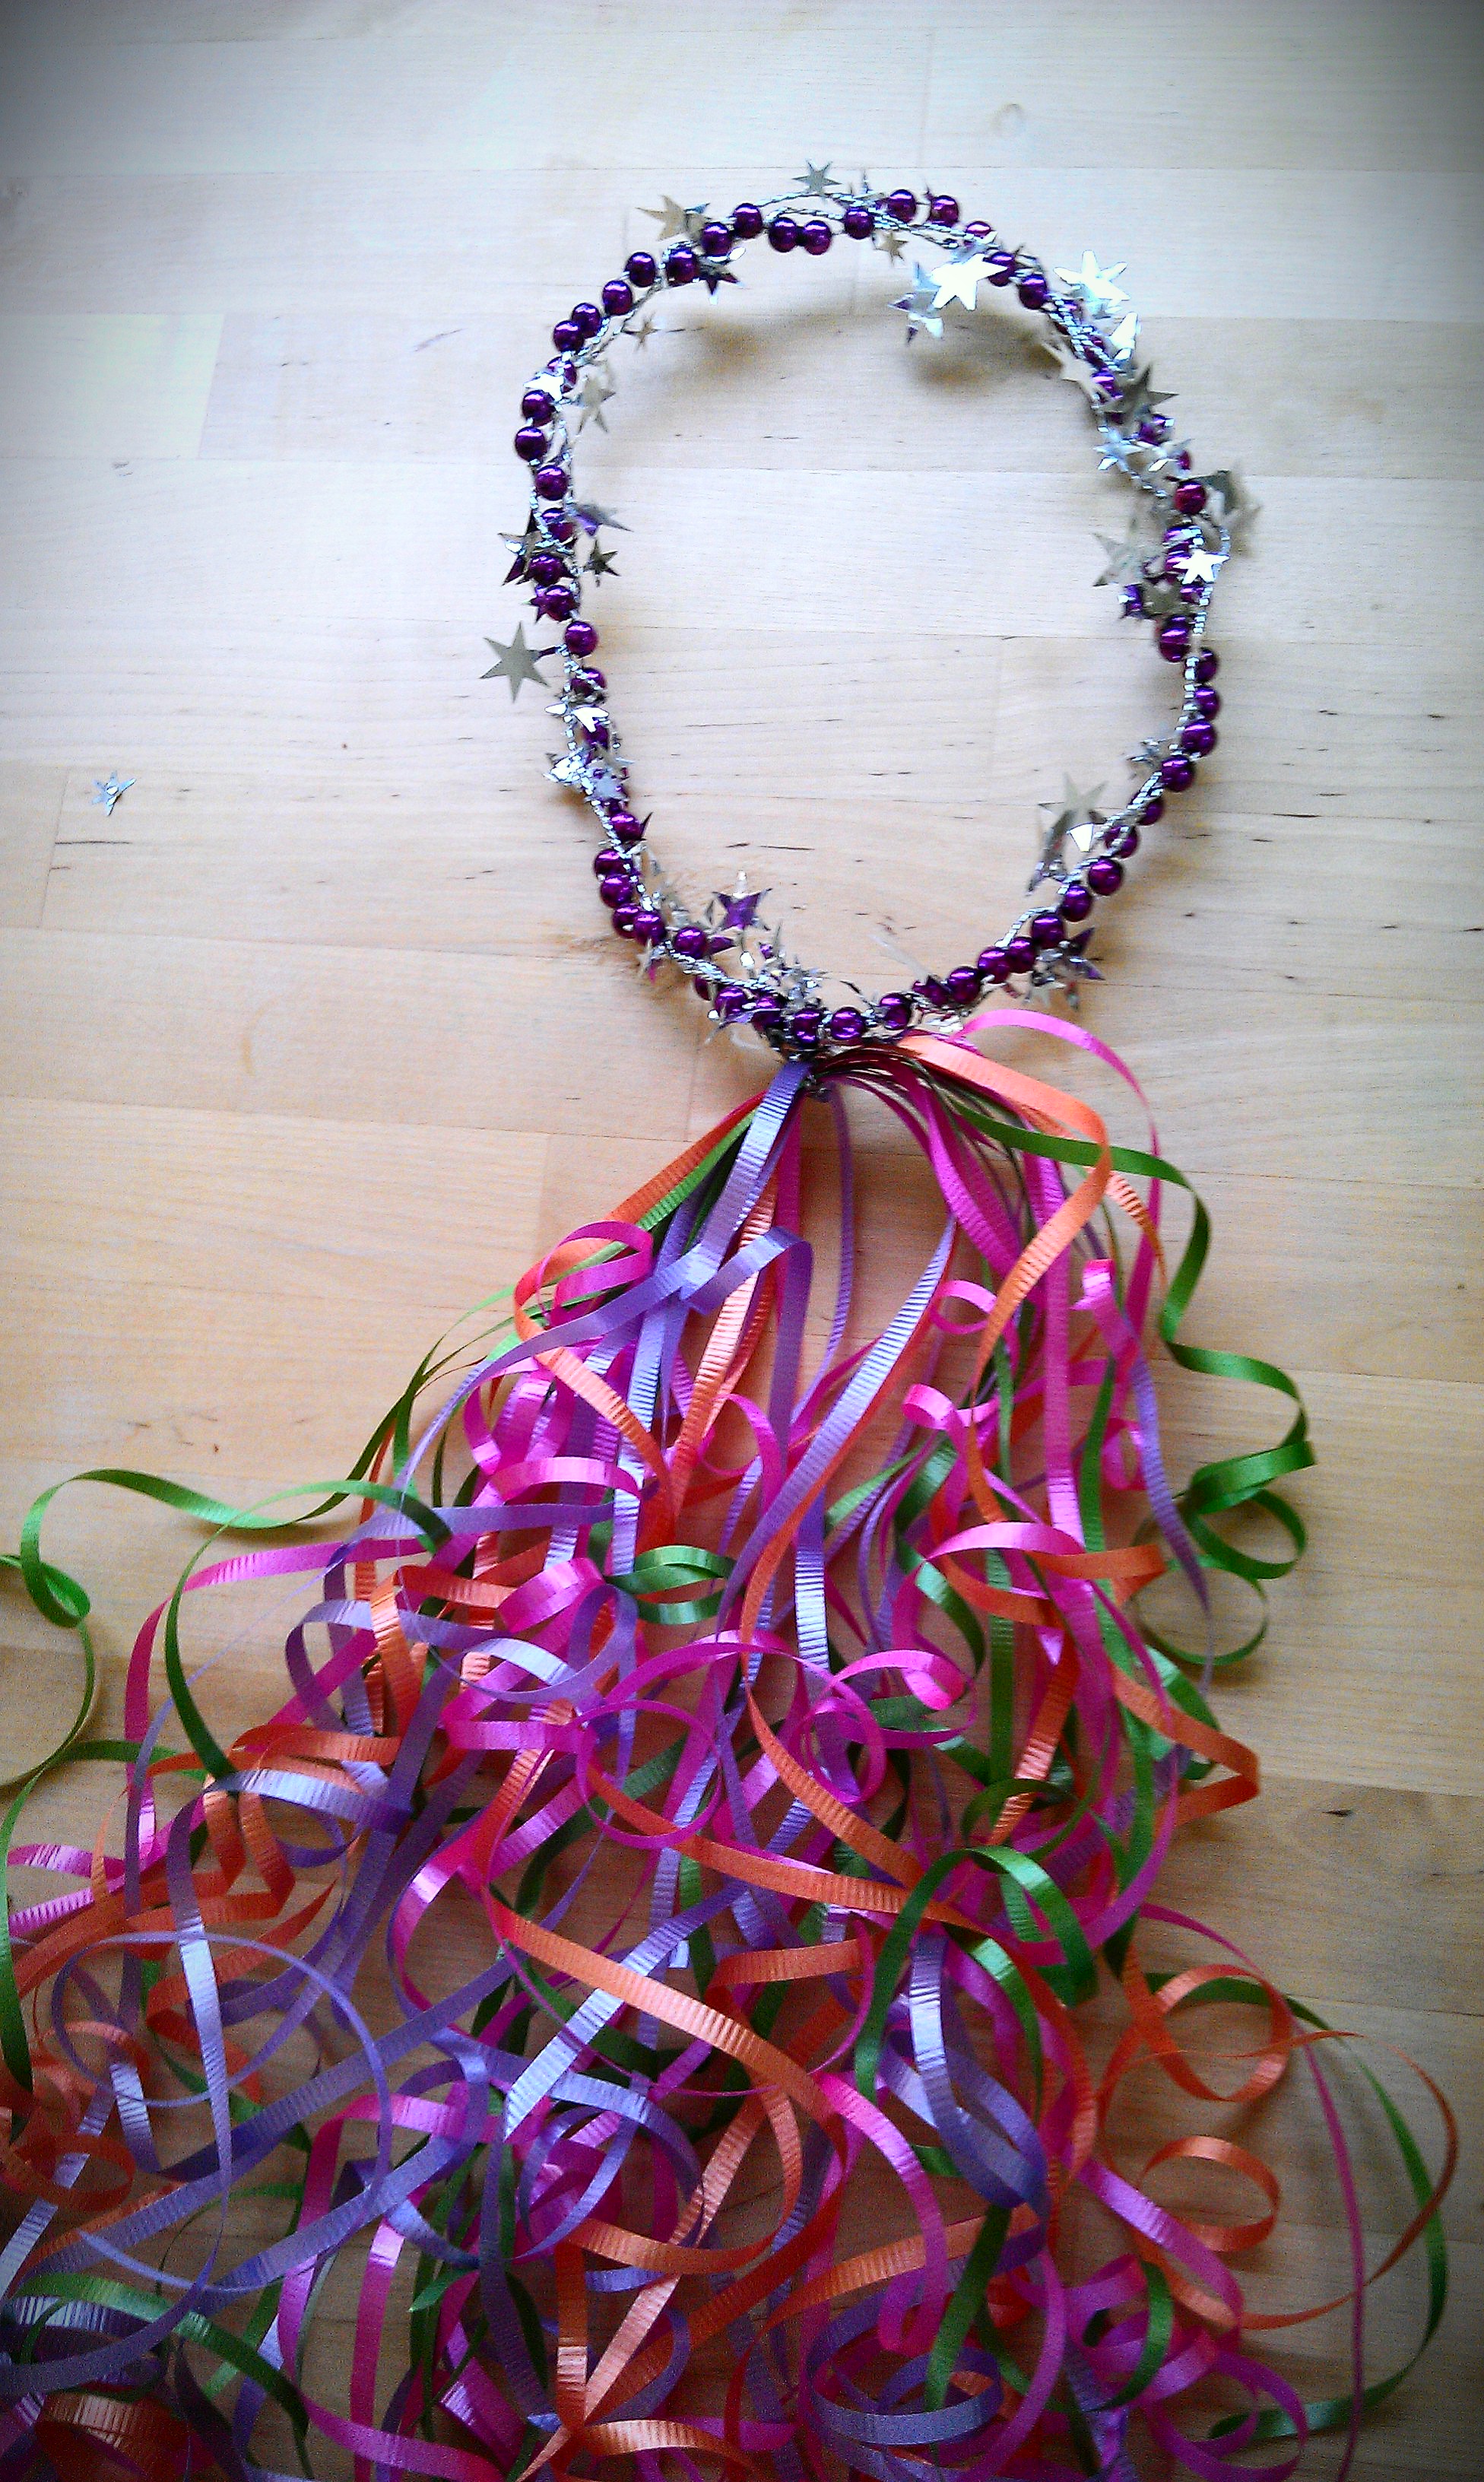
HOW TO MAKE FAIRY CROWNS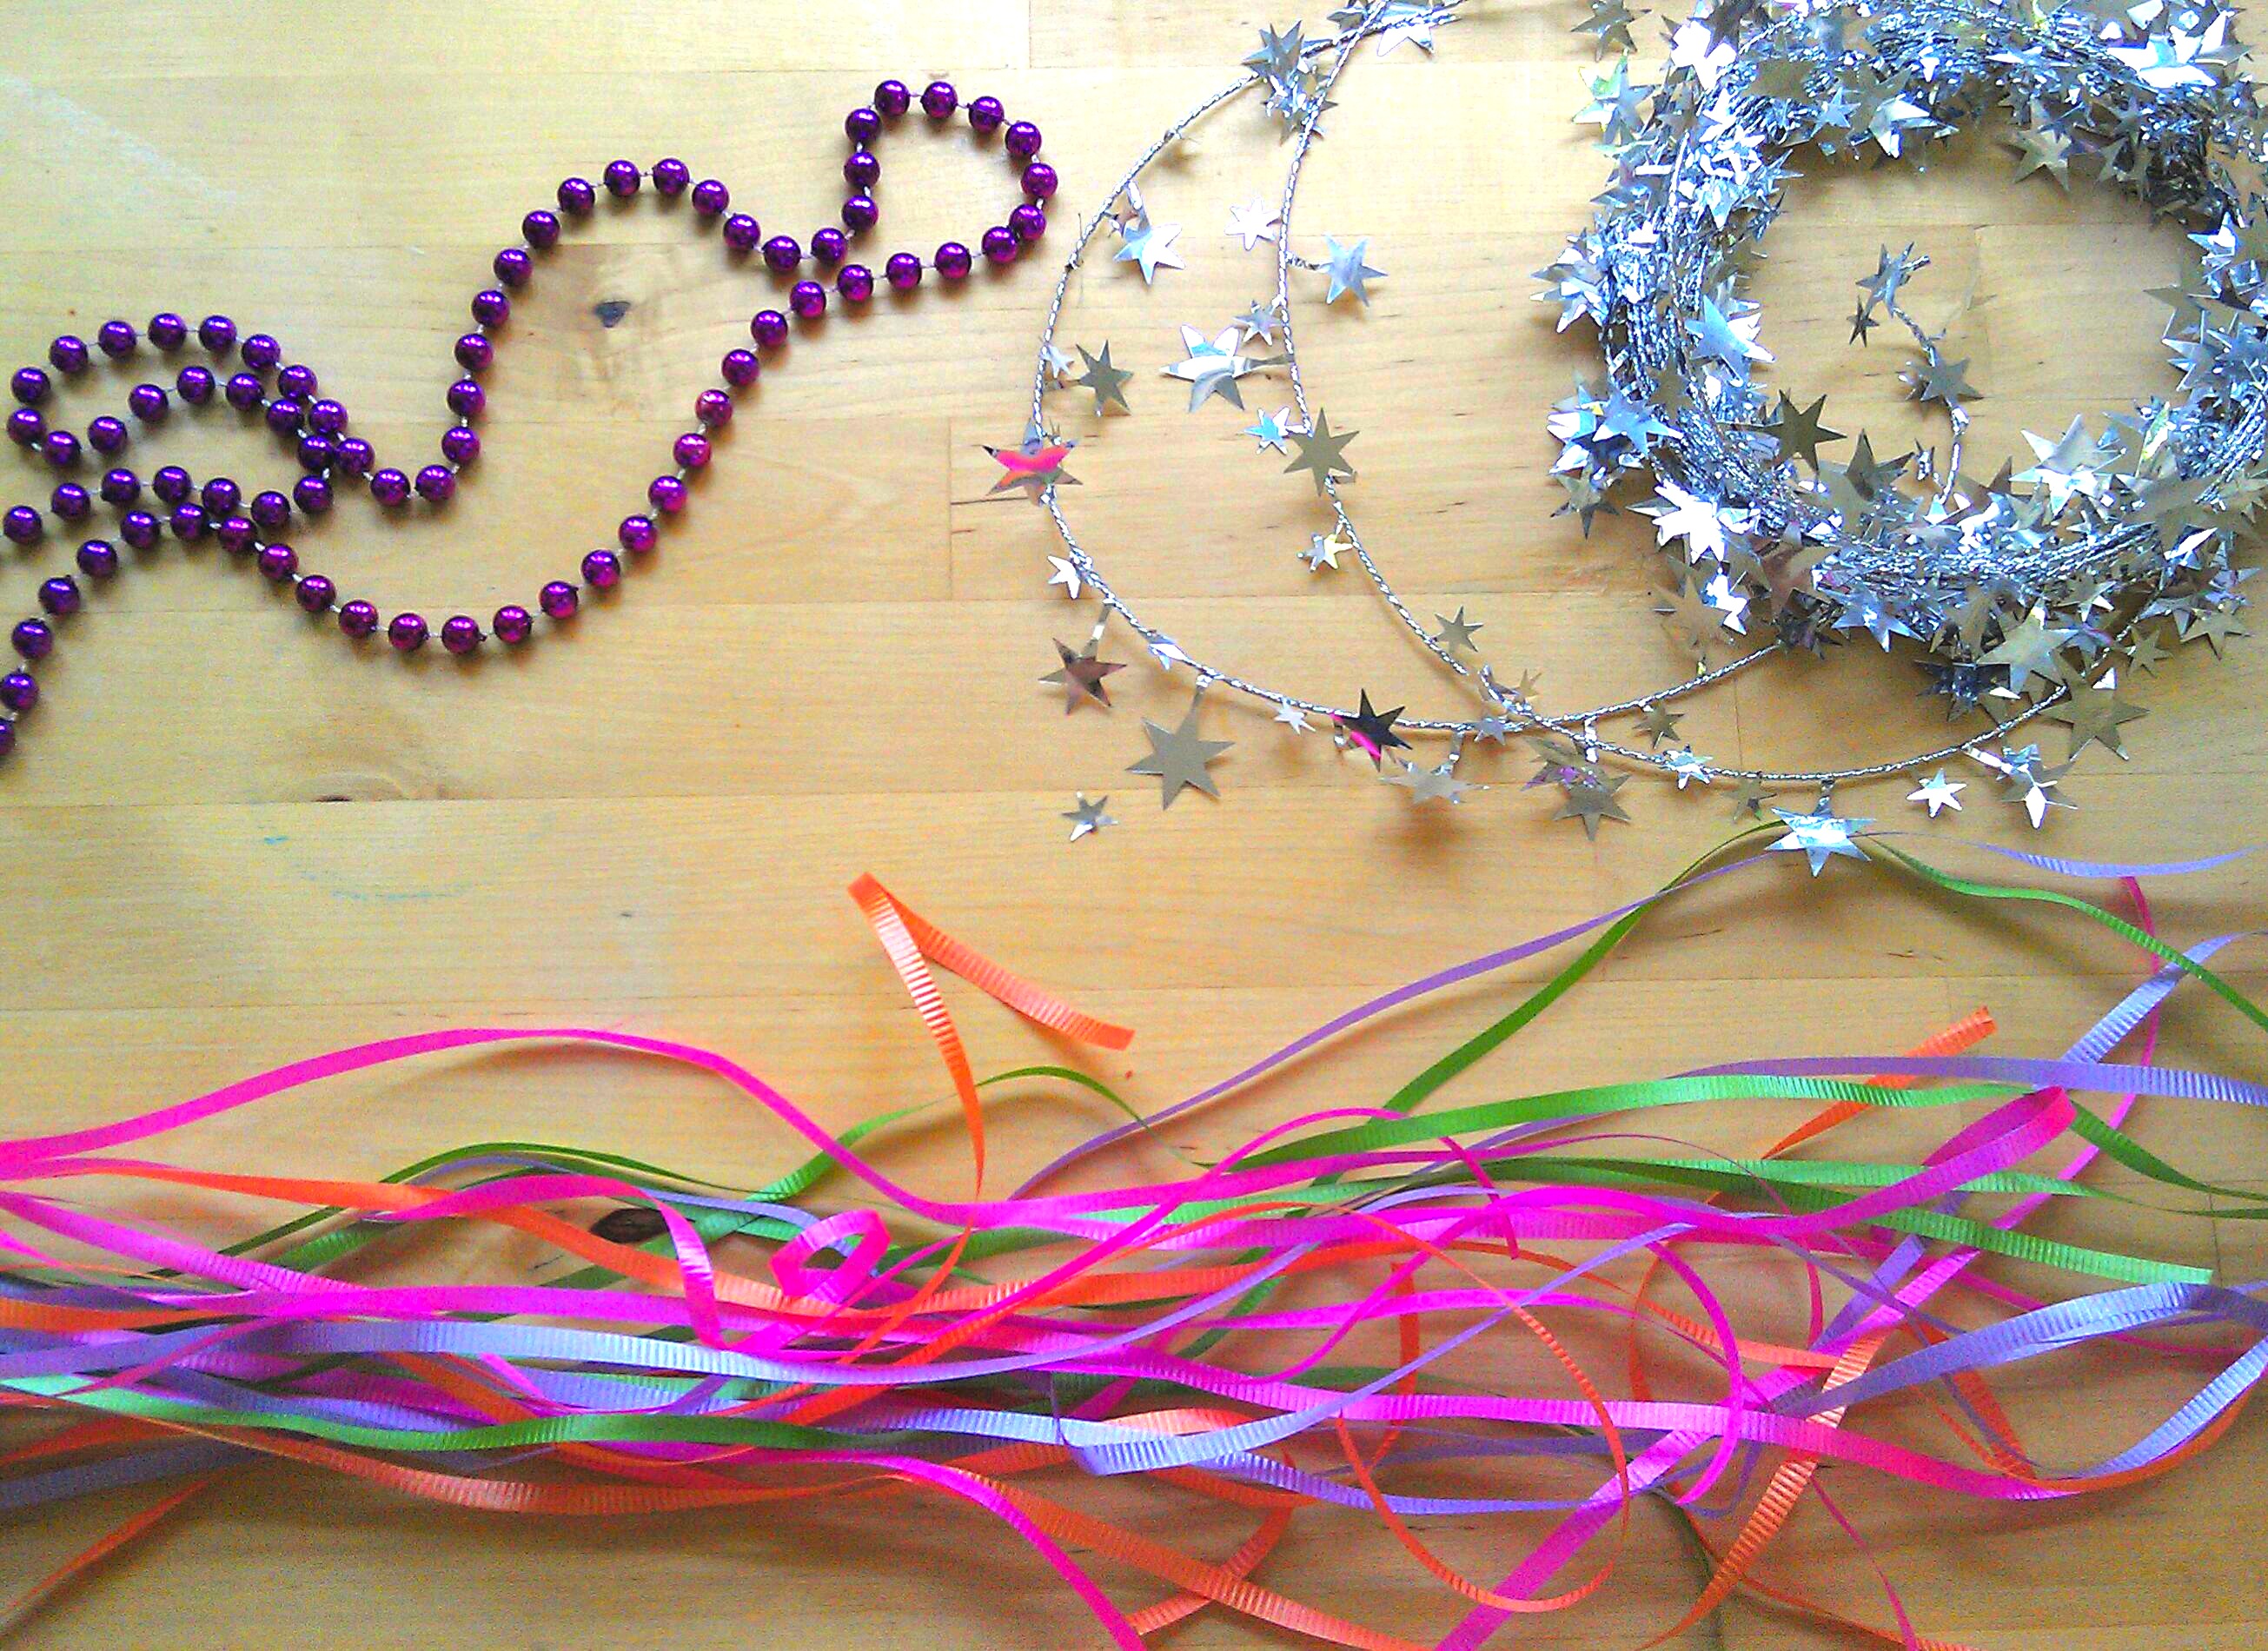
- You will need:
- Beaded necklace
- Curling ribbon
- Wire Garland
- Scissors
STEP 1: PREP (My fave!)
- Necklace: Cut the string between two of the beads so that you have one long strand of beads
- Curling Ribbon: Cut a bunch of 4ft pieces of curling ribbon. There’s no magic number, I think I had around 25 pieces
- Wire Garland: Cut a 4ft piece of wire garland
STEP 2: ASSEMBLE HEADBAND/CROWN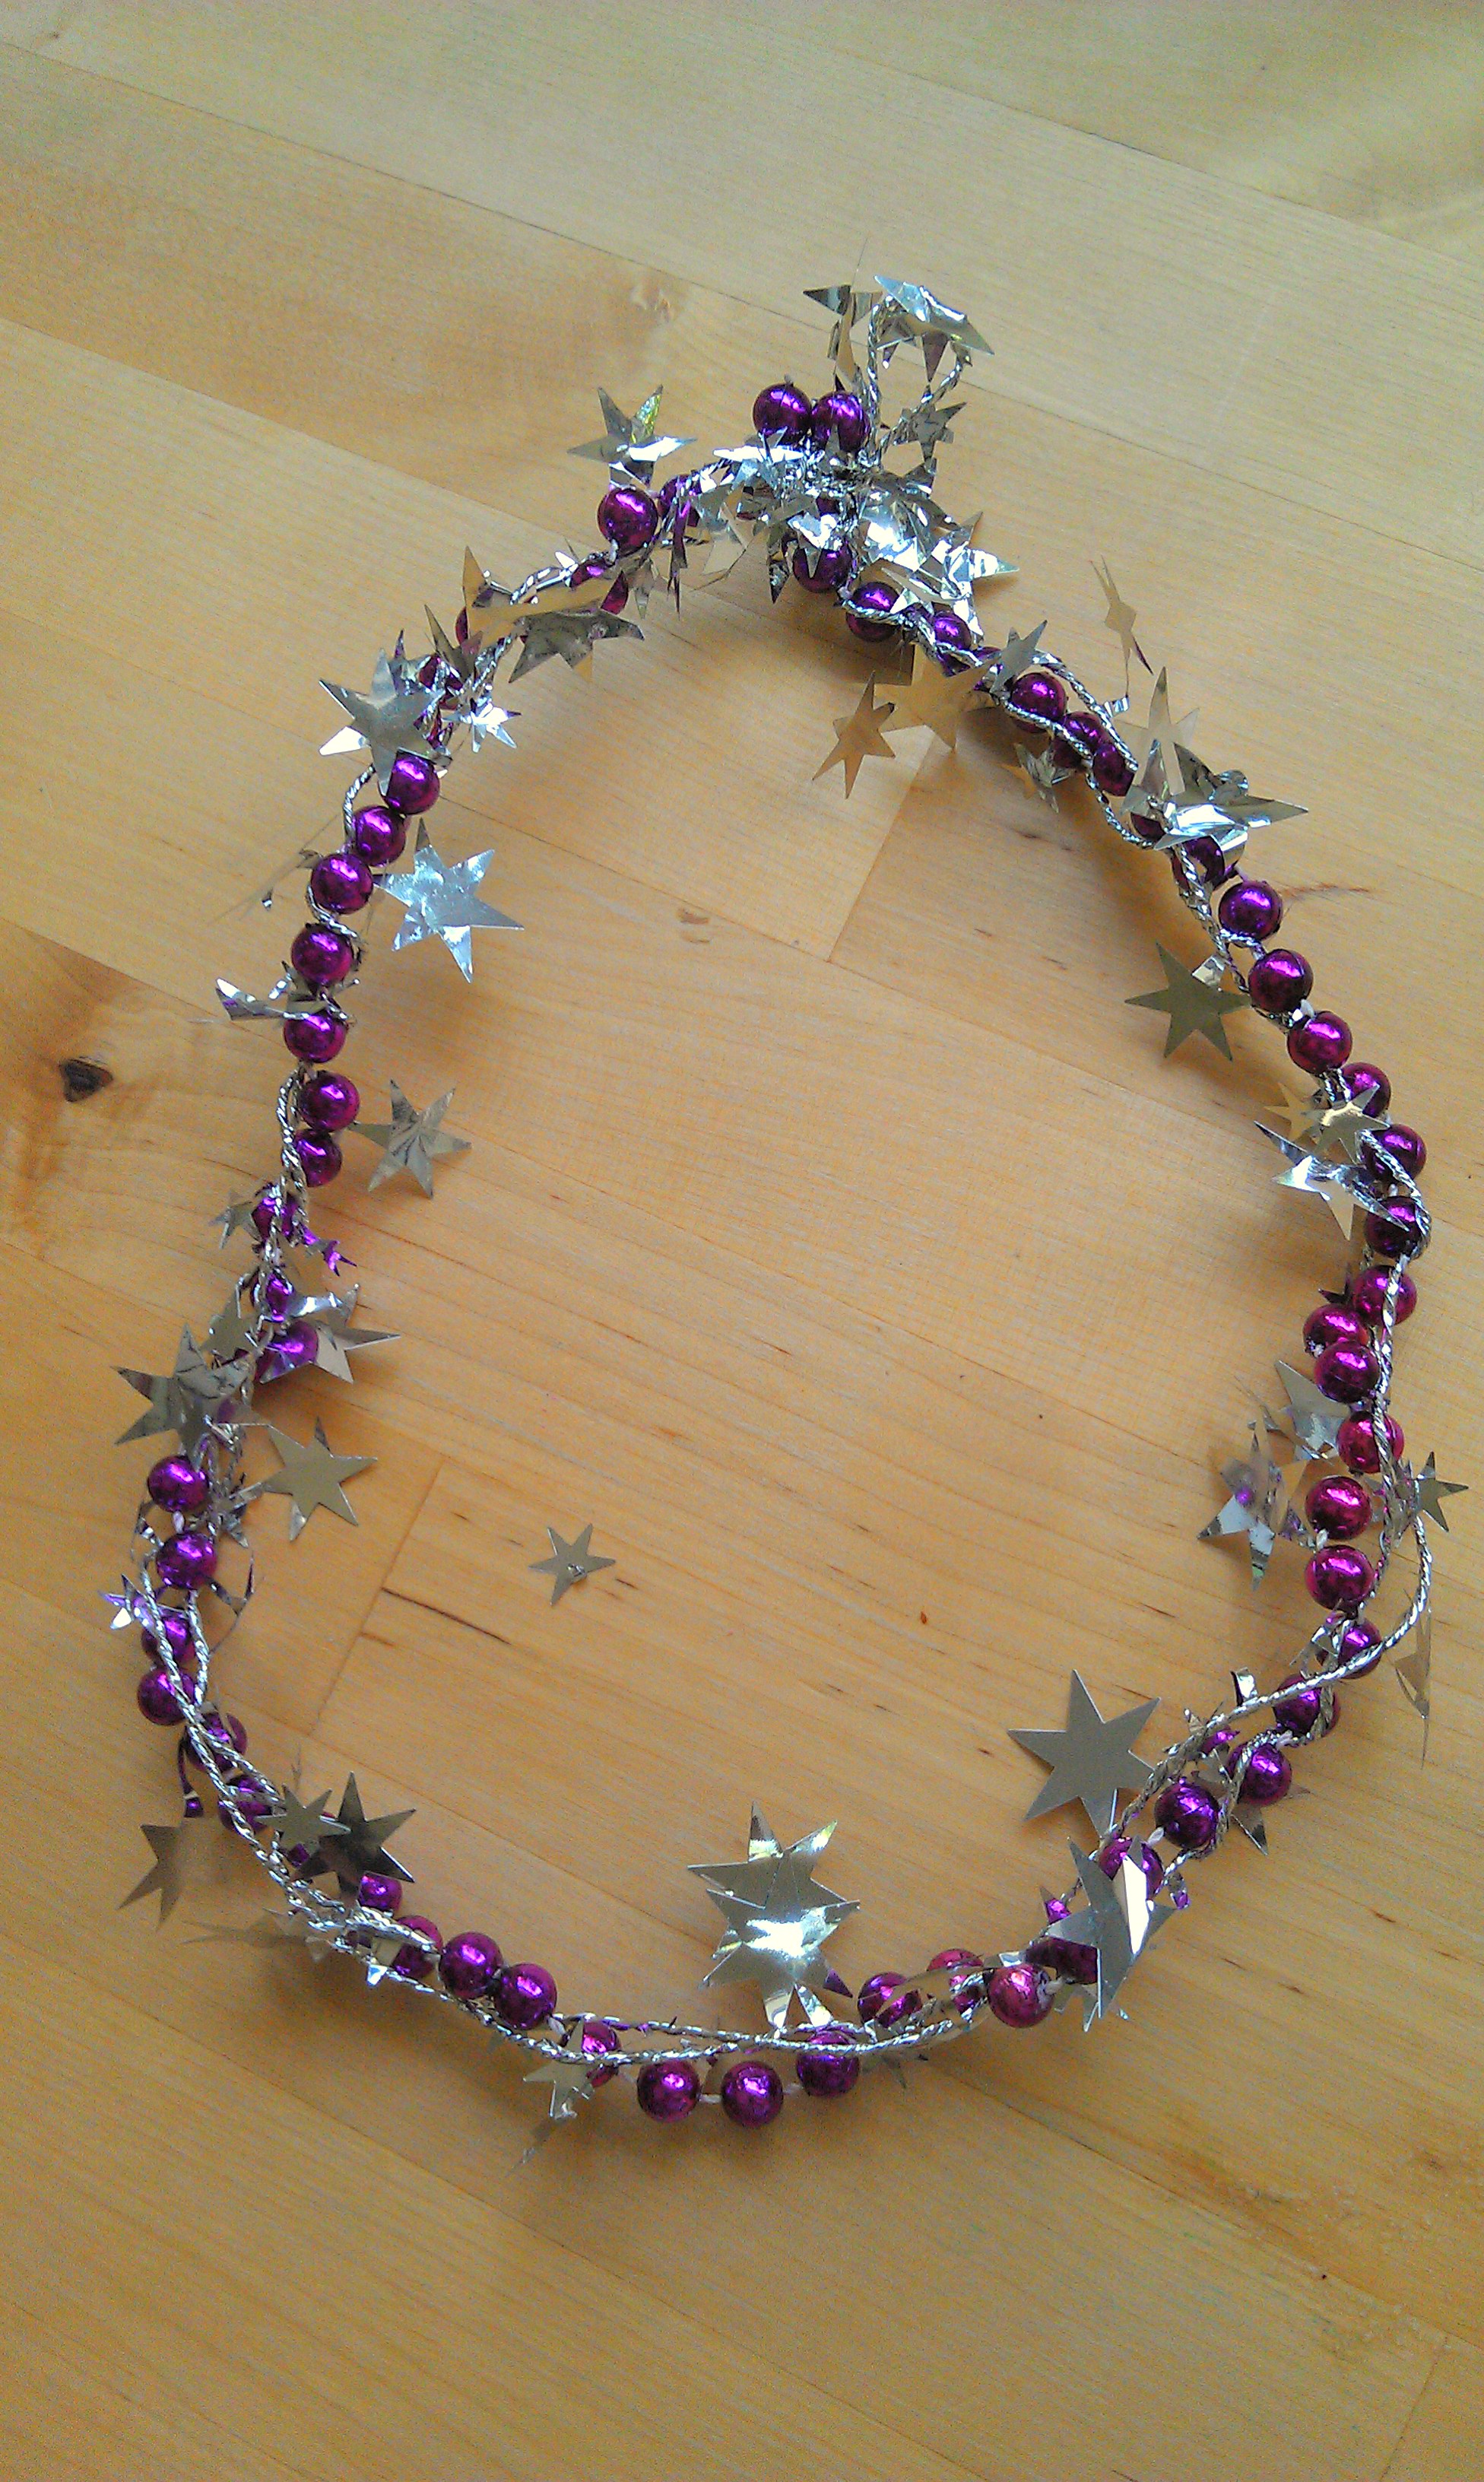
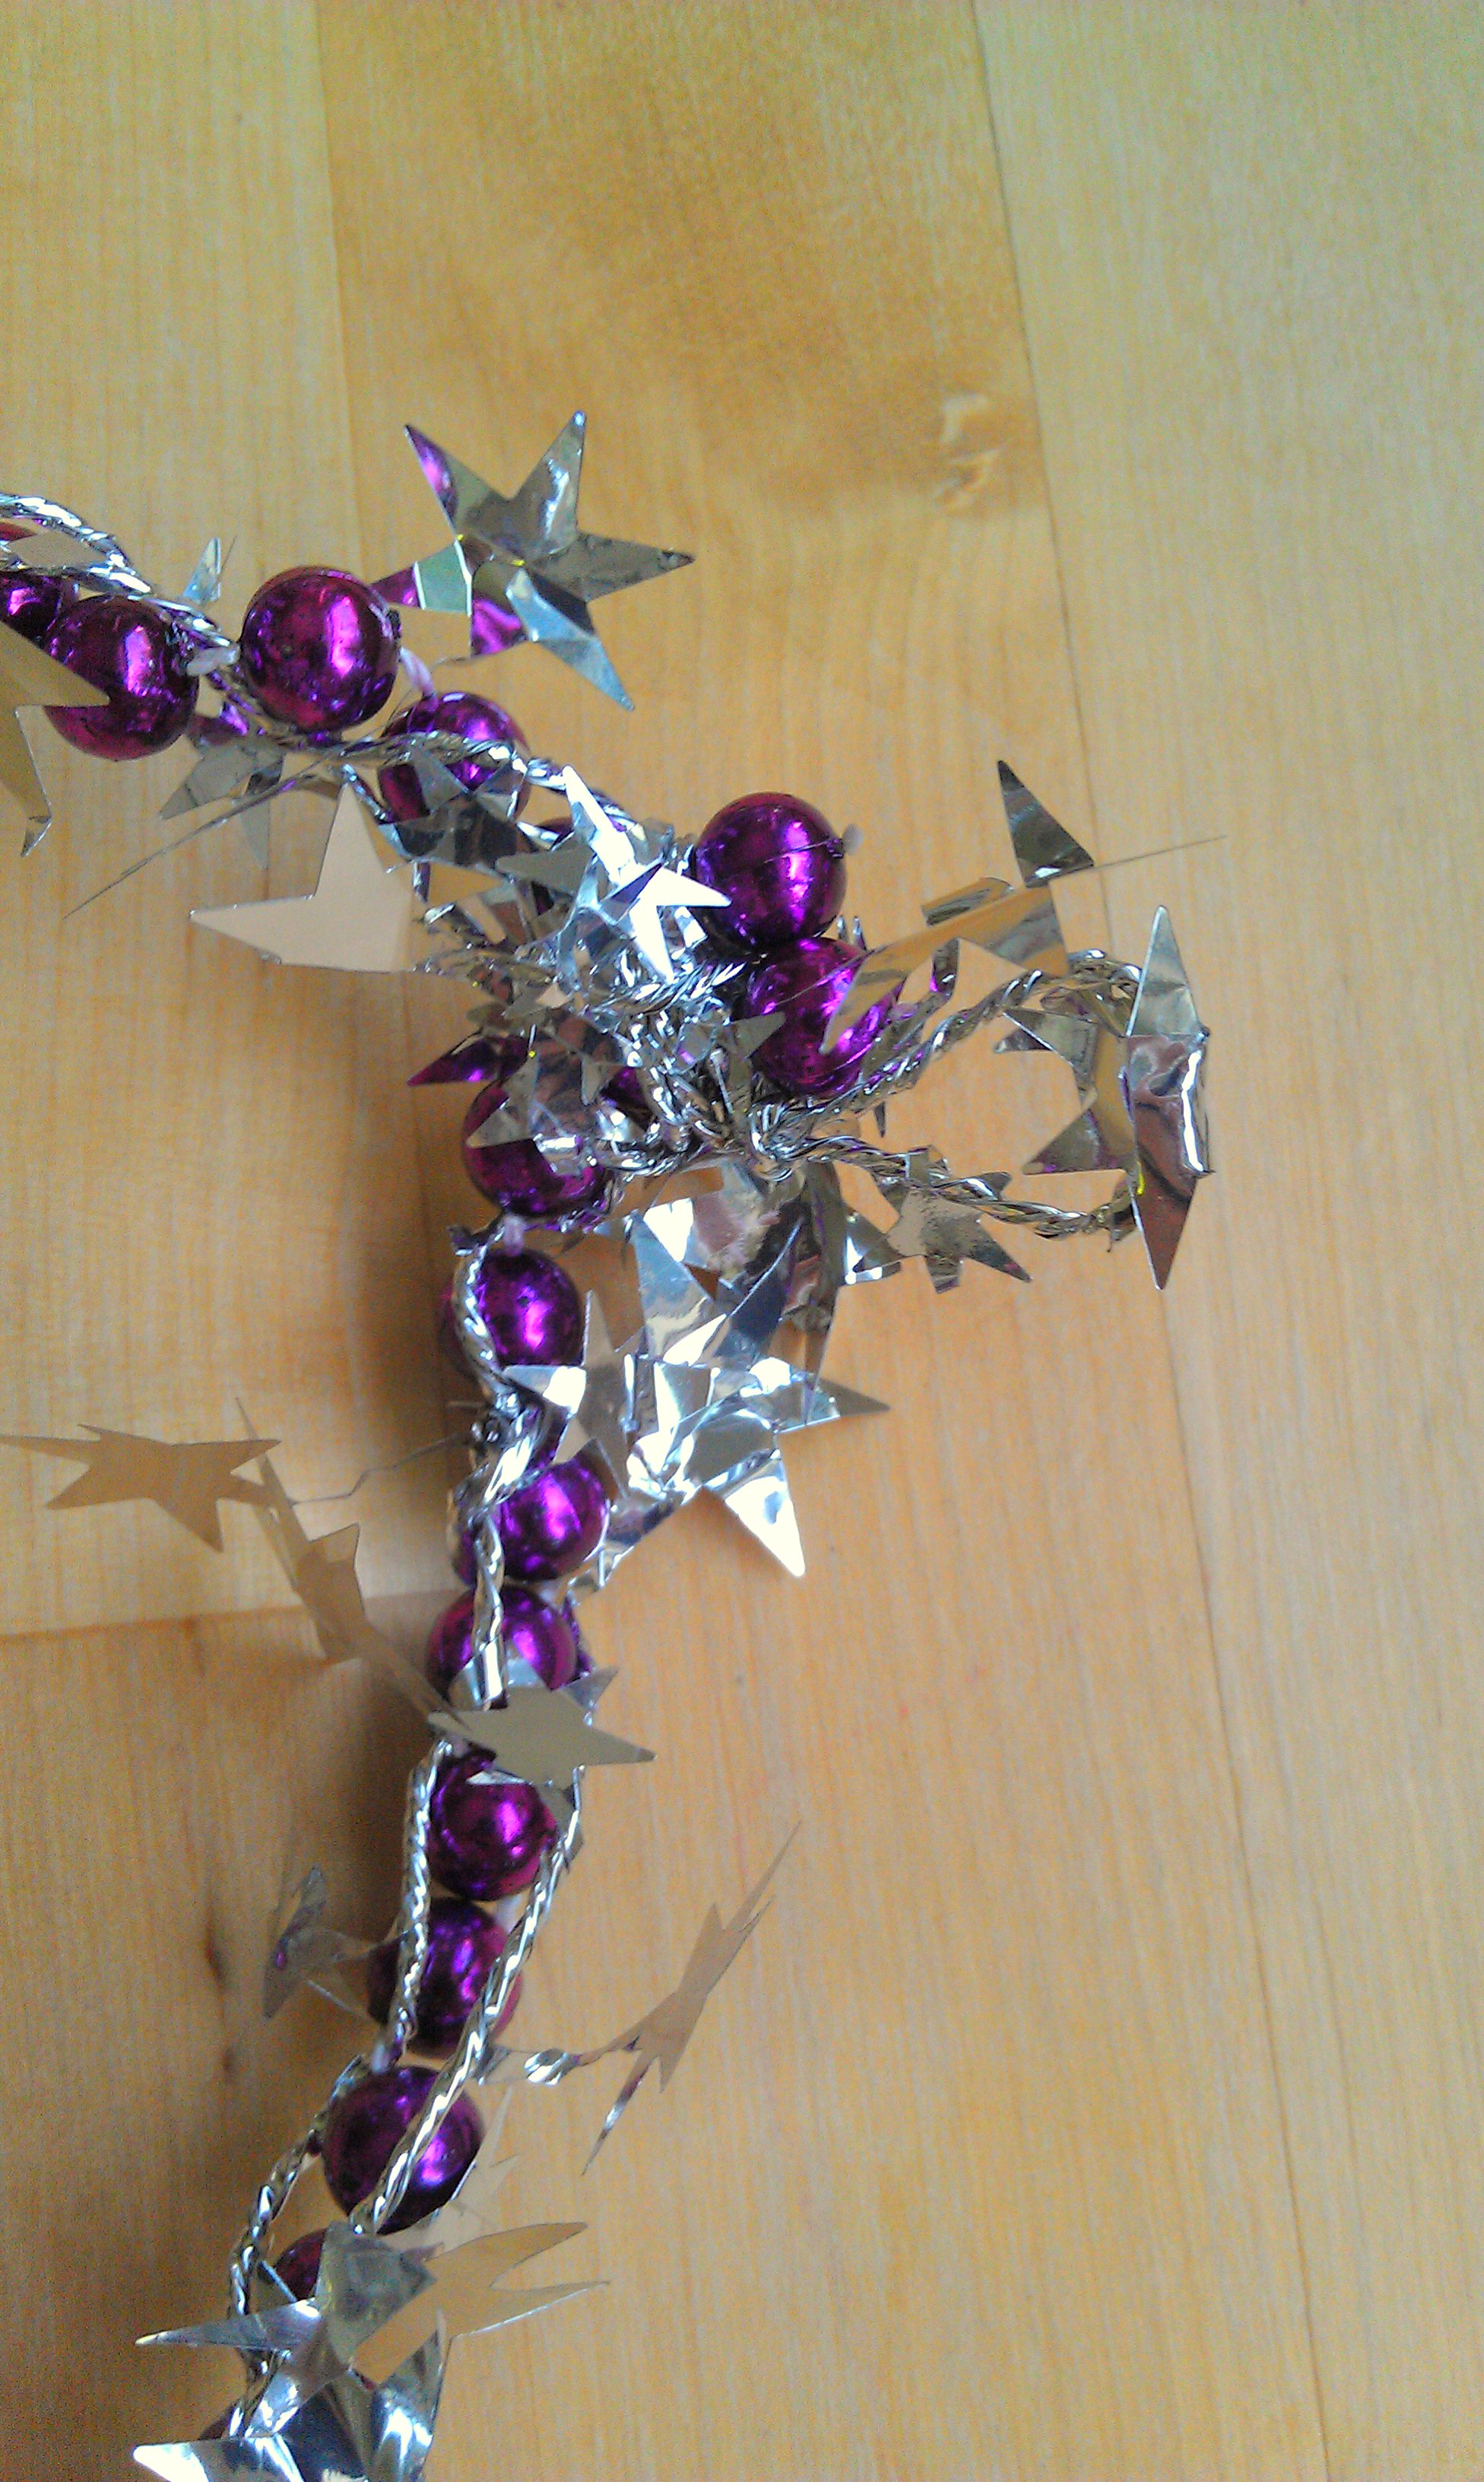
- Anchor the wire garland and necklace together by wrappimg the wire garland around tightly in the space between the last two beads of one end of the strand.
- Next wrap the wire garland around the beaded strand so that they are intertwined. It helps to wrap the wire in the spaces between every 10th or so bead to make it more “solid.”
- Once you have about 2-3 ft of this garland/bead “twist”, grab a kid and use their head for sizing. (TIP: It’s best to err on the larger side because you can always twist to tighten the final product).
- When you have the right size, cut off the extra beads and wrap some of the wire garland tightly around the end of the beads. Then hold the two sides of the necklace together and continue to wrap the wire garland around the end beads, joining them together into a circle.
- Make a little loop on the end with the wire for your ribbon. (see pic)
- Either cut the wire now or, if you have a lot of wire garland left, wrap it back around the beads another time for extra sparkle.
STEP 3: RIBBONS
- Gather the ends of all your cut ribbon and thread them through the loop.
- Twist the loop repeatedly until it’s tightly holding the ribbons in place.
- Take the scissors and curl each ribbon.
DONE!
(and seriously, these steps probably make it sound complicated. It’s going to take you less time to make one of these than it took to read this page).
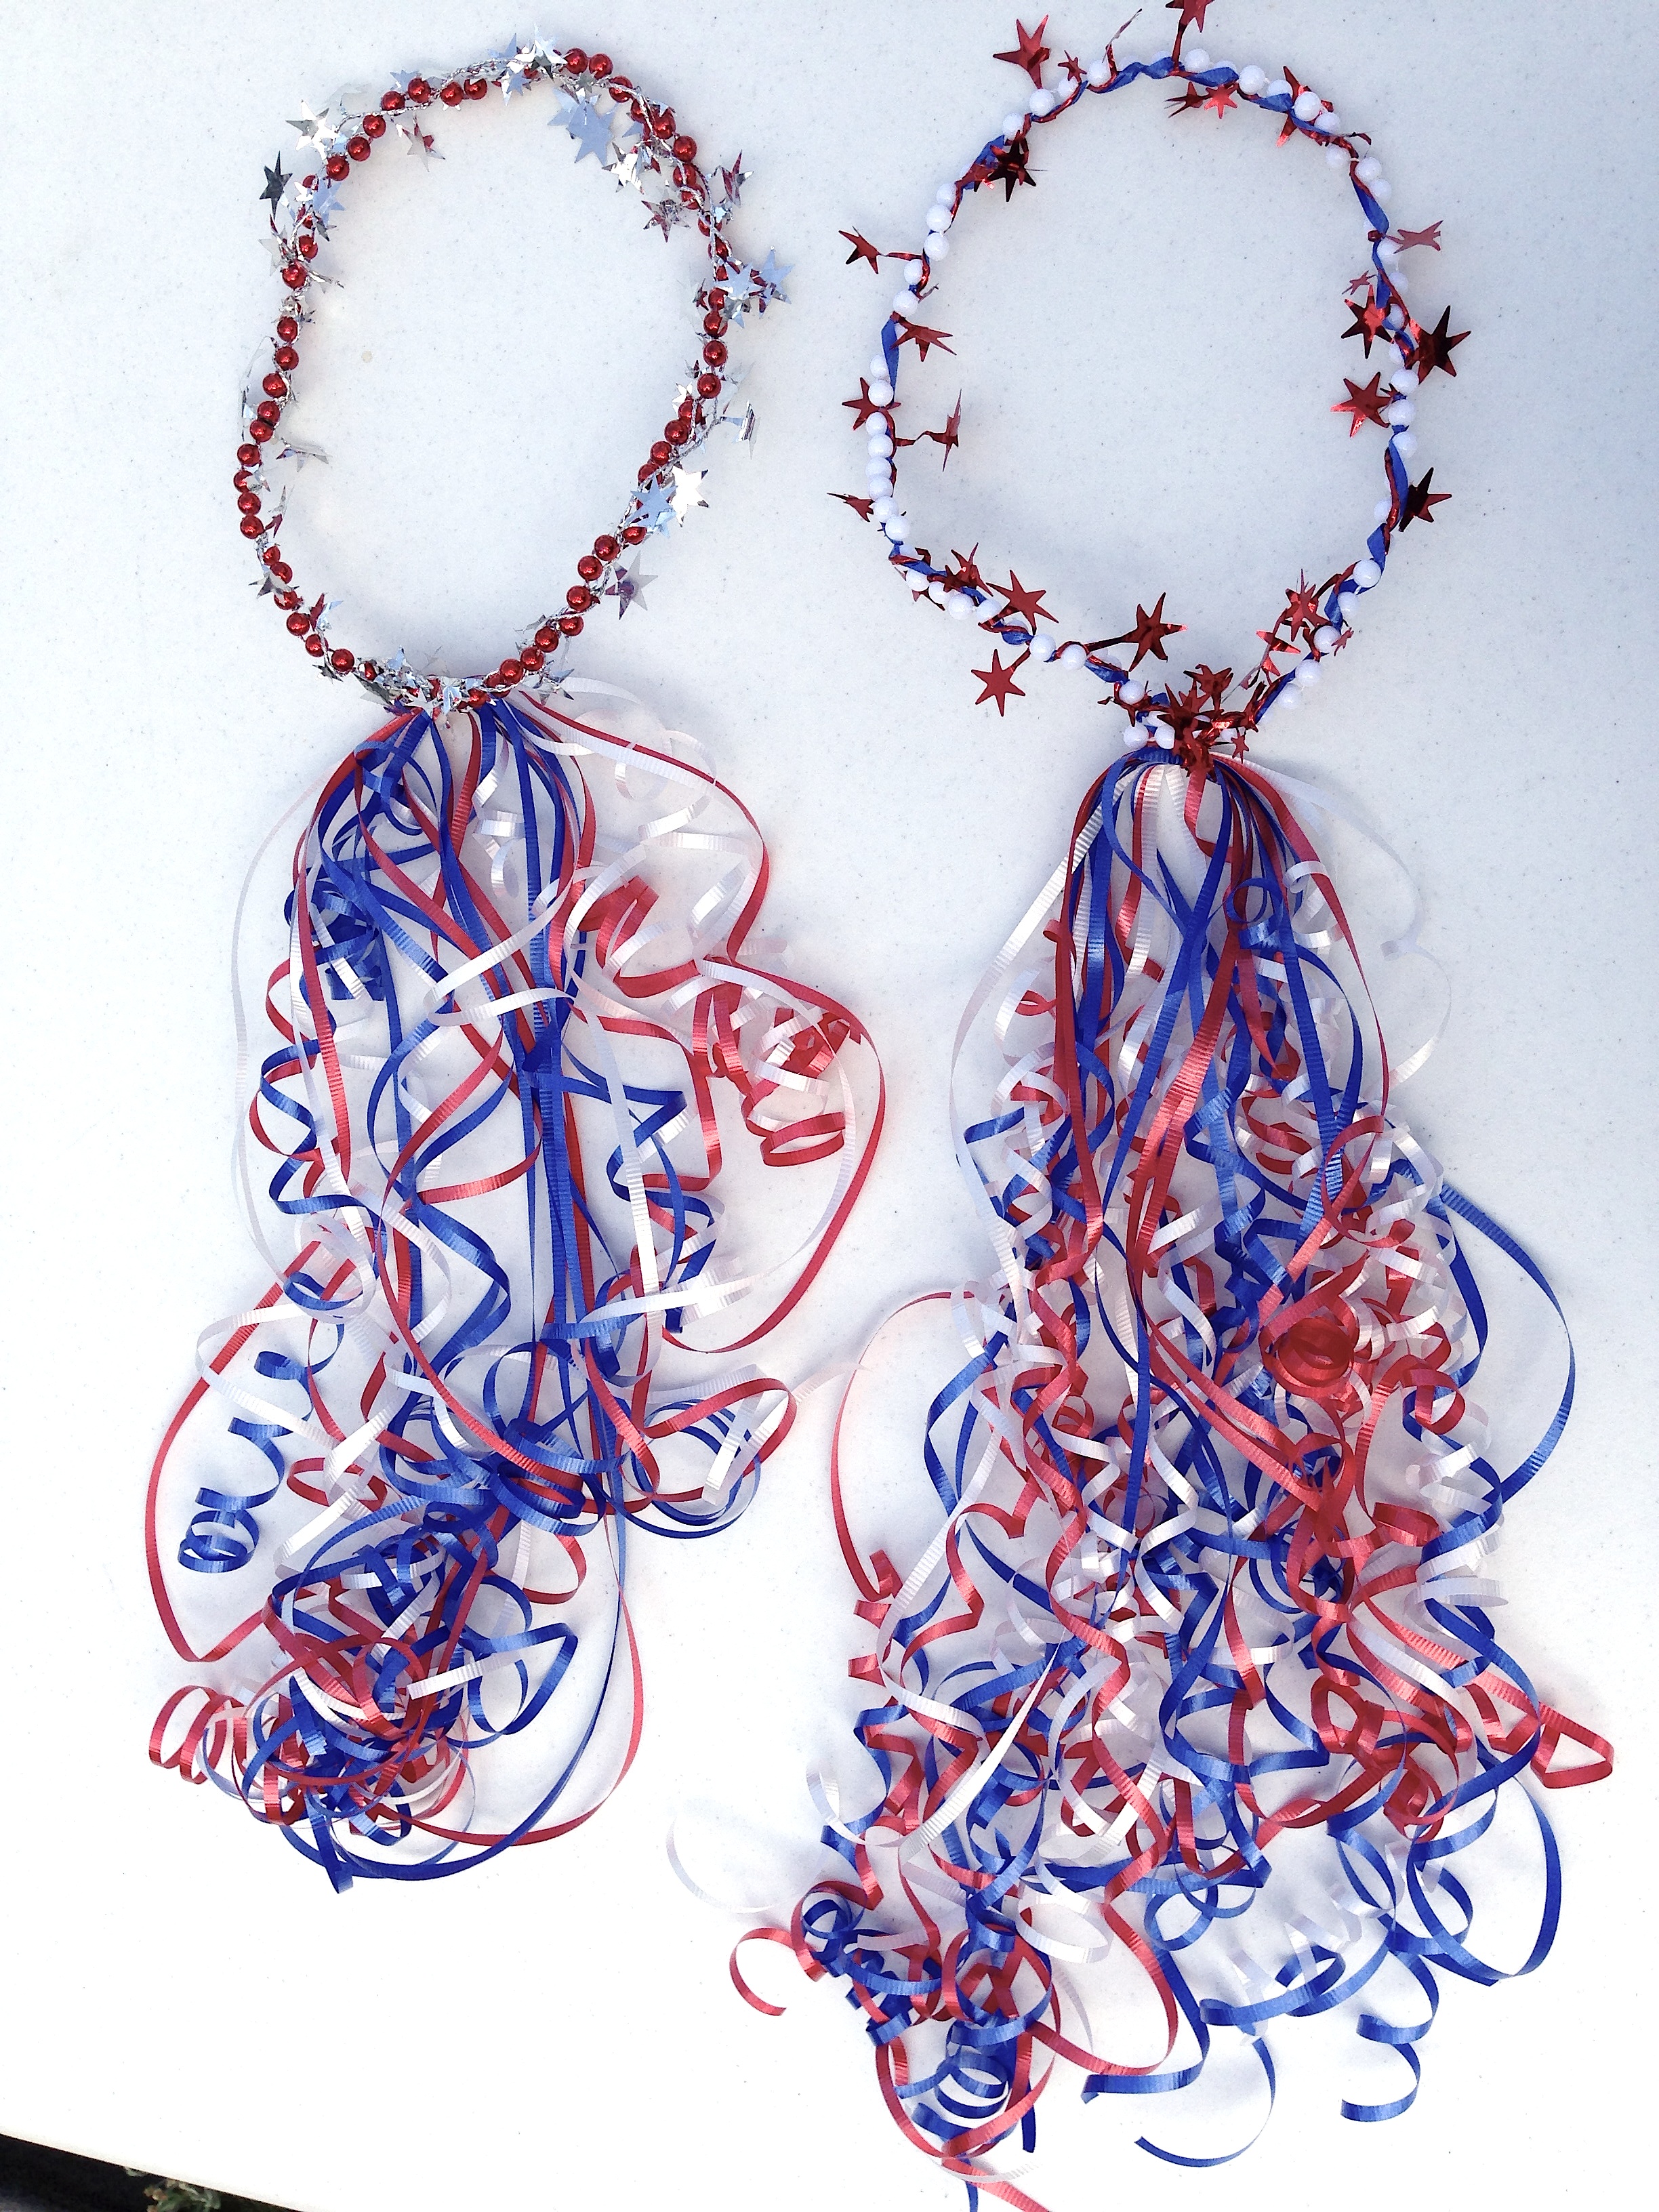
UPDATE: 4th of July Crowns
We have a very quaint 4th of July parade in town that passes a mere half block from my house. This year I made a bunch of these fairy crowns in red/white/blue for all the neighborhood kids to wear to the parade.

2 thoughts on “DAY 5: FAIRY CROWNS”