Adventuring: The (New) Exploratorium

Color Shadows
Color Shadows: Exploratorium

Today I picked back up the world’s slowest basement remodel by putting another coat of primer on the walls. This “make” is just too boring to put words to. Instead I am digging out an Exploratorium adventure from a couple of weeks ago that I never got around to writing about.

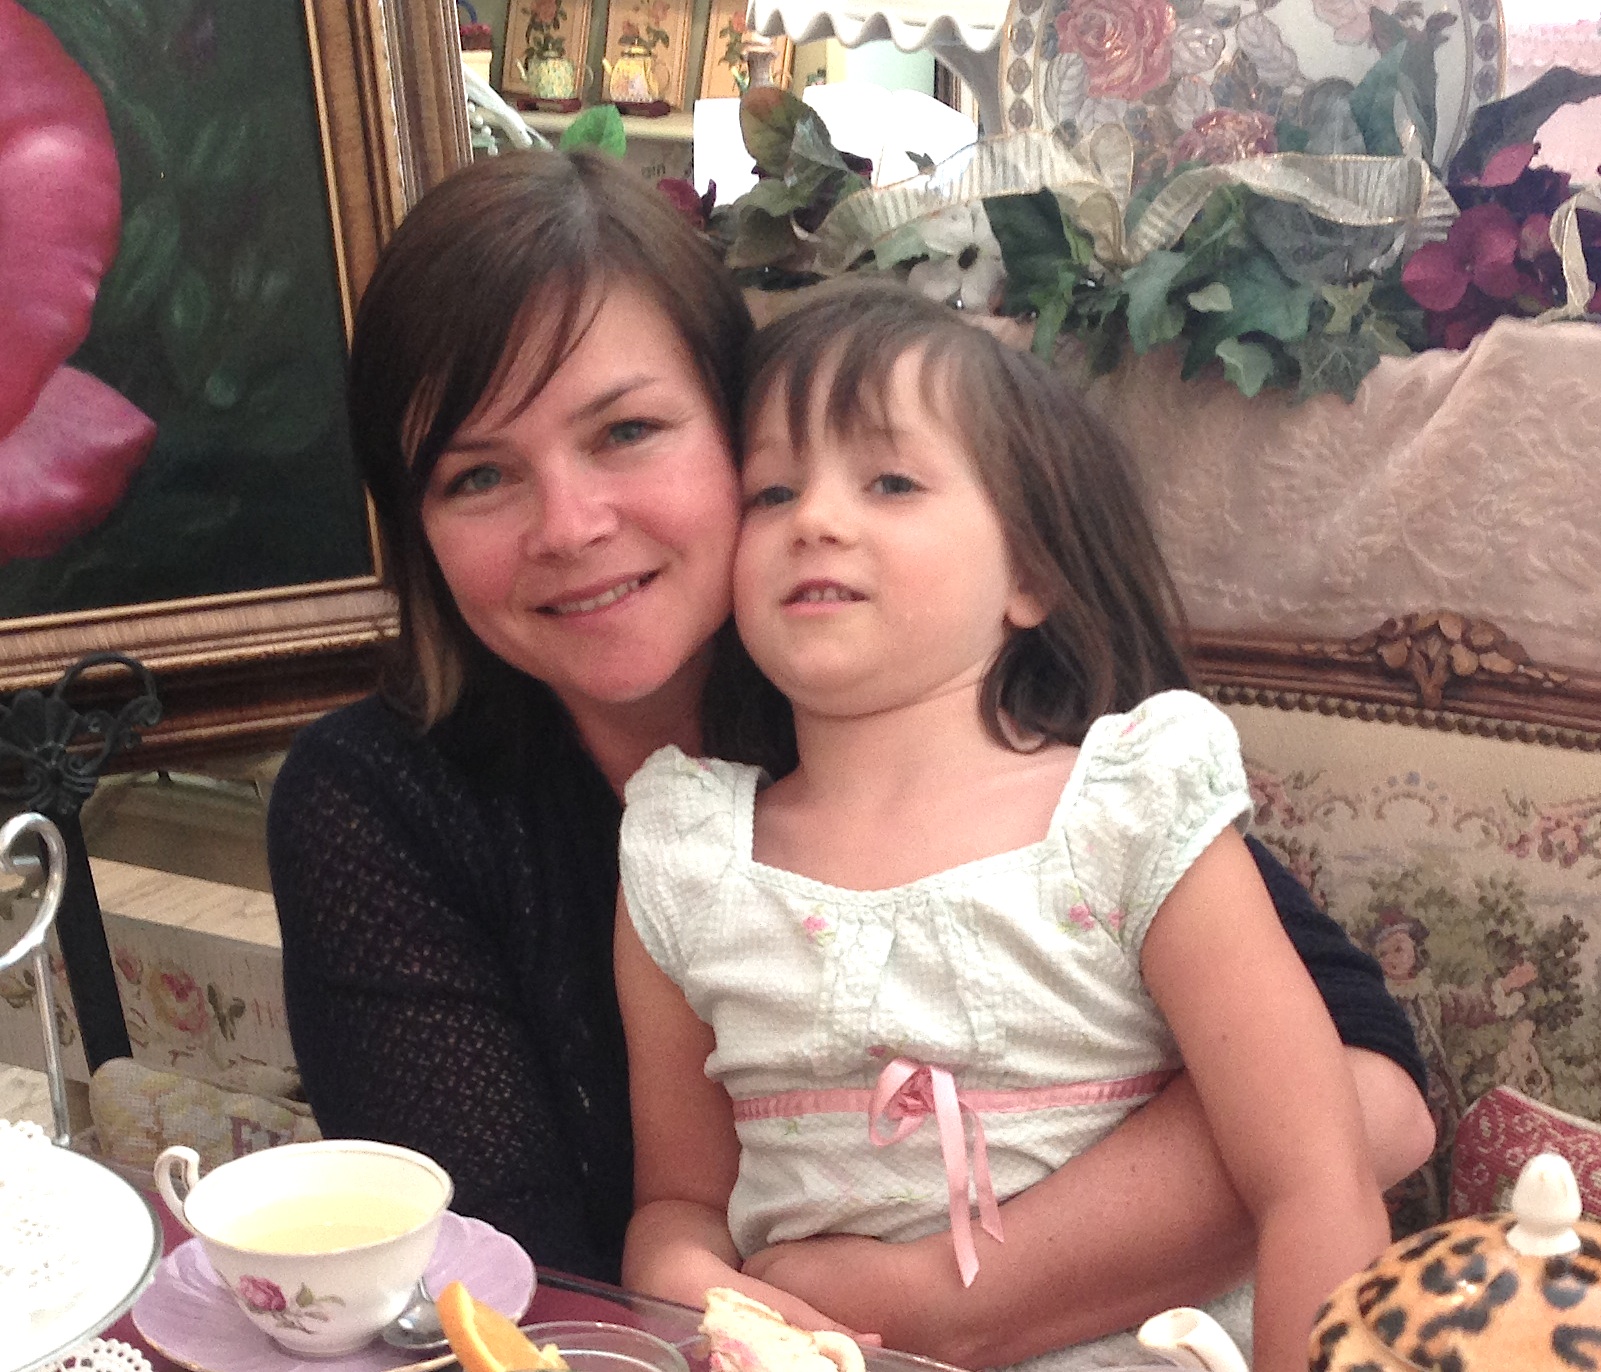
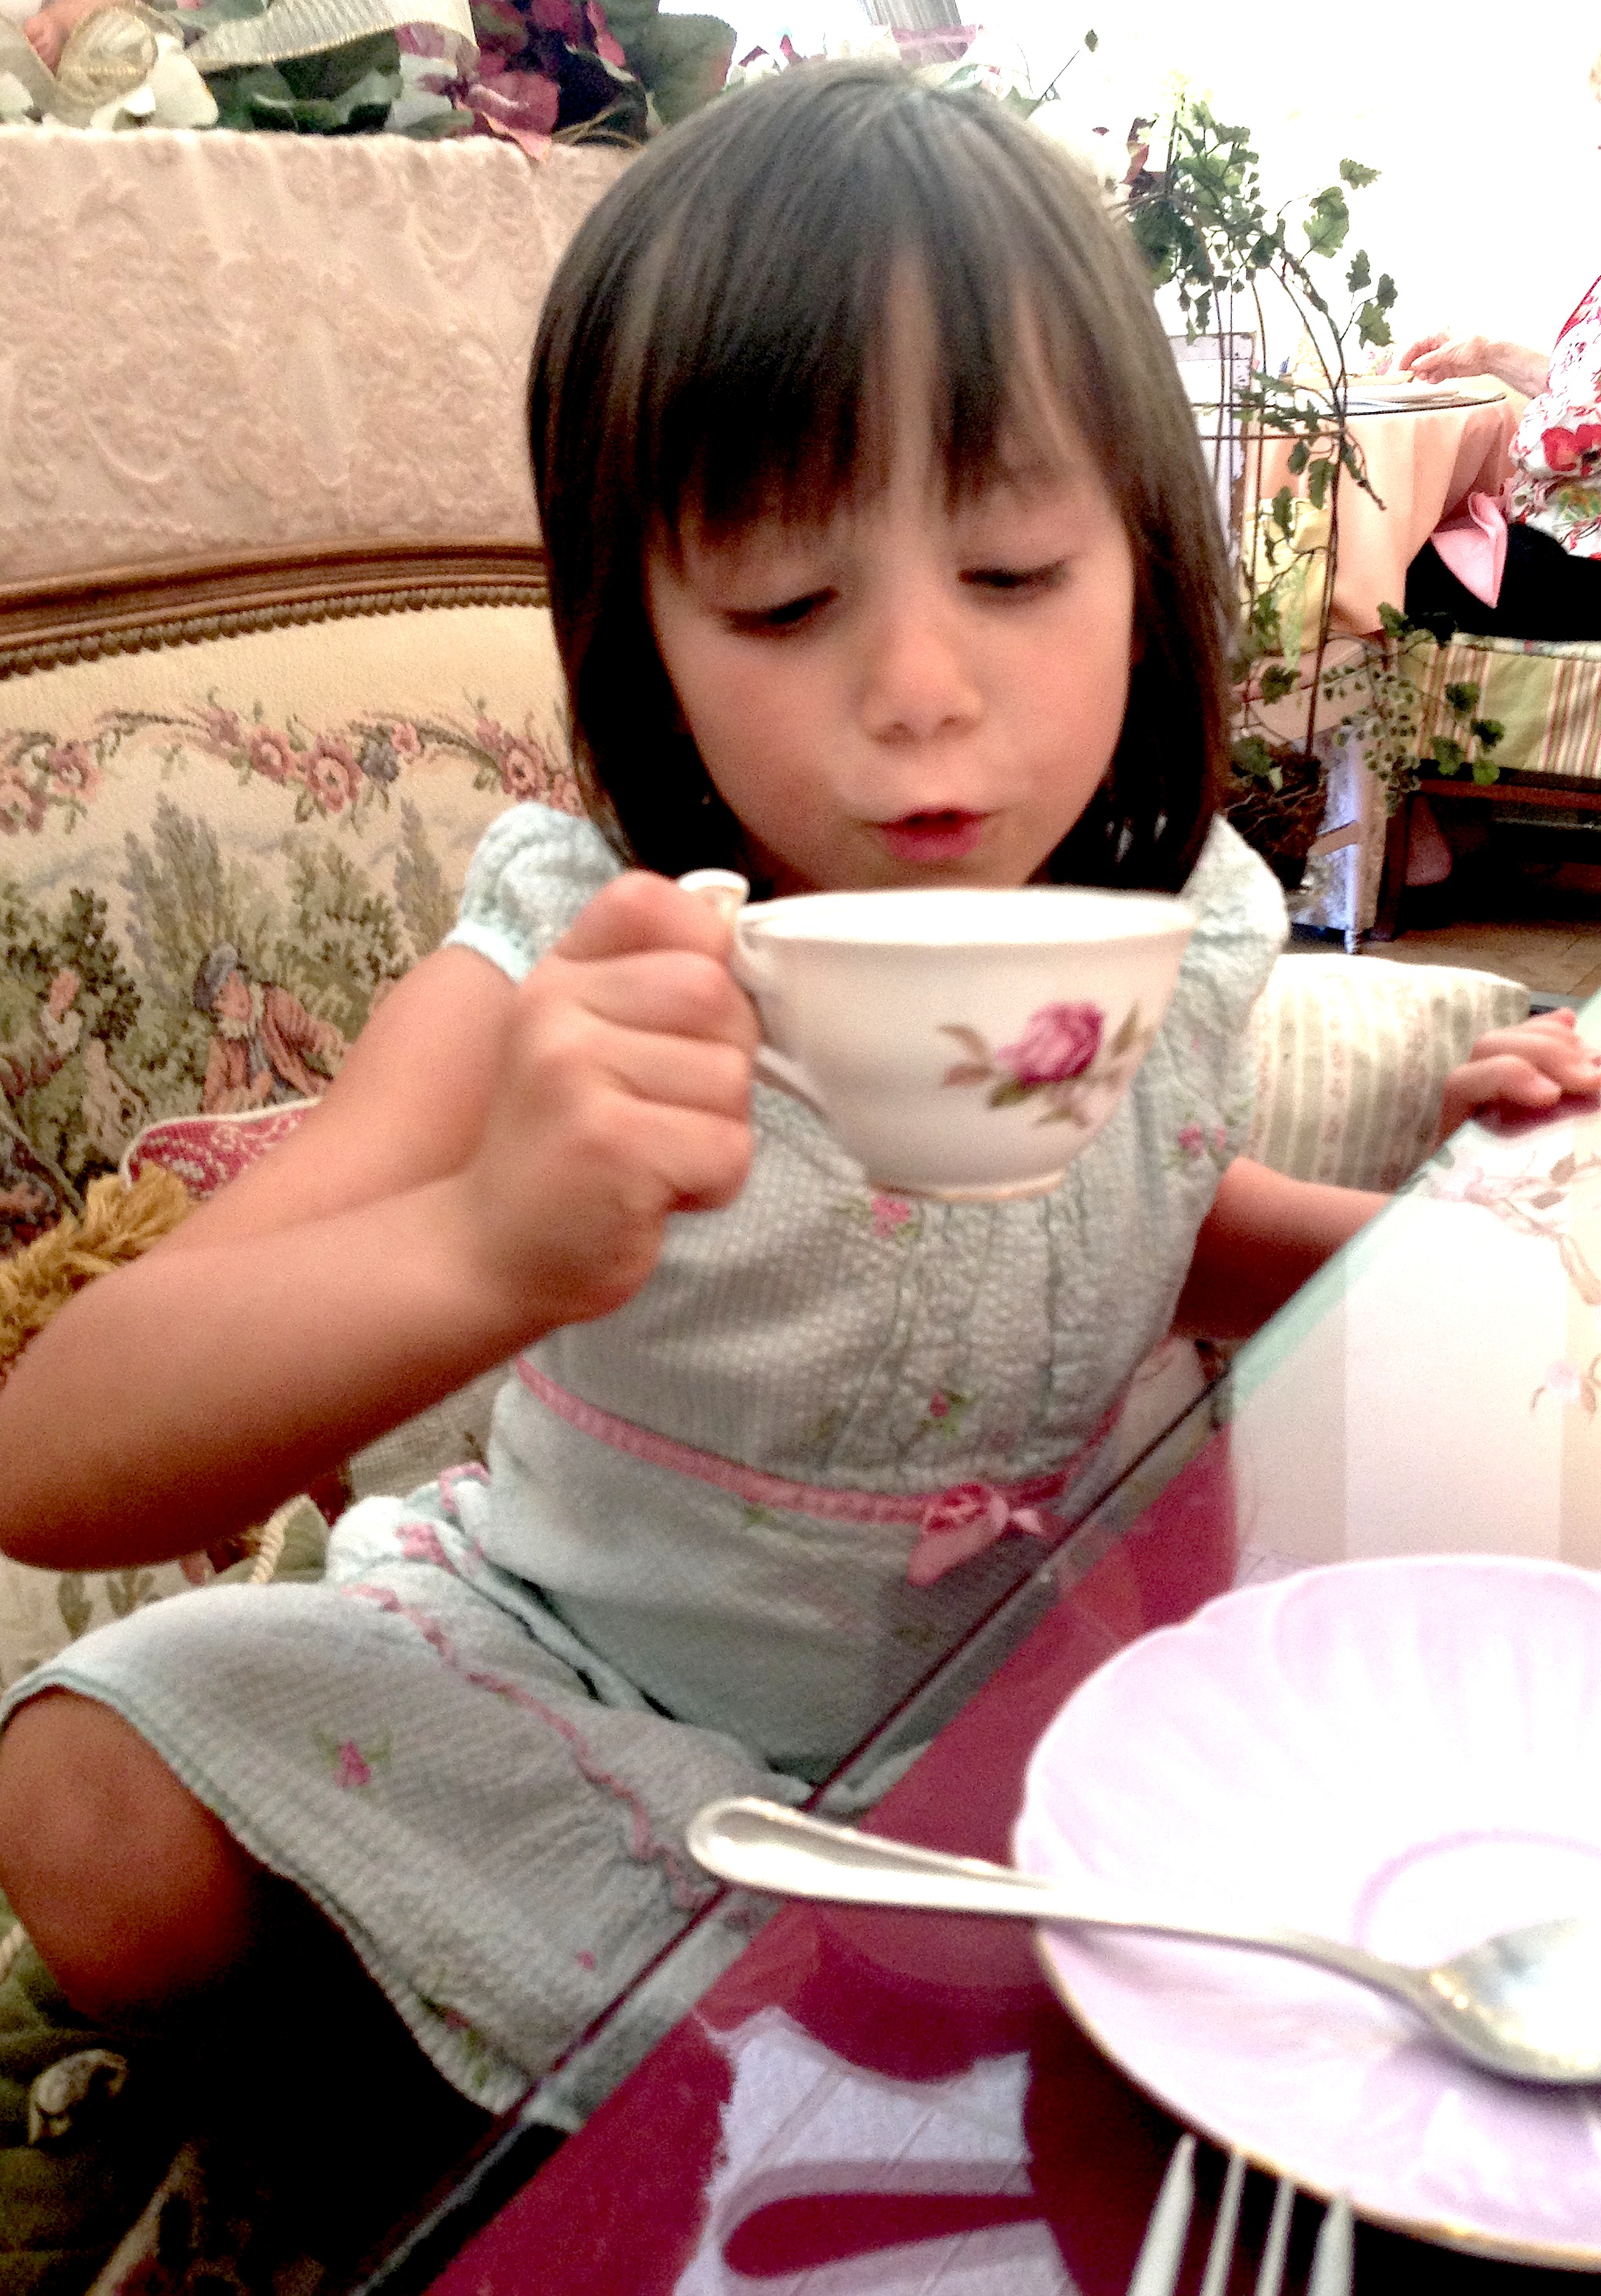
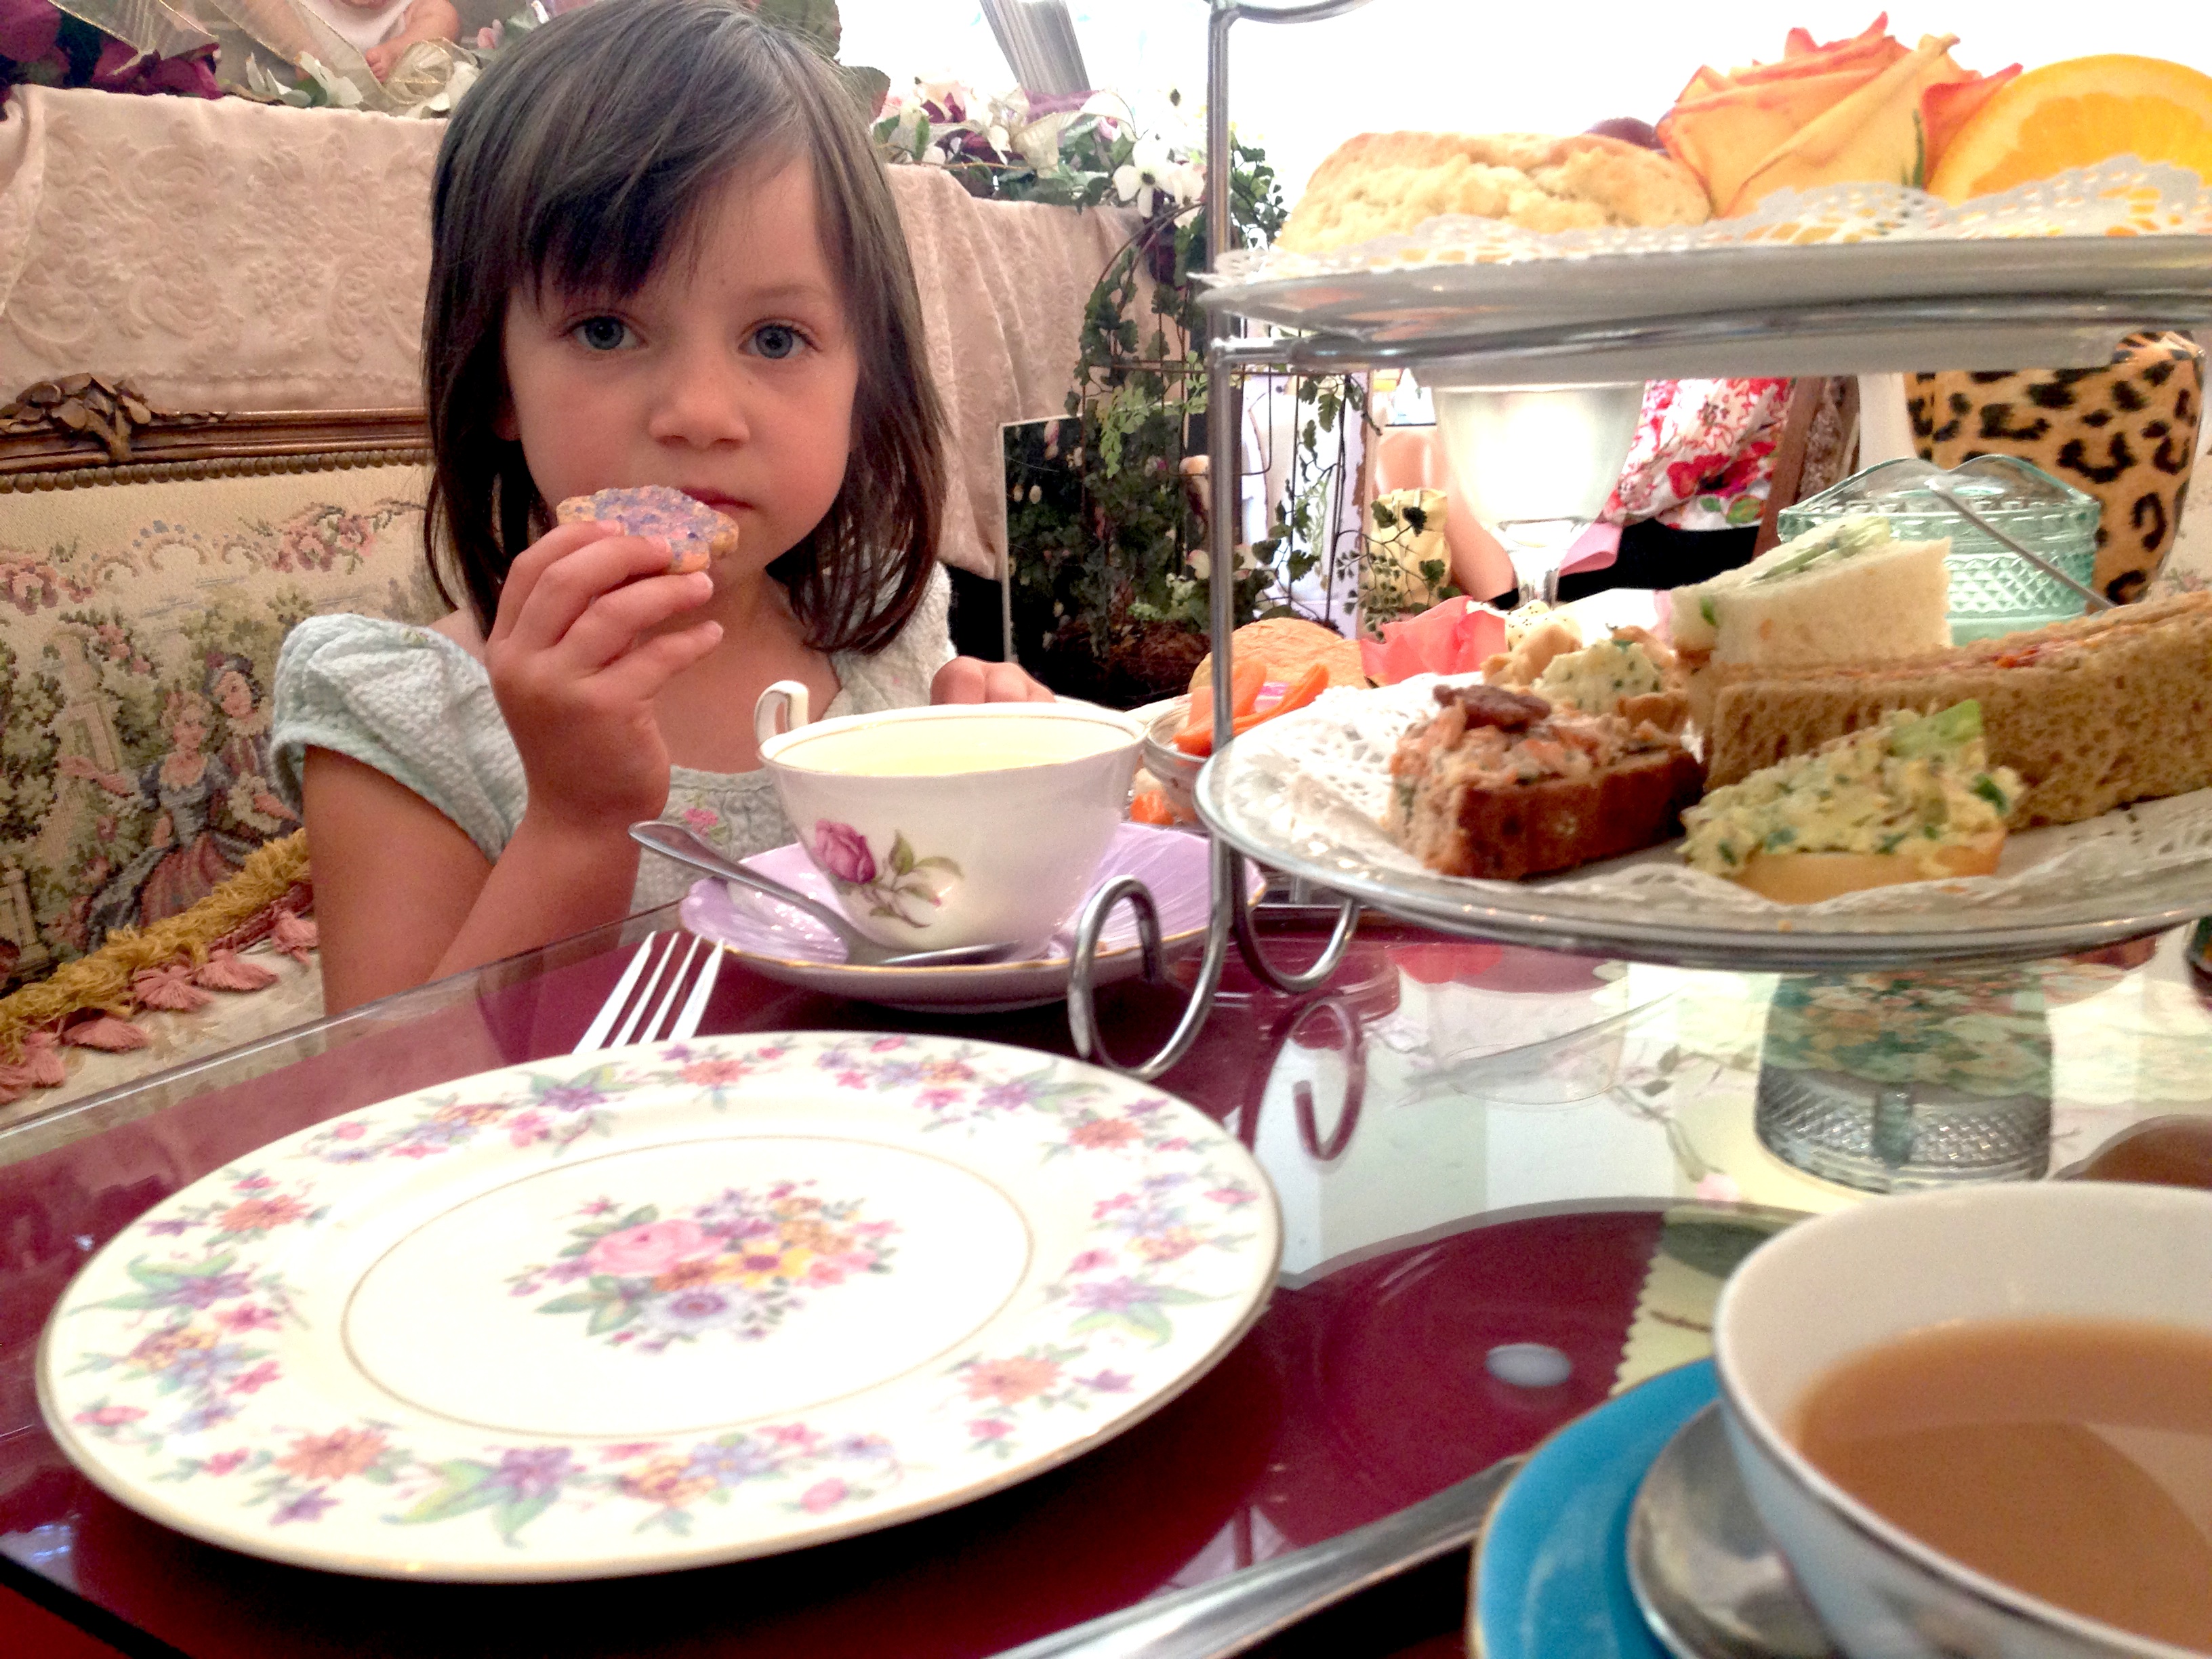
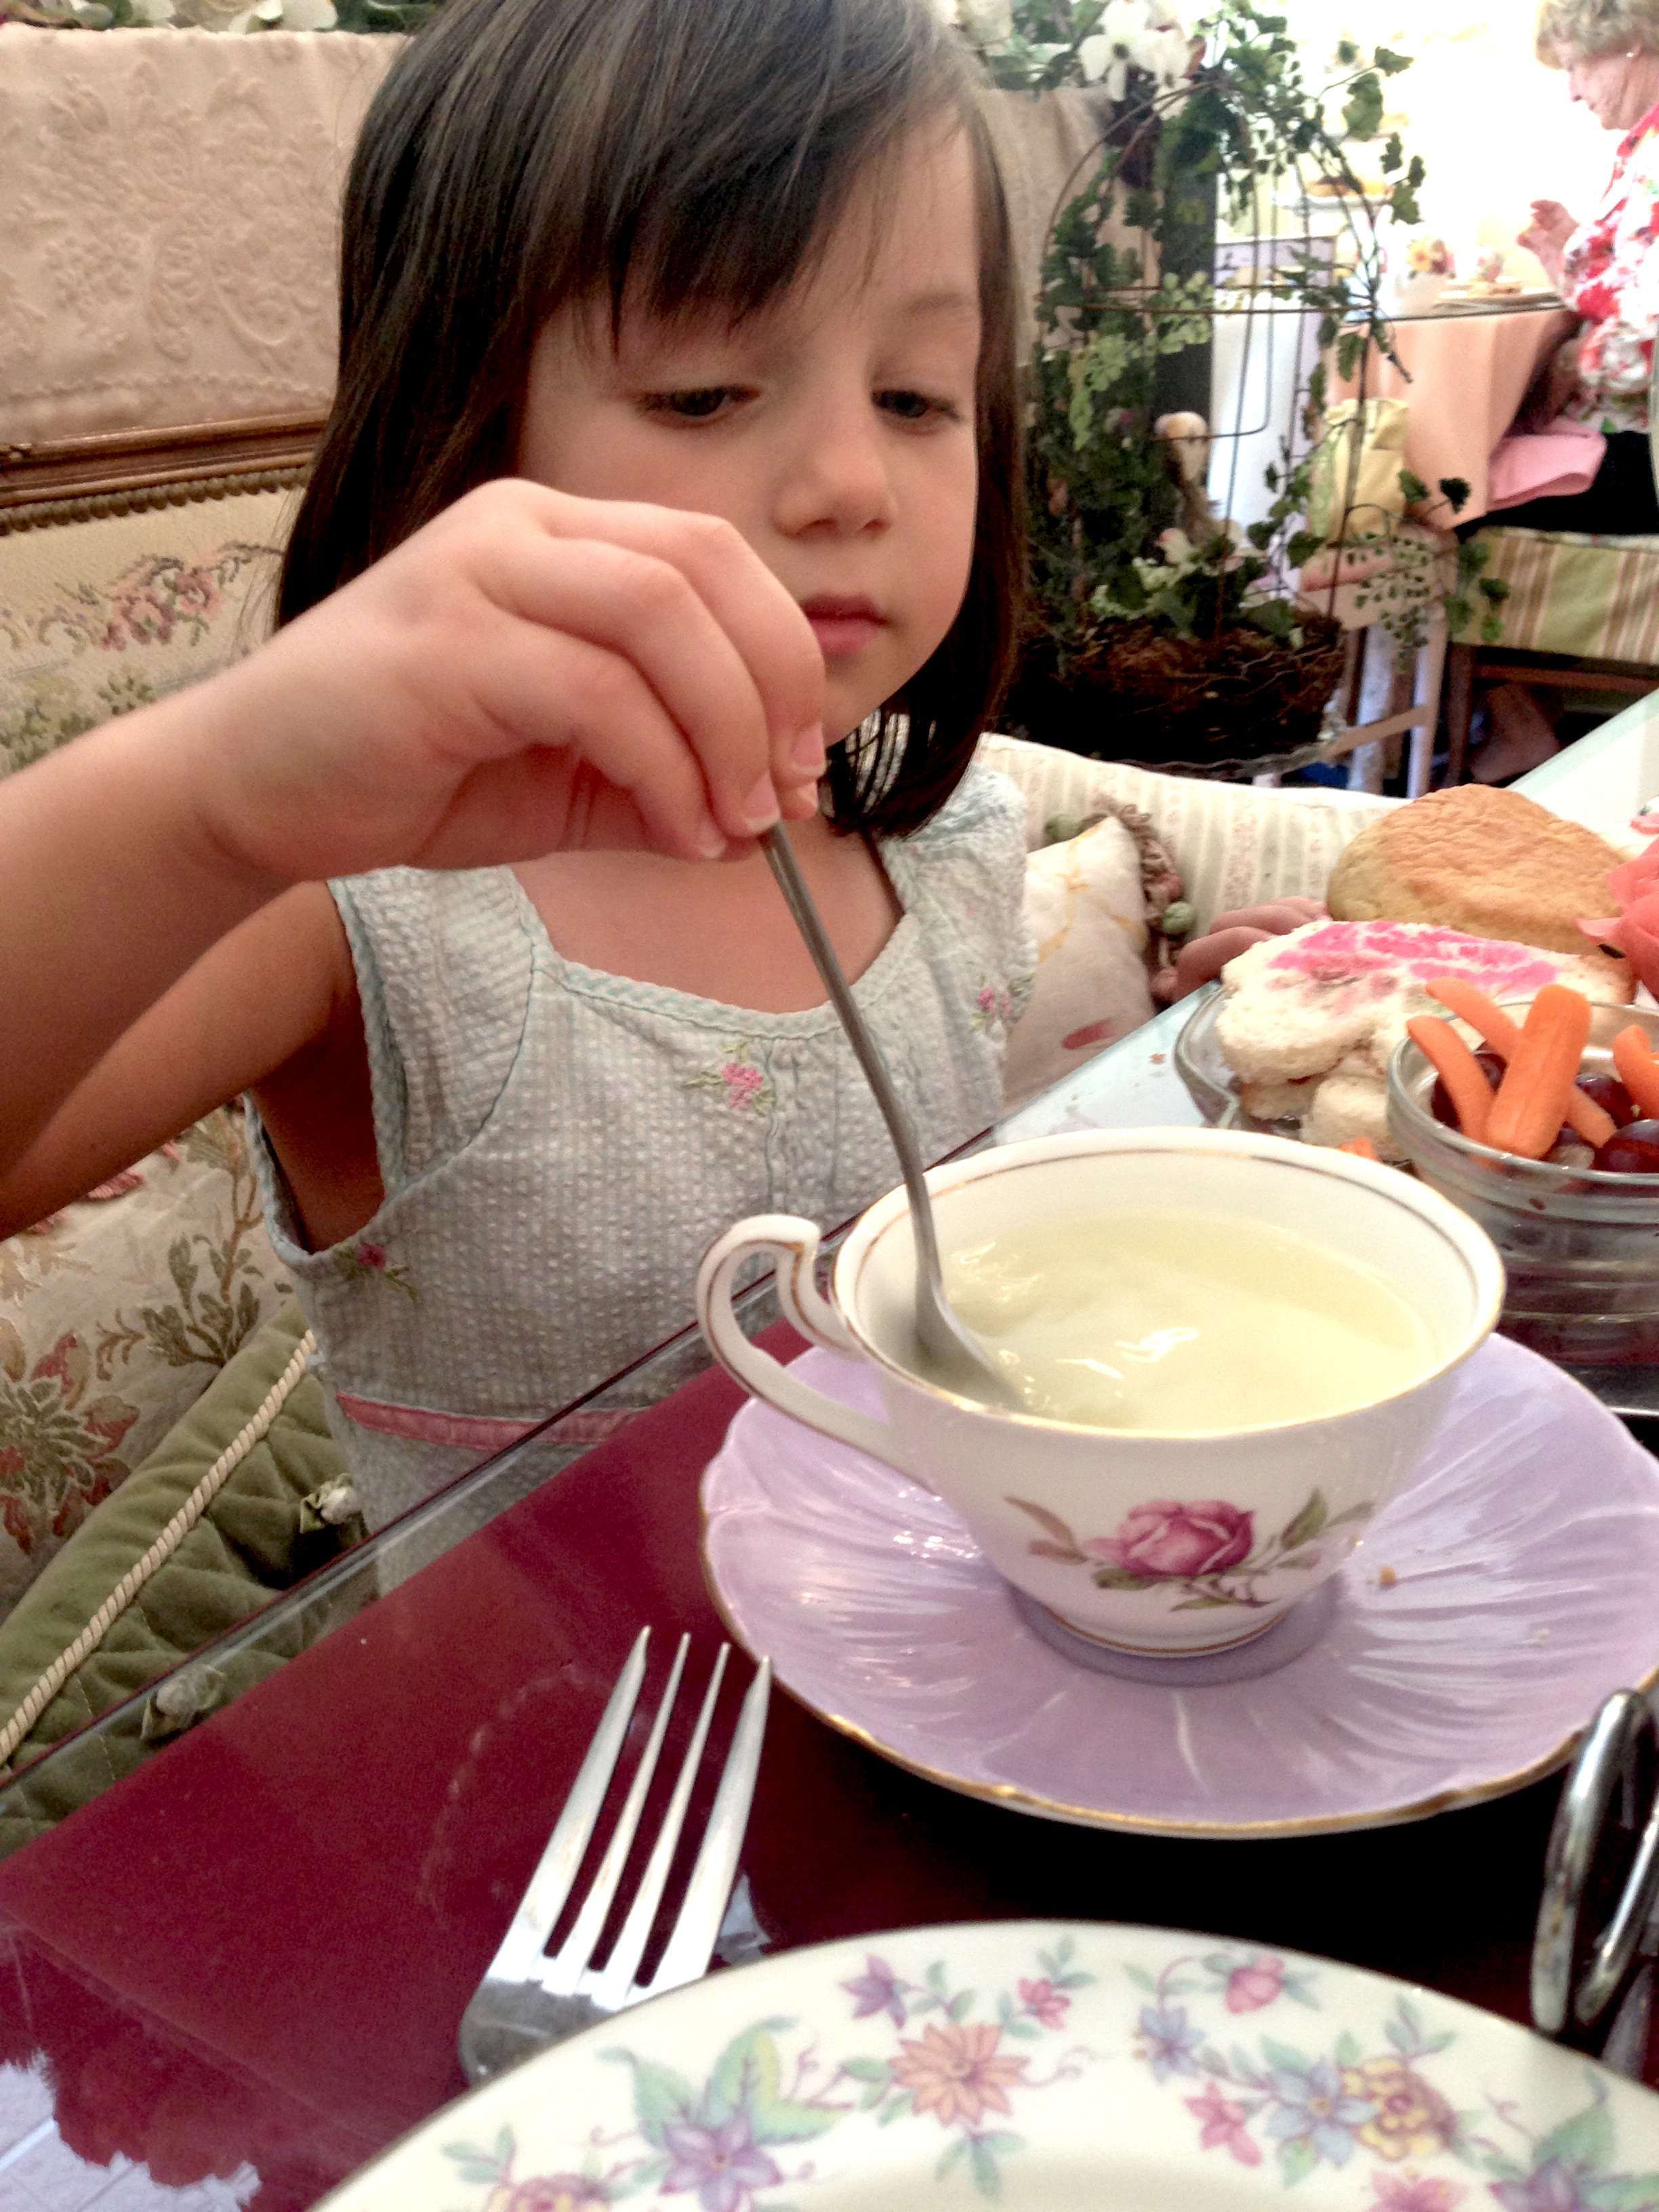
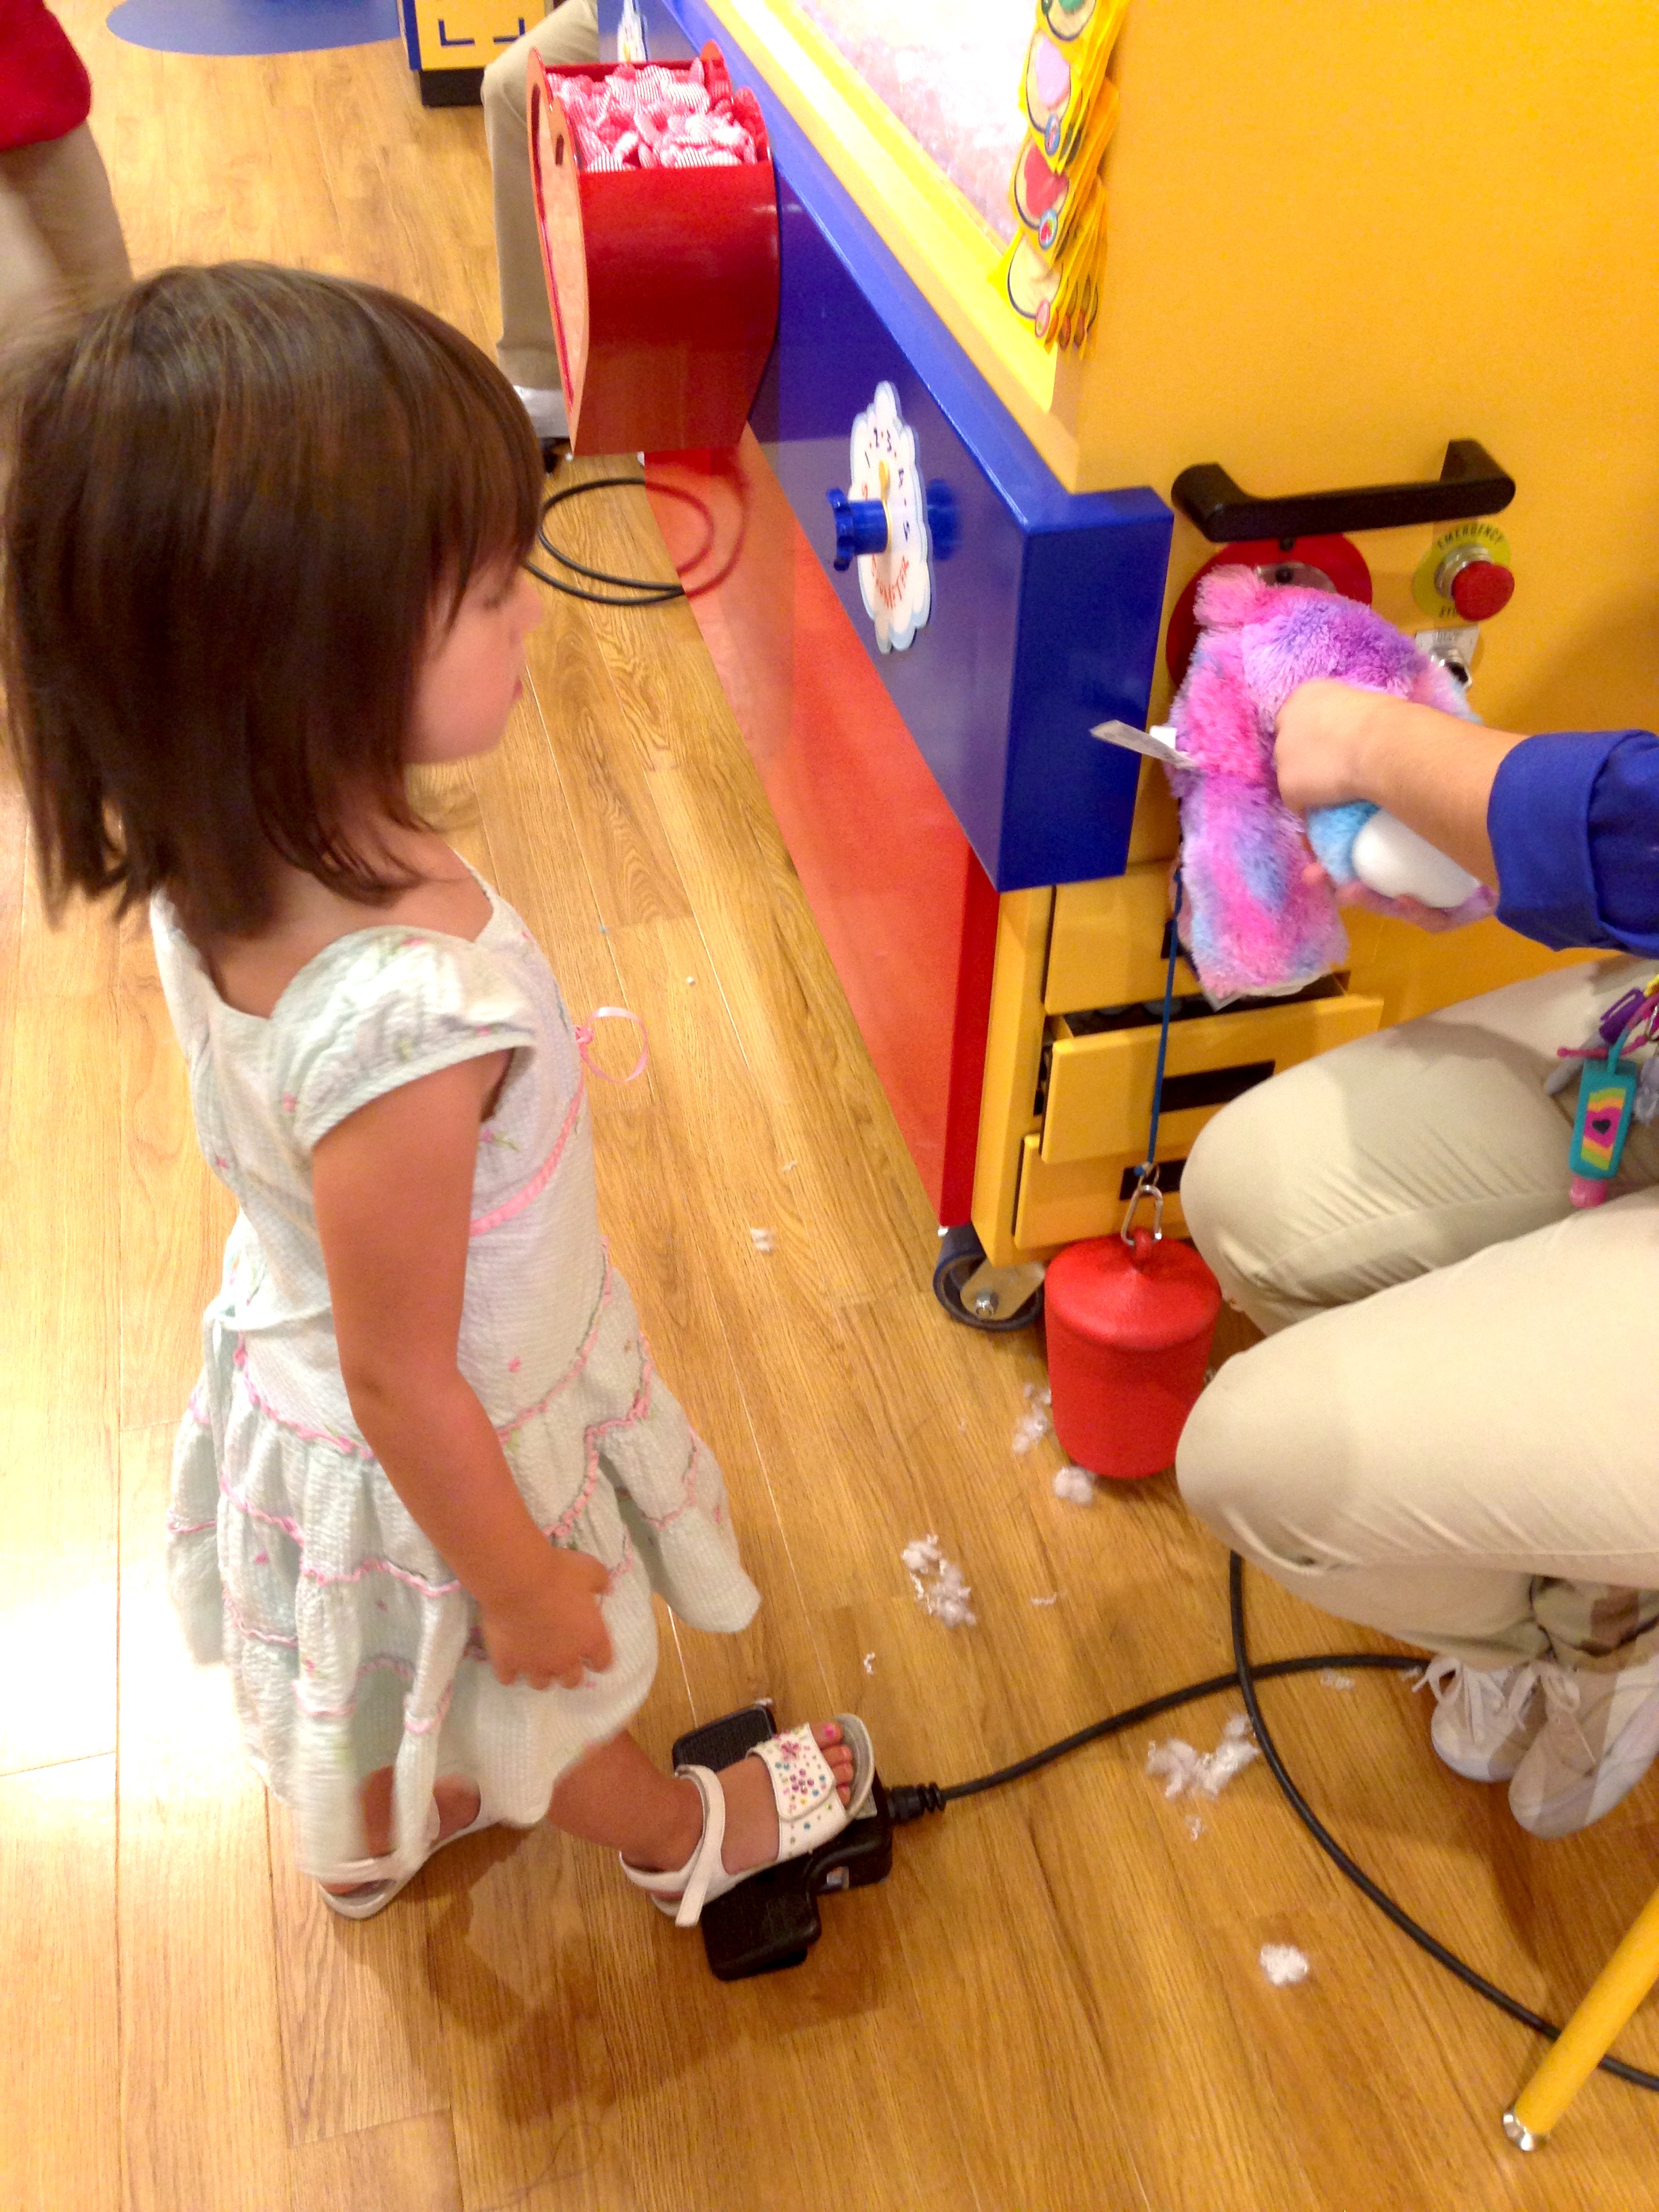
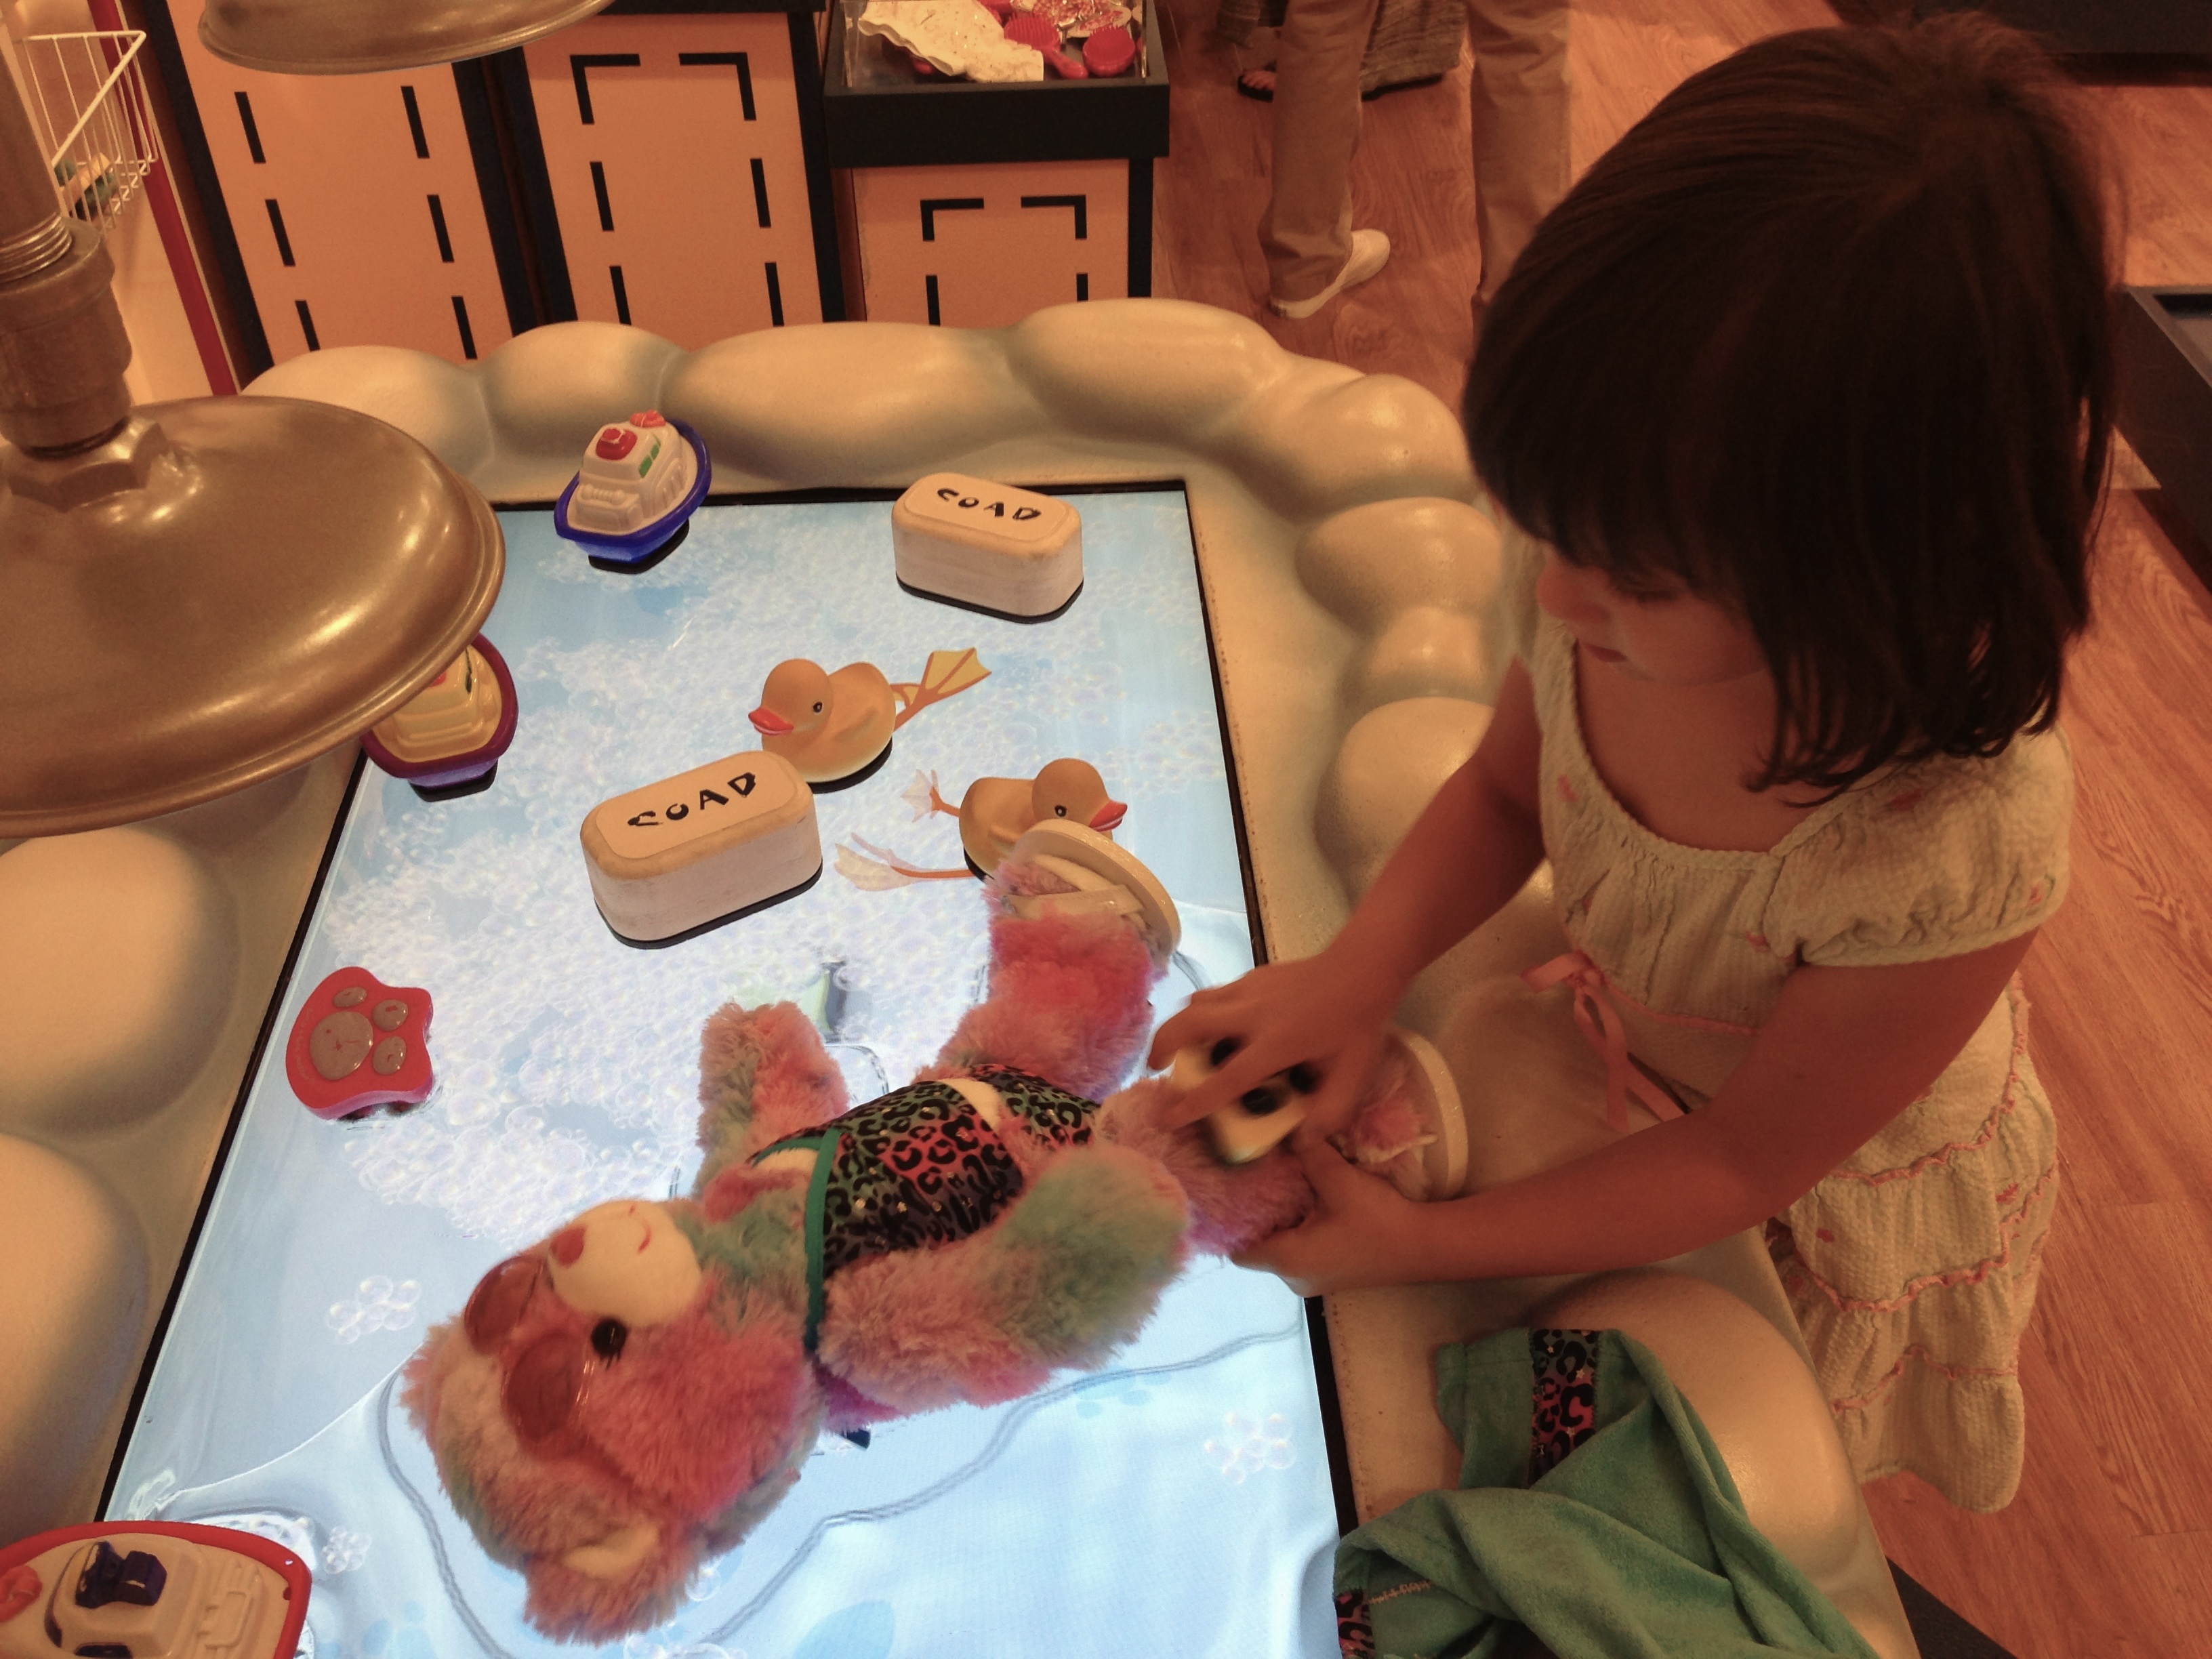
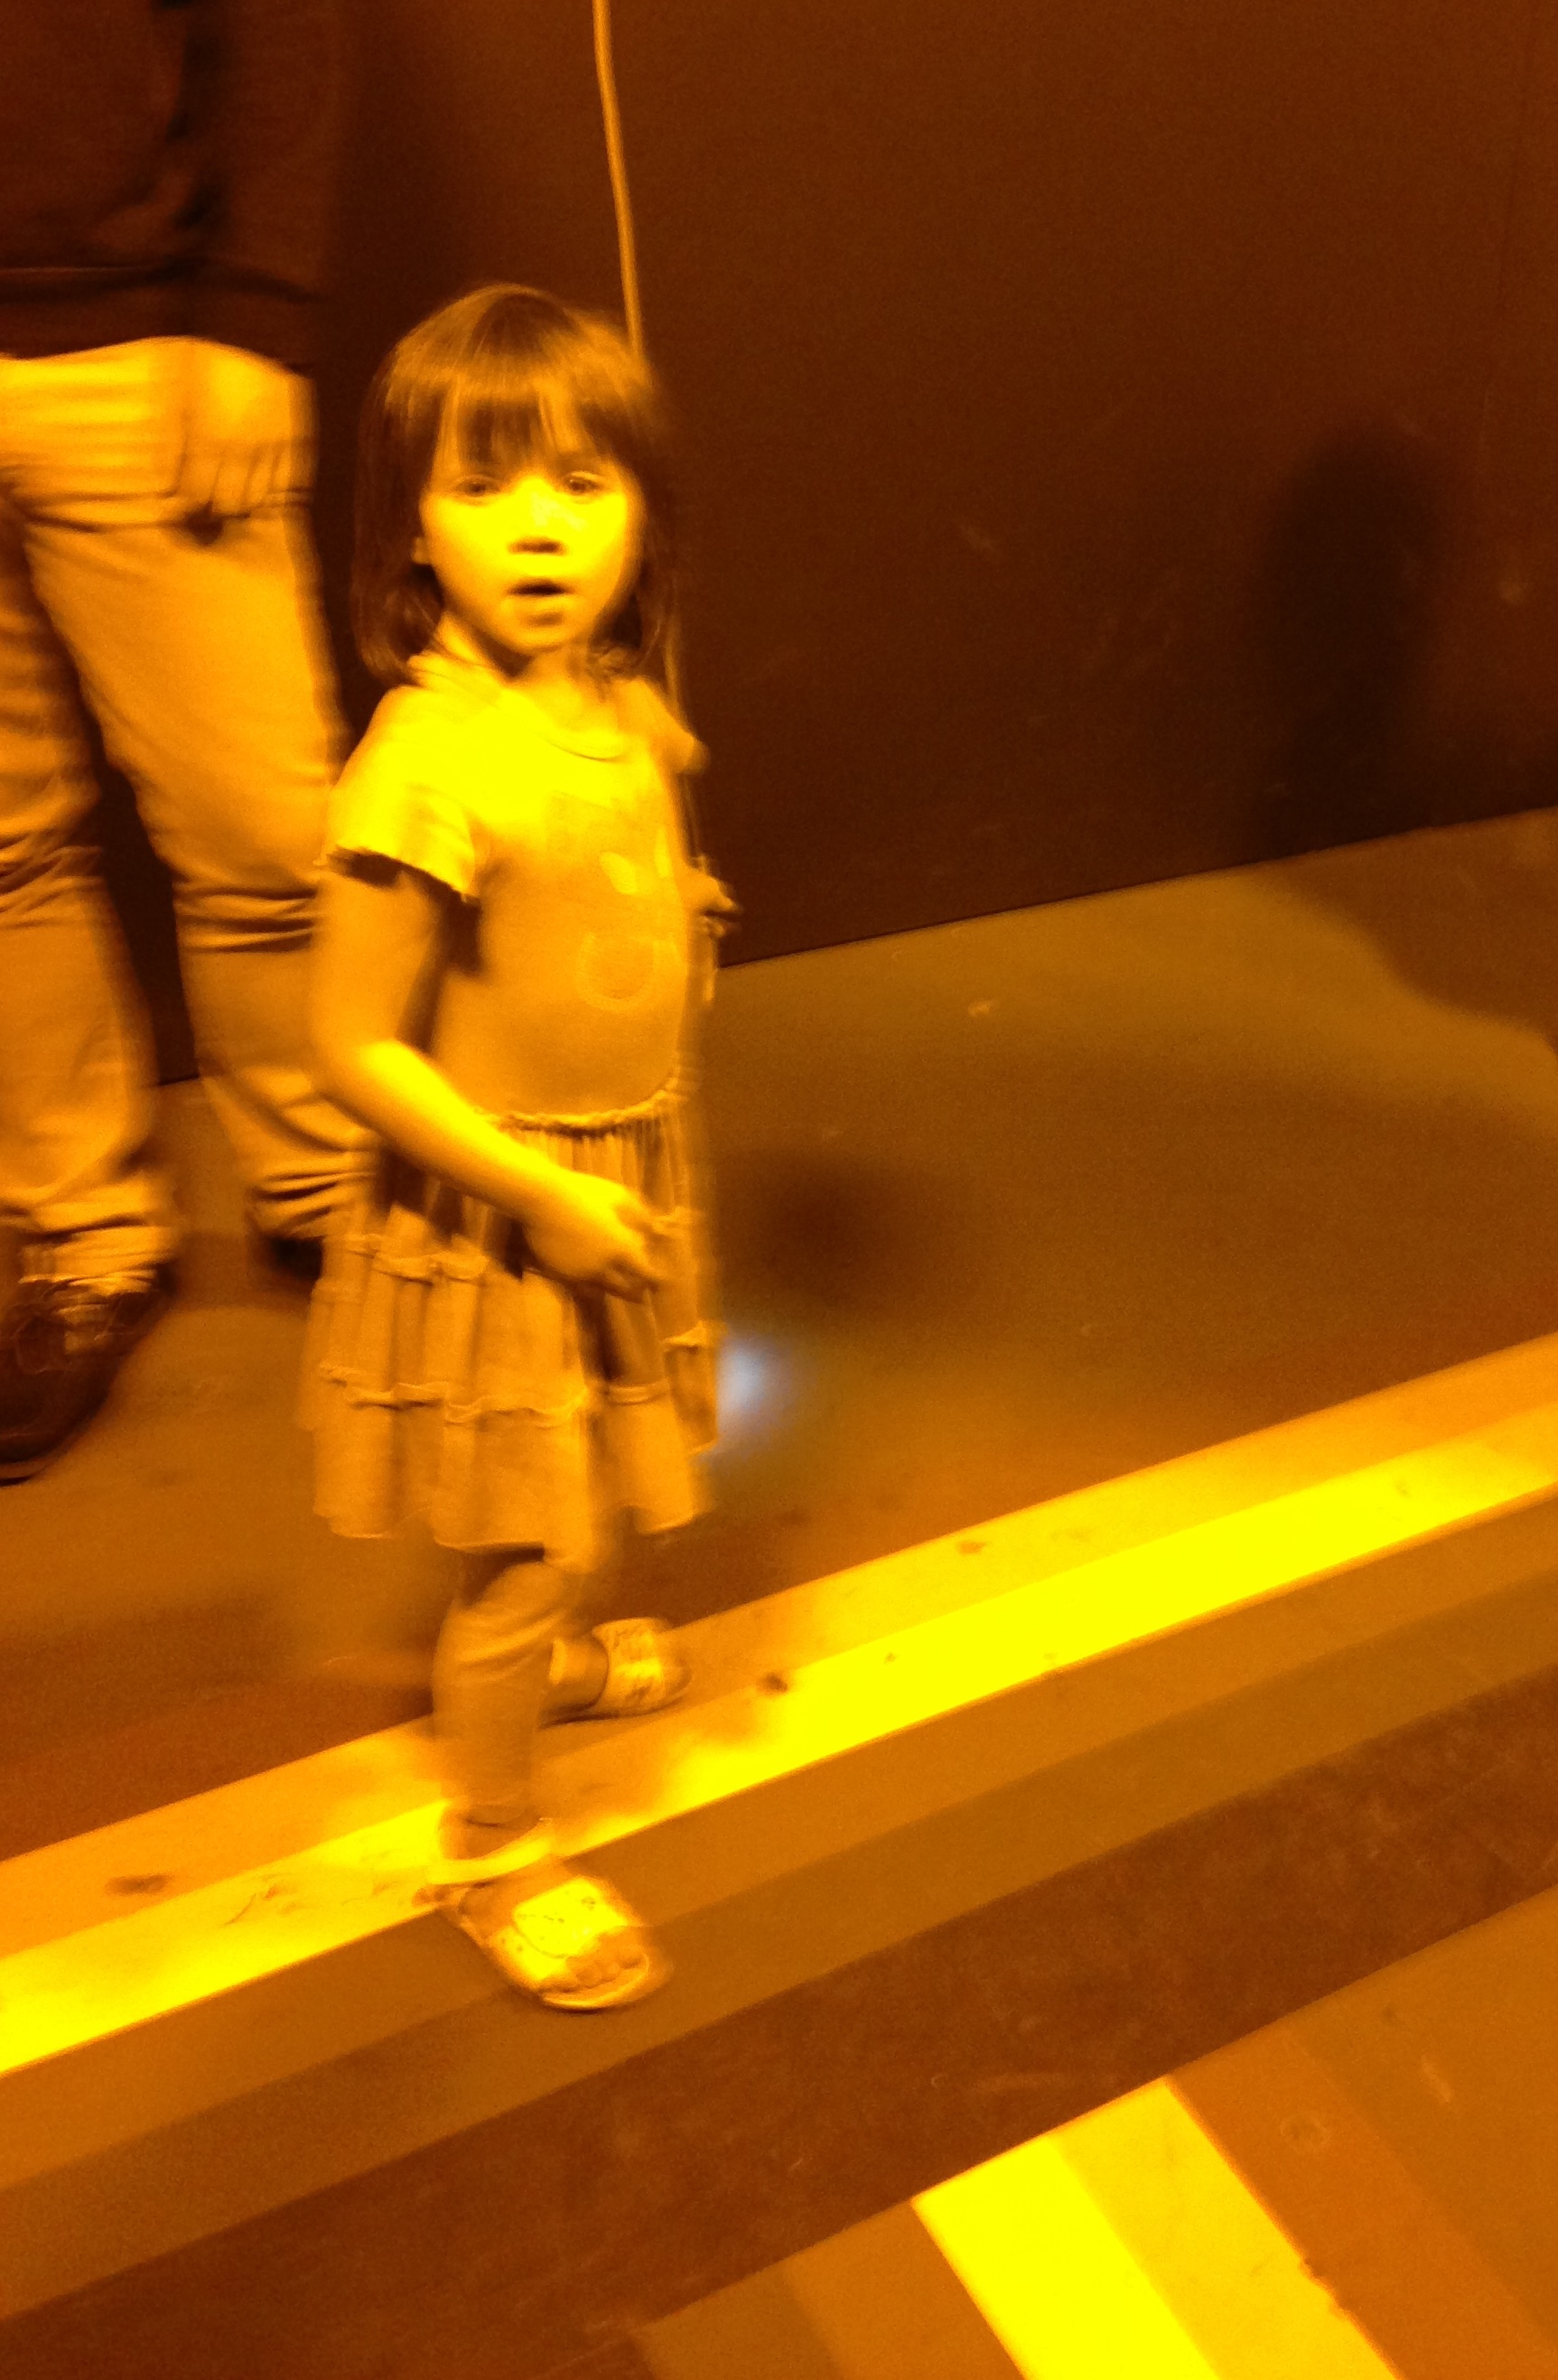
Well, ok. (deep breath) That’s not entirely true. I started to write about it that very night but was clearly not fully recovered enough to string coherent words together. The Exploratorium itself was awesome, and I will get to that more in a second, but the behavior by my four year old daughter (yes the cute one sipping tea and stuffing bears)… not so awesome. It was a fit of epic proportion that caused the two of us to sit outside the museum for AN HOUR in a standoff while Jack went in with his friends and their families. The type of fit that tests every ounce of one’s parental mettle. The fun part? We had ferried over so there was no way out. I’ll spare you the detail, but I will say at one point my daughter called me a “beast” which, in hindsight, is a kinda funny thing for a four year old to say.

Eventually we worked through the ordeal, though I would not say with any grace or parental prowess. Maybe something in our post-storm talk did settle in because she hasn’t done this since and has even stopped herself from going there a few times.

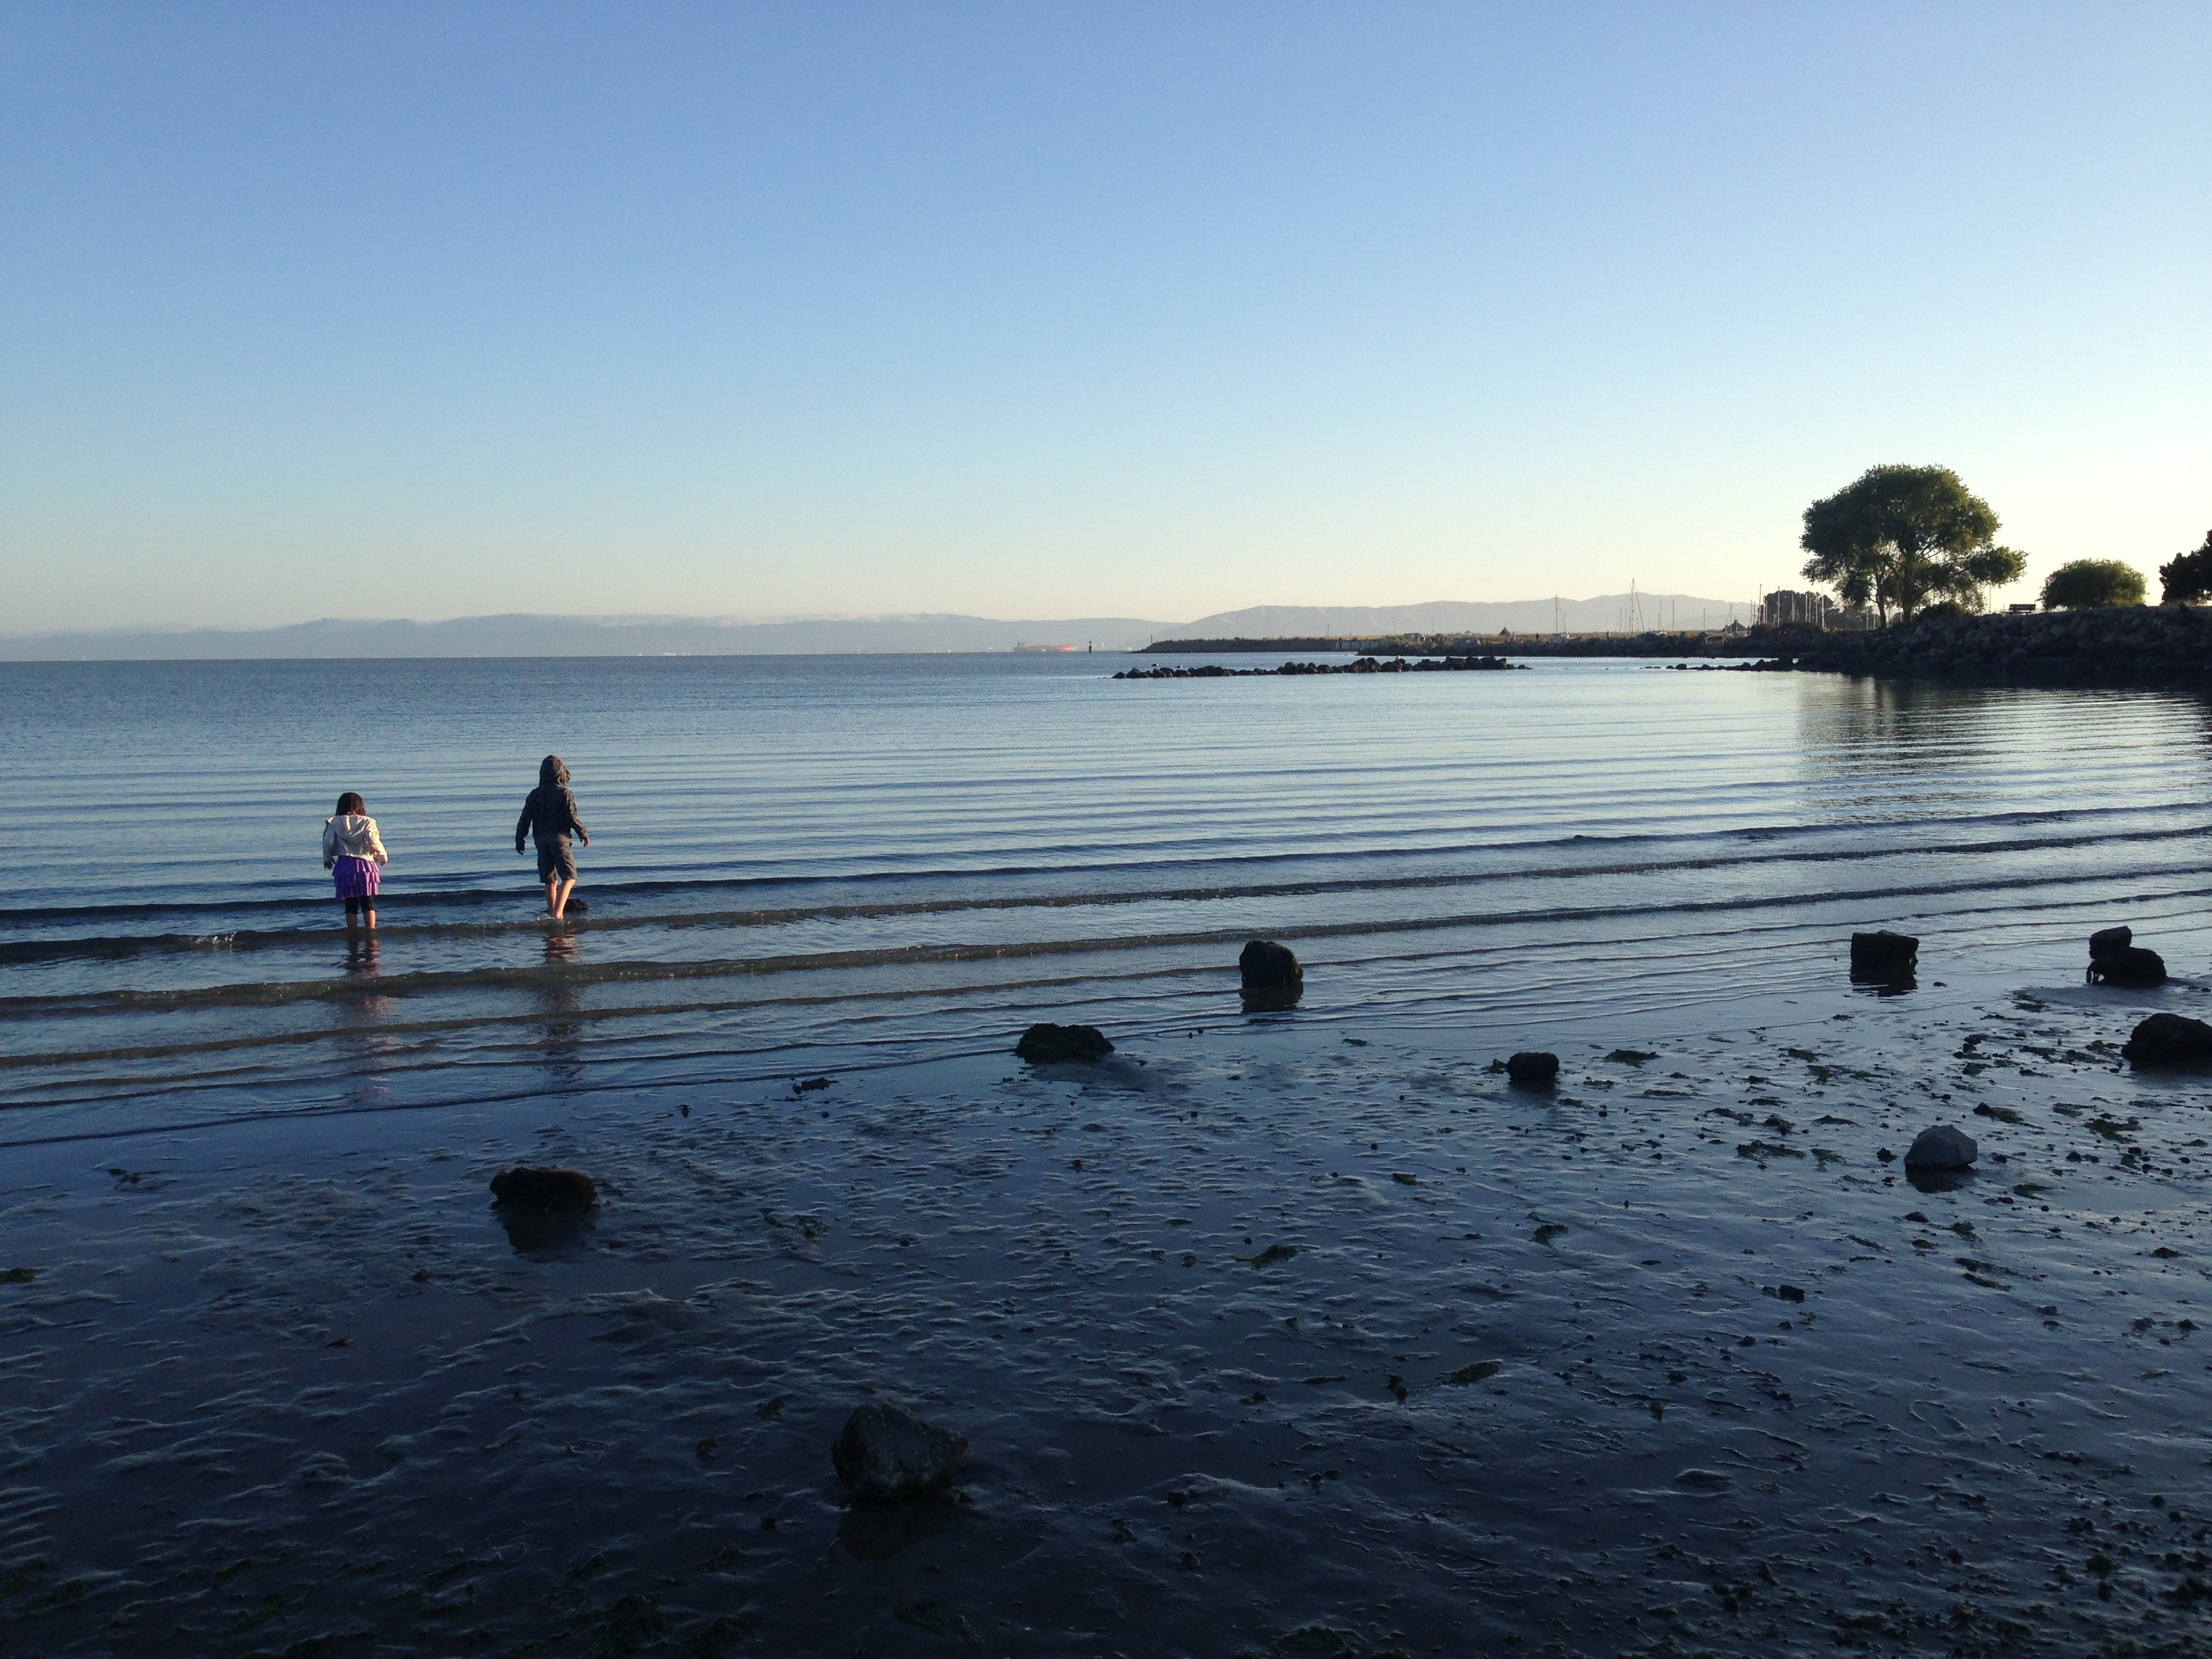
Ok then, with that behind us, we did make it into the Exploratorium an hour before it closed…

The Exploratorium
Sometimes change is scary. You really love something as it is, grew up with it as it is, can’t really imagine it another way. This is what made me nervously anticipate the complete overhaul of the Exploratorium. Would the new location be too new, too sleek? Would there remain a gritty curiosity to the place? Was I over thinking it all? (clearly)

No camera filter used here: the monochromatic room.

But really, they did a phenomenal job rebuilding this place. It did feel new and modern but without losing it’s edge. The new location is so much easier to get to by BART or ferry (ahem… BART if you might need a quick getaway). There are way more exhibits, much more to see. It feels more spacious whereas the old one often got cramped. The only downside was that Jack loved running around the Palace of Fine Arts next to the old location. I think he envisioned it as his own Star Wars battle arena so he misses it. Also, the price has gone up (to be expected) making it now a pricey adventure for a family of four. We’ll get a family membership since it’s definitely a place to keep returning to.

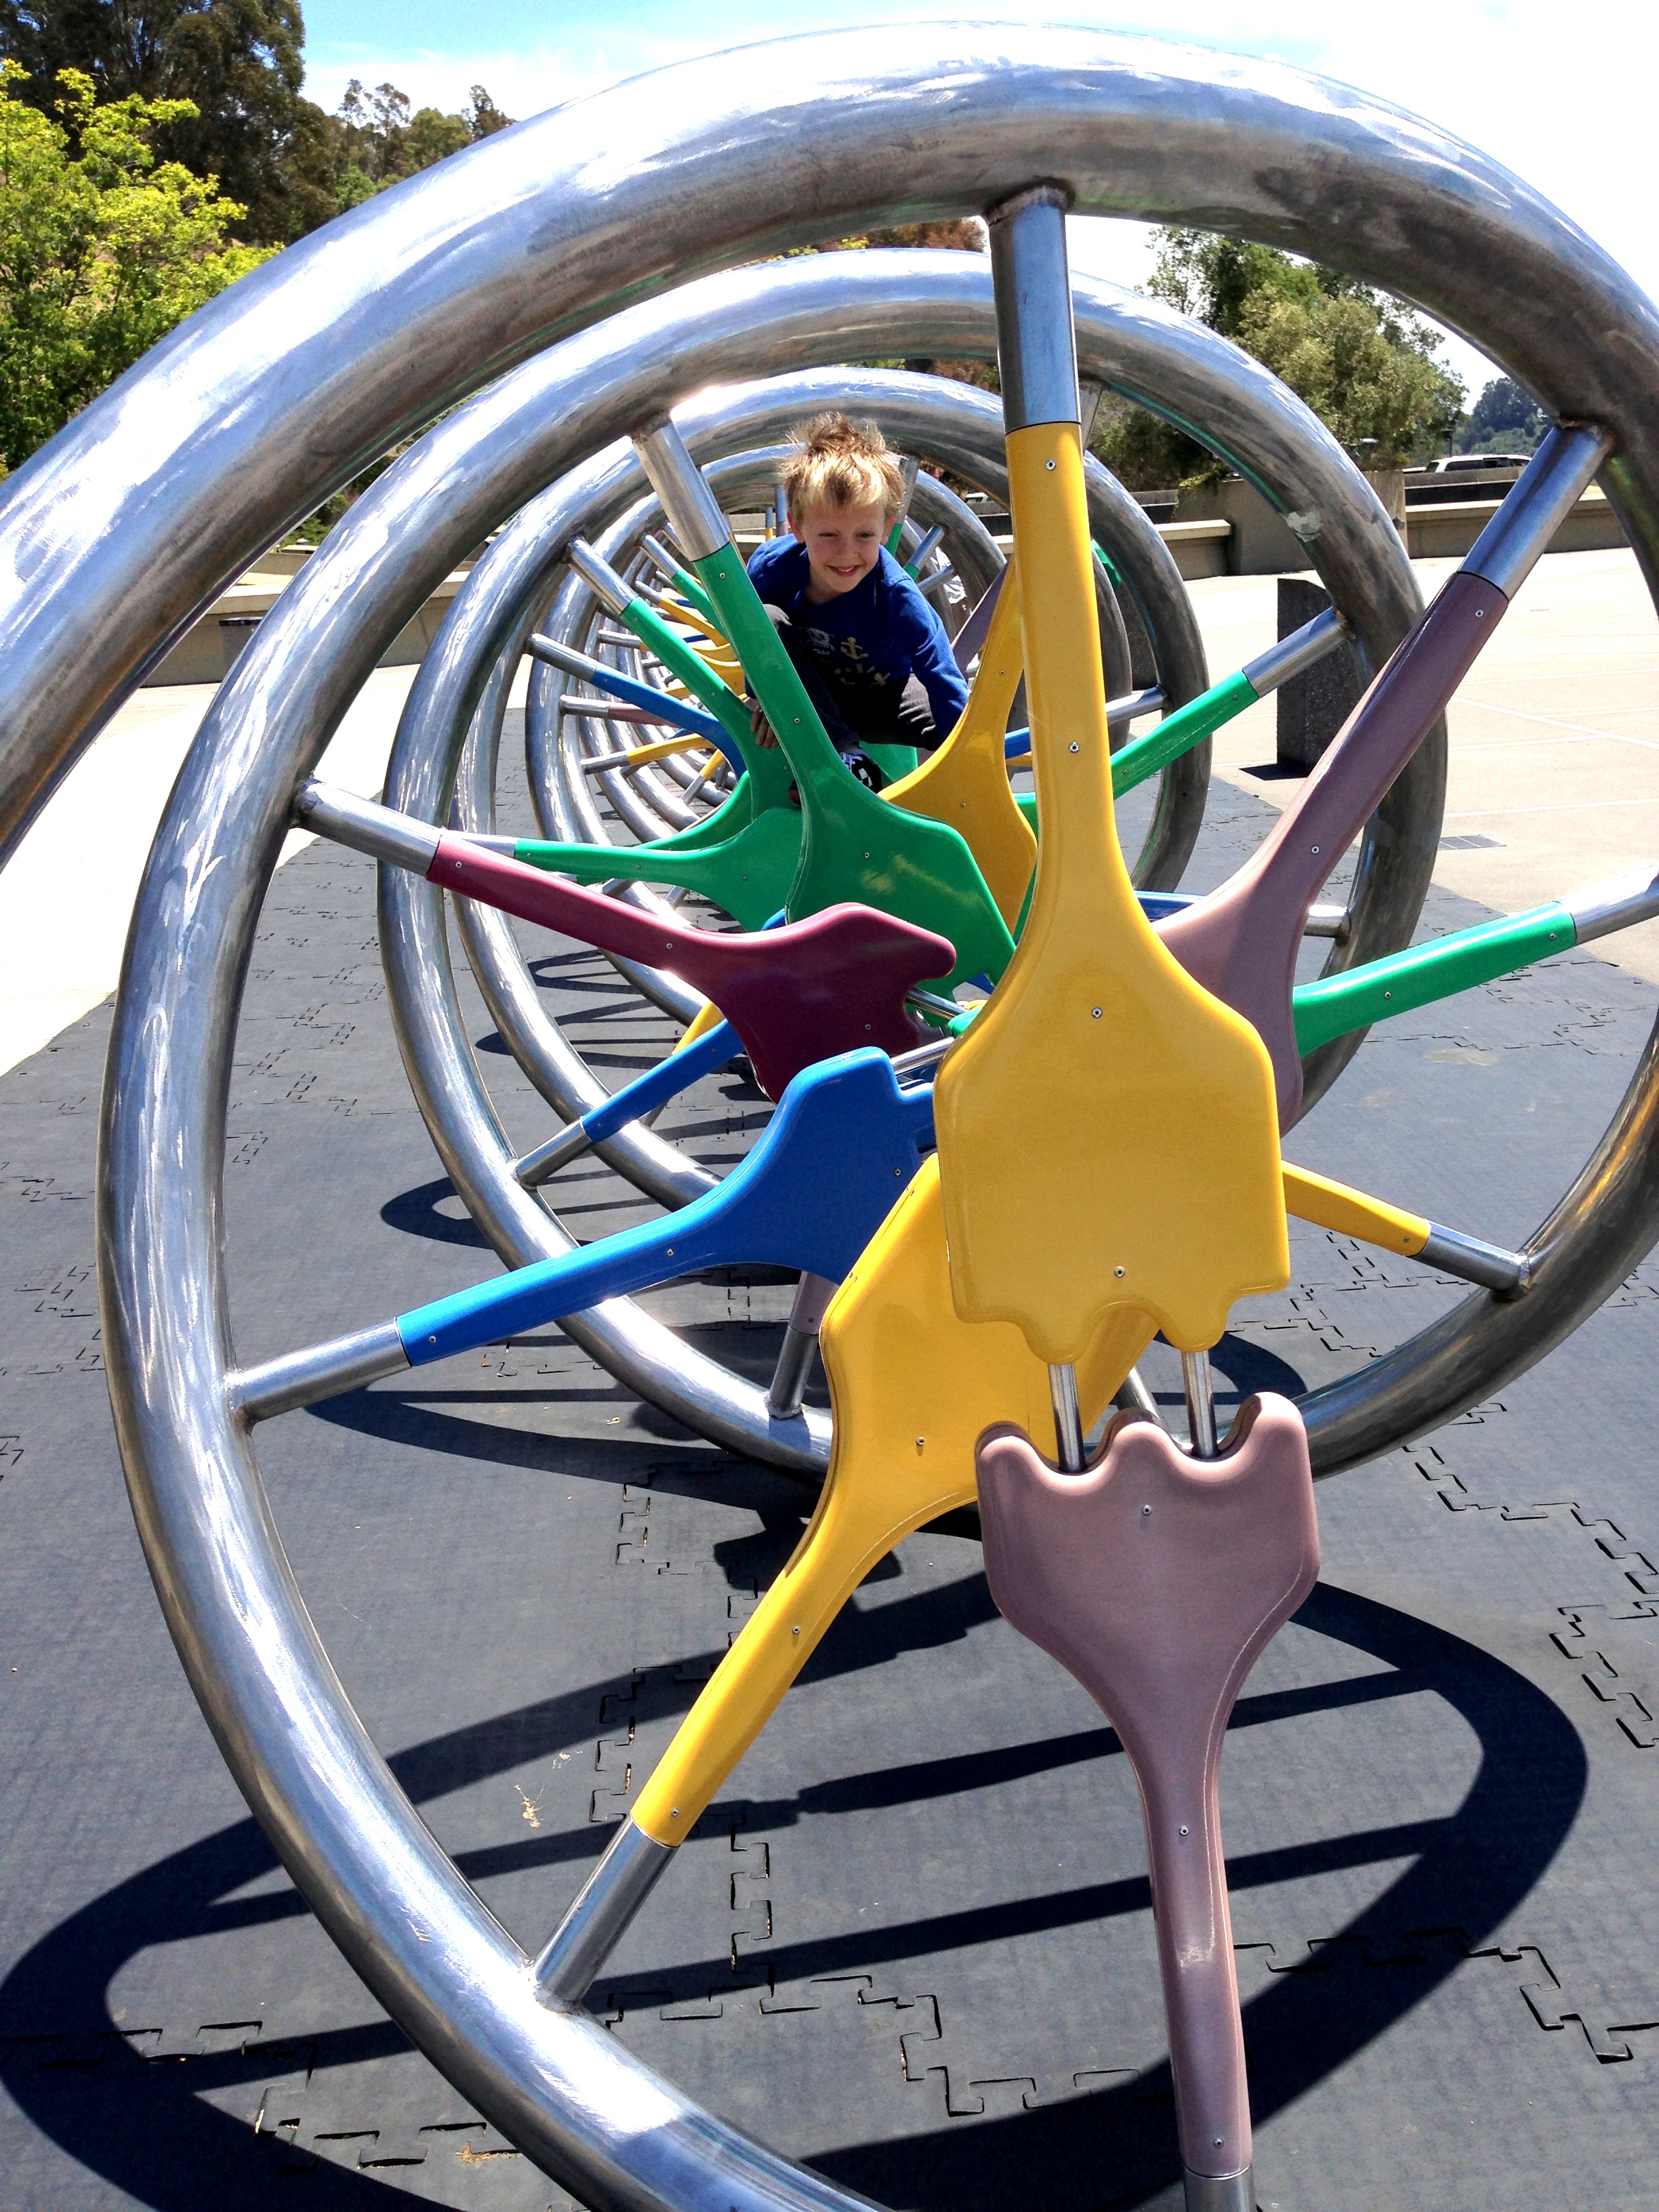
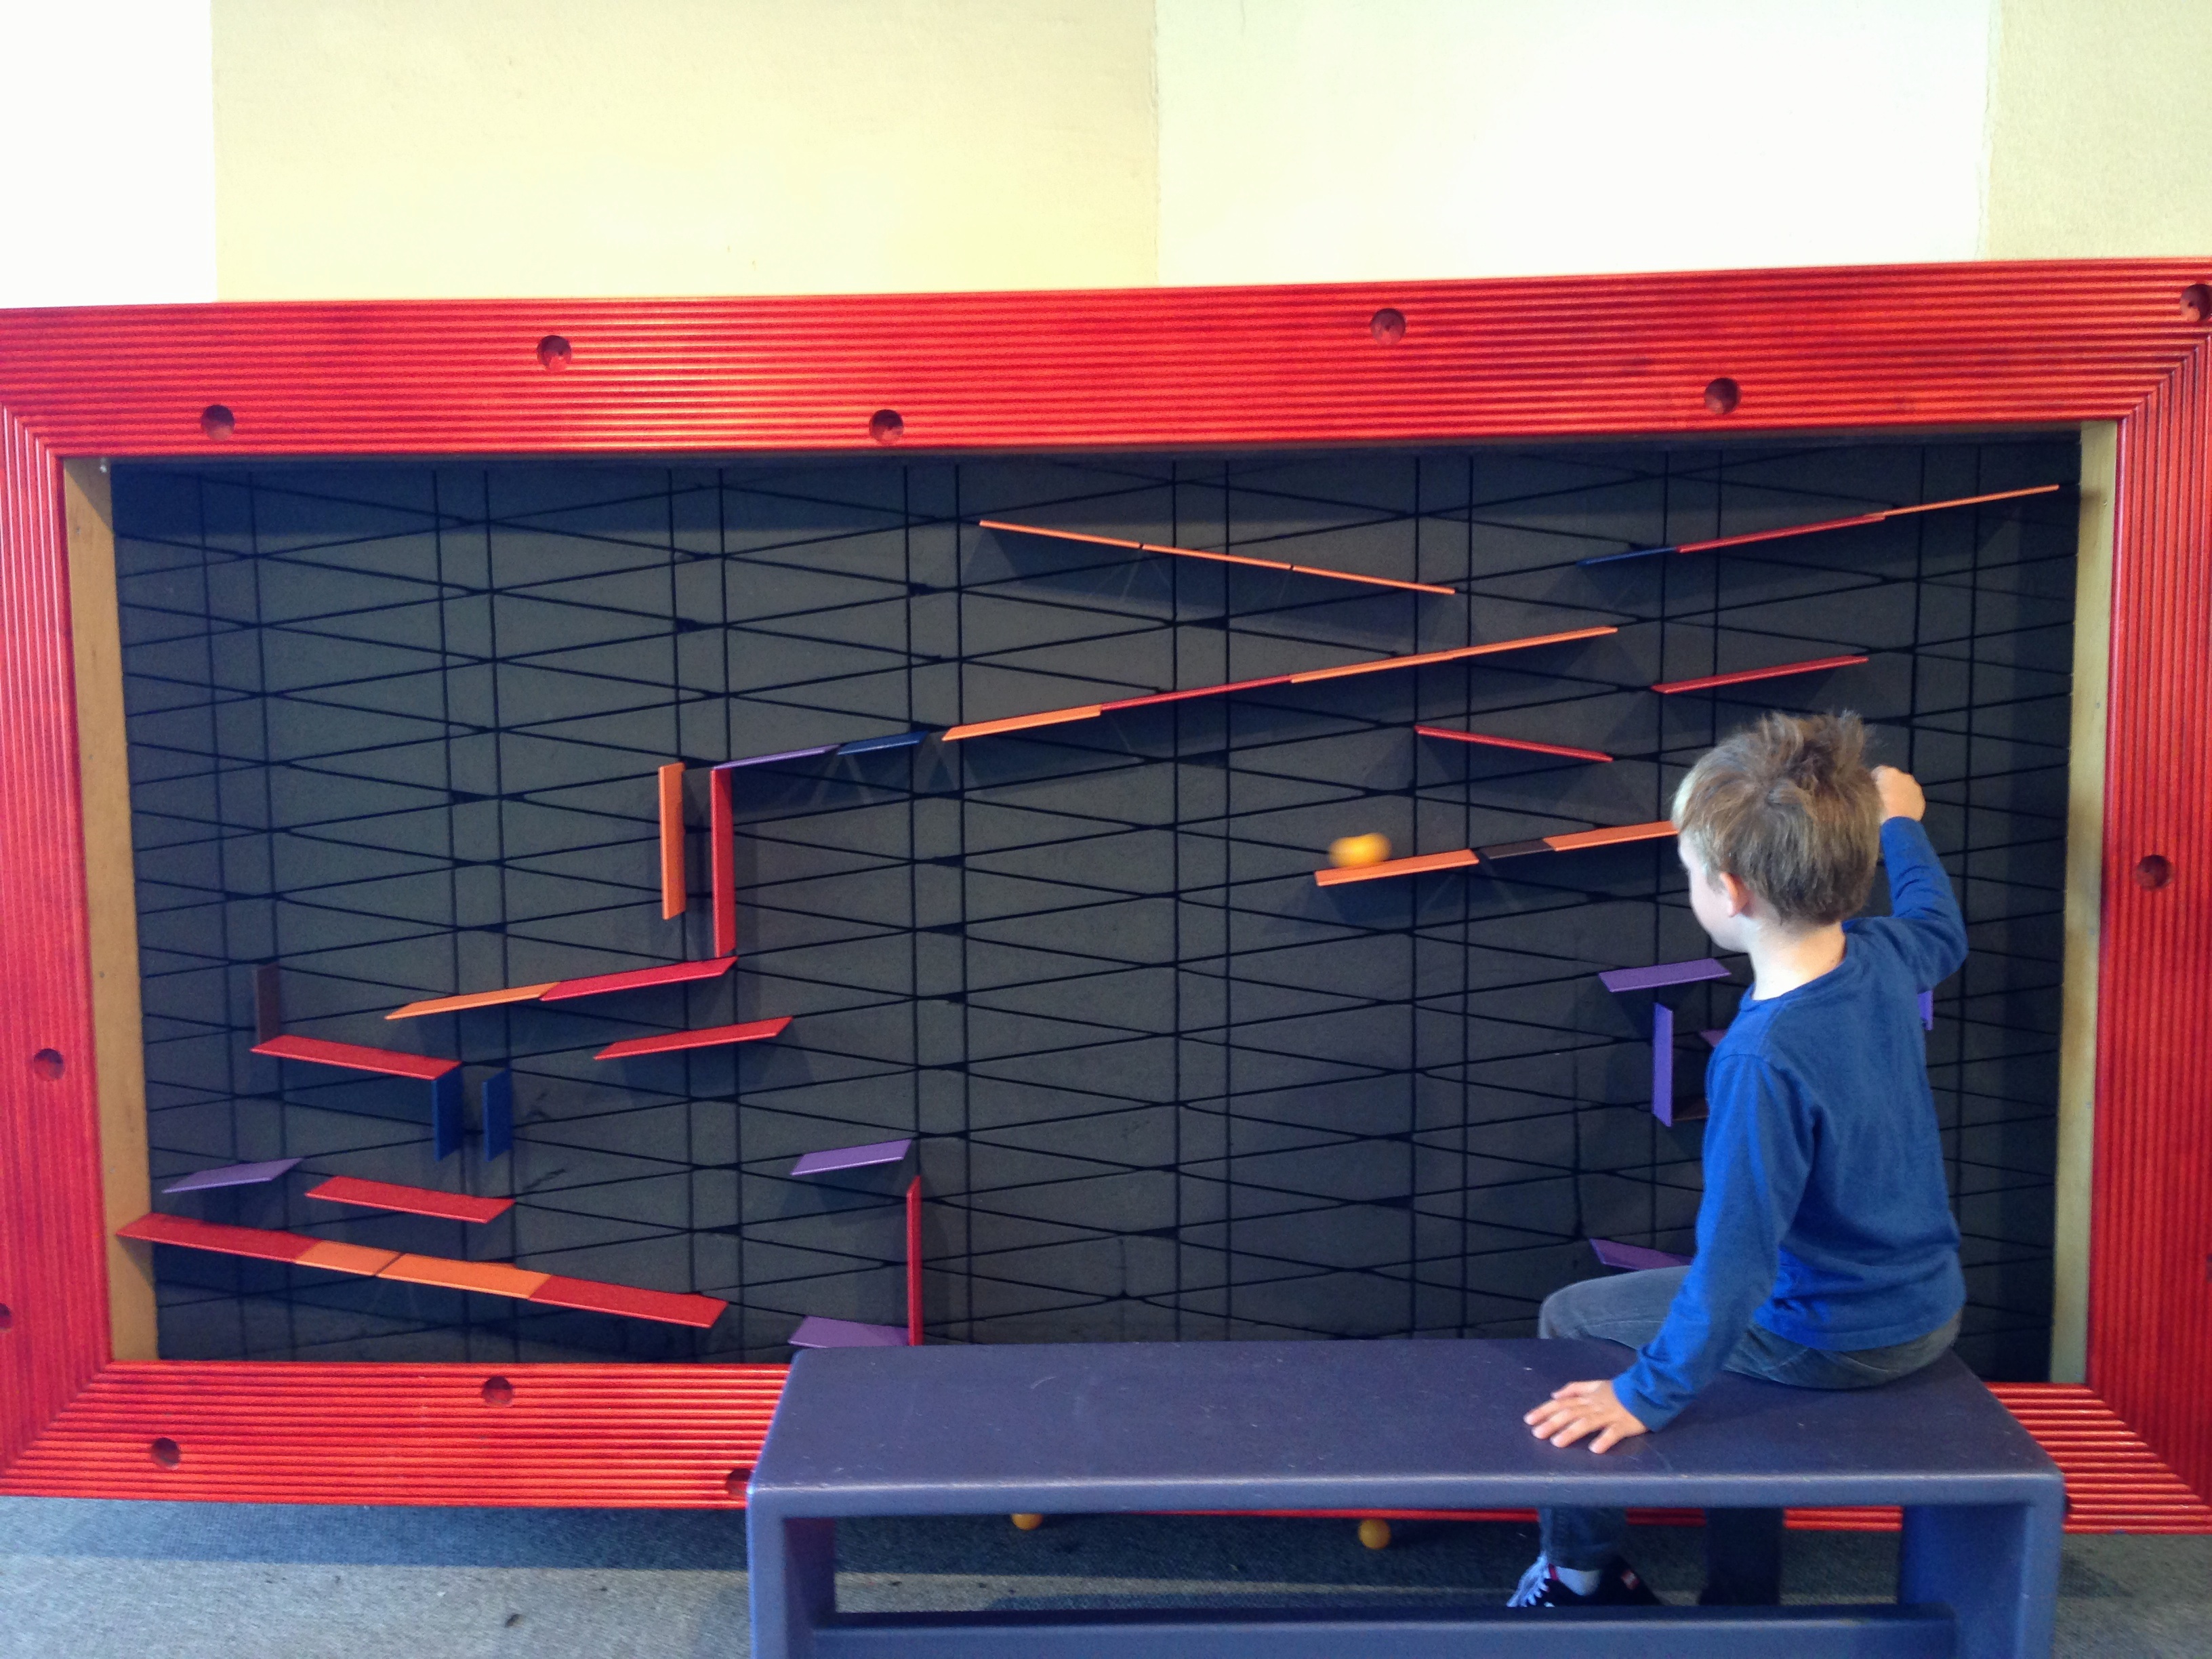
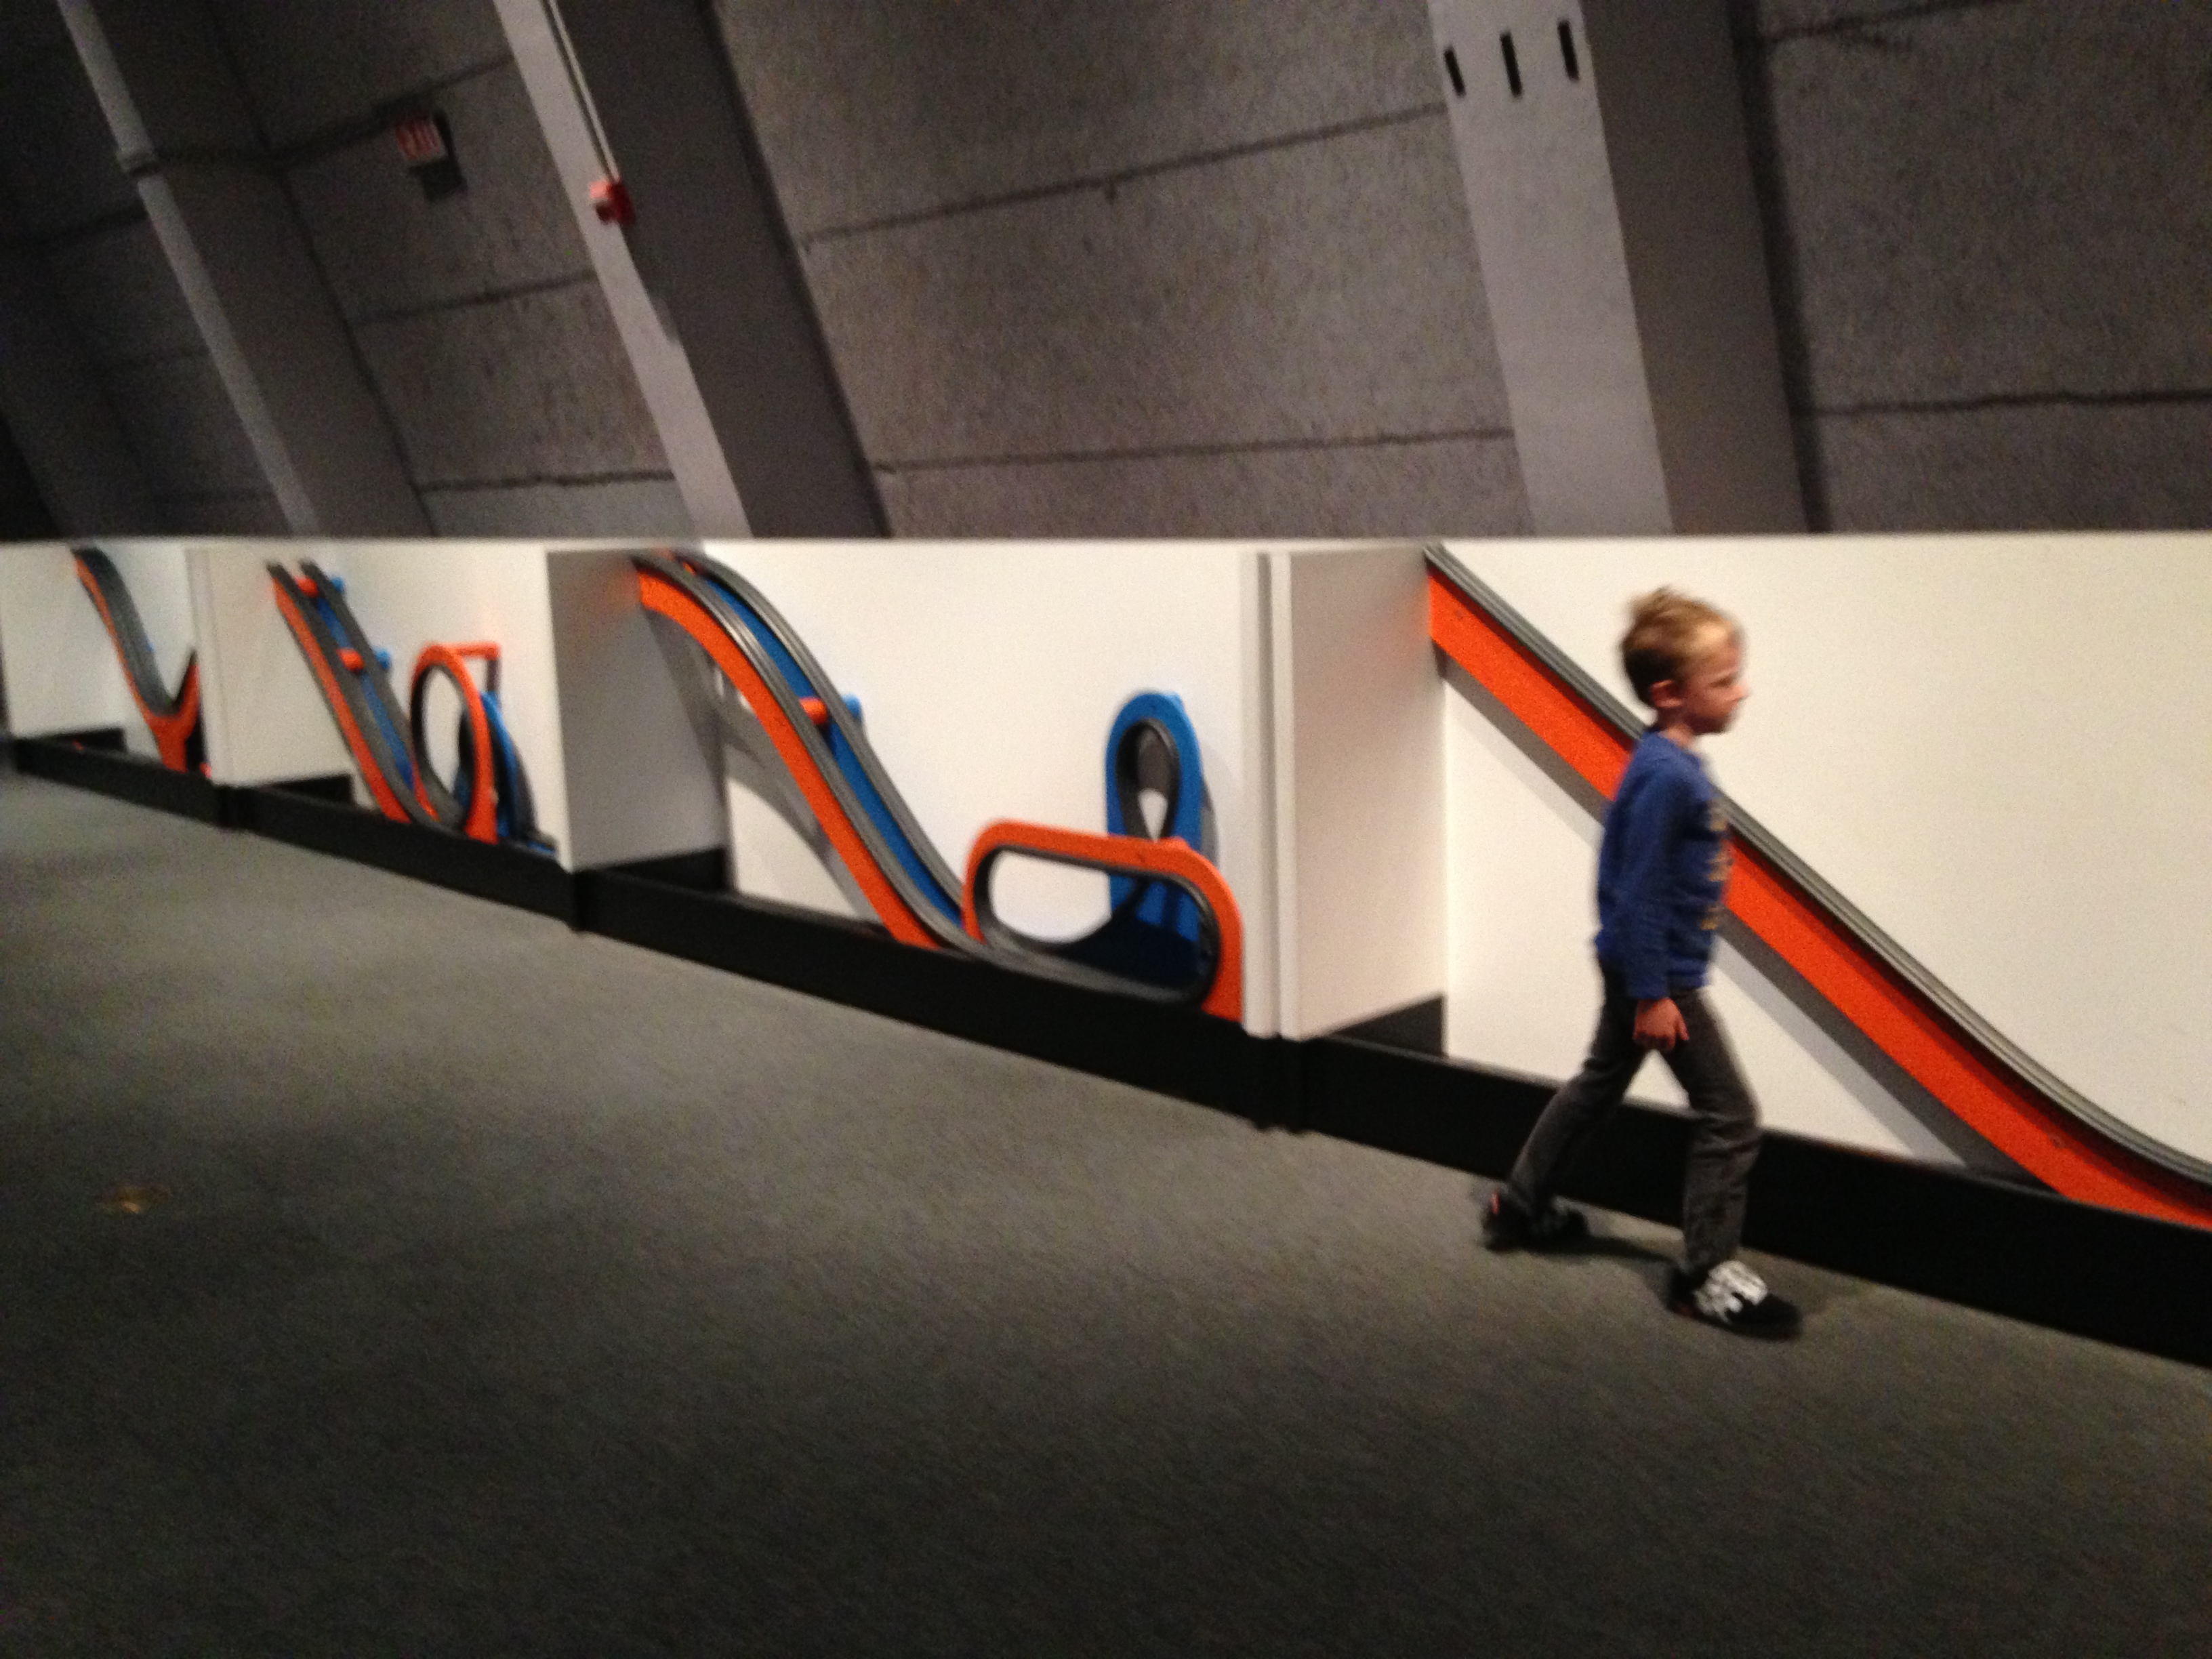
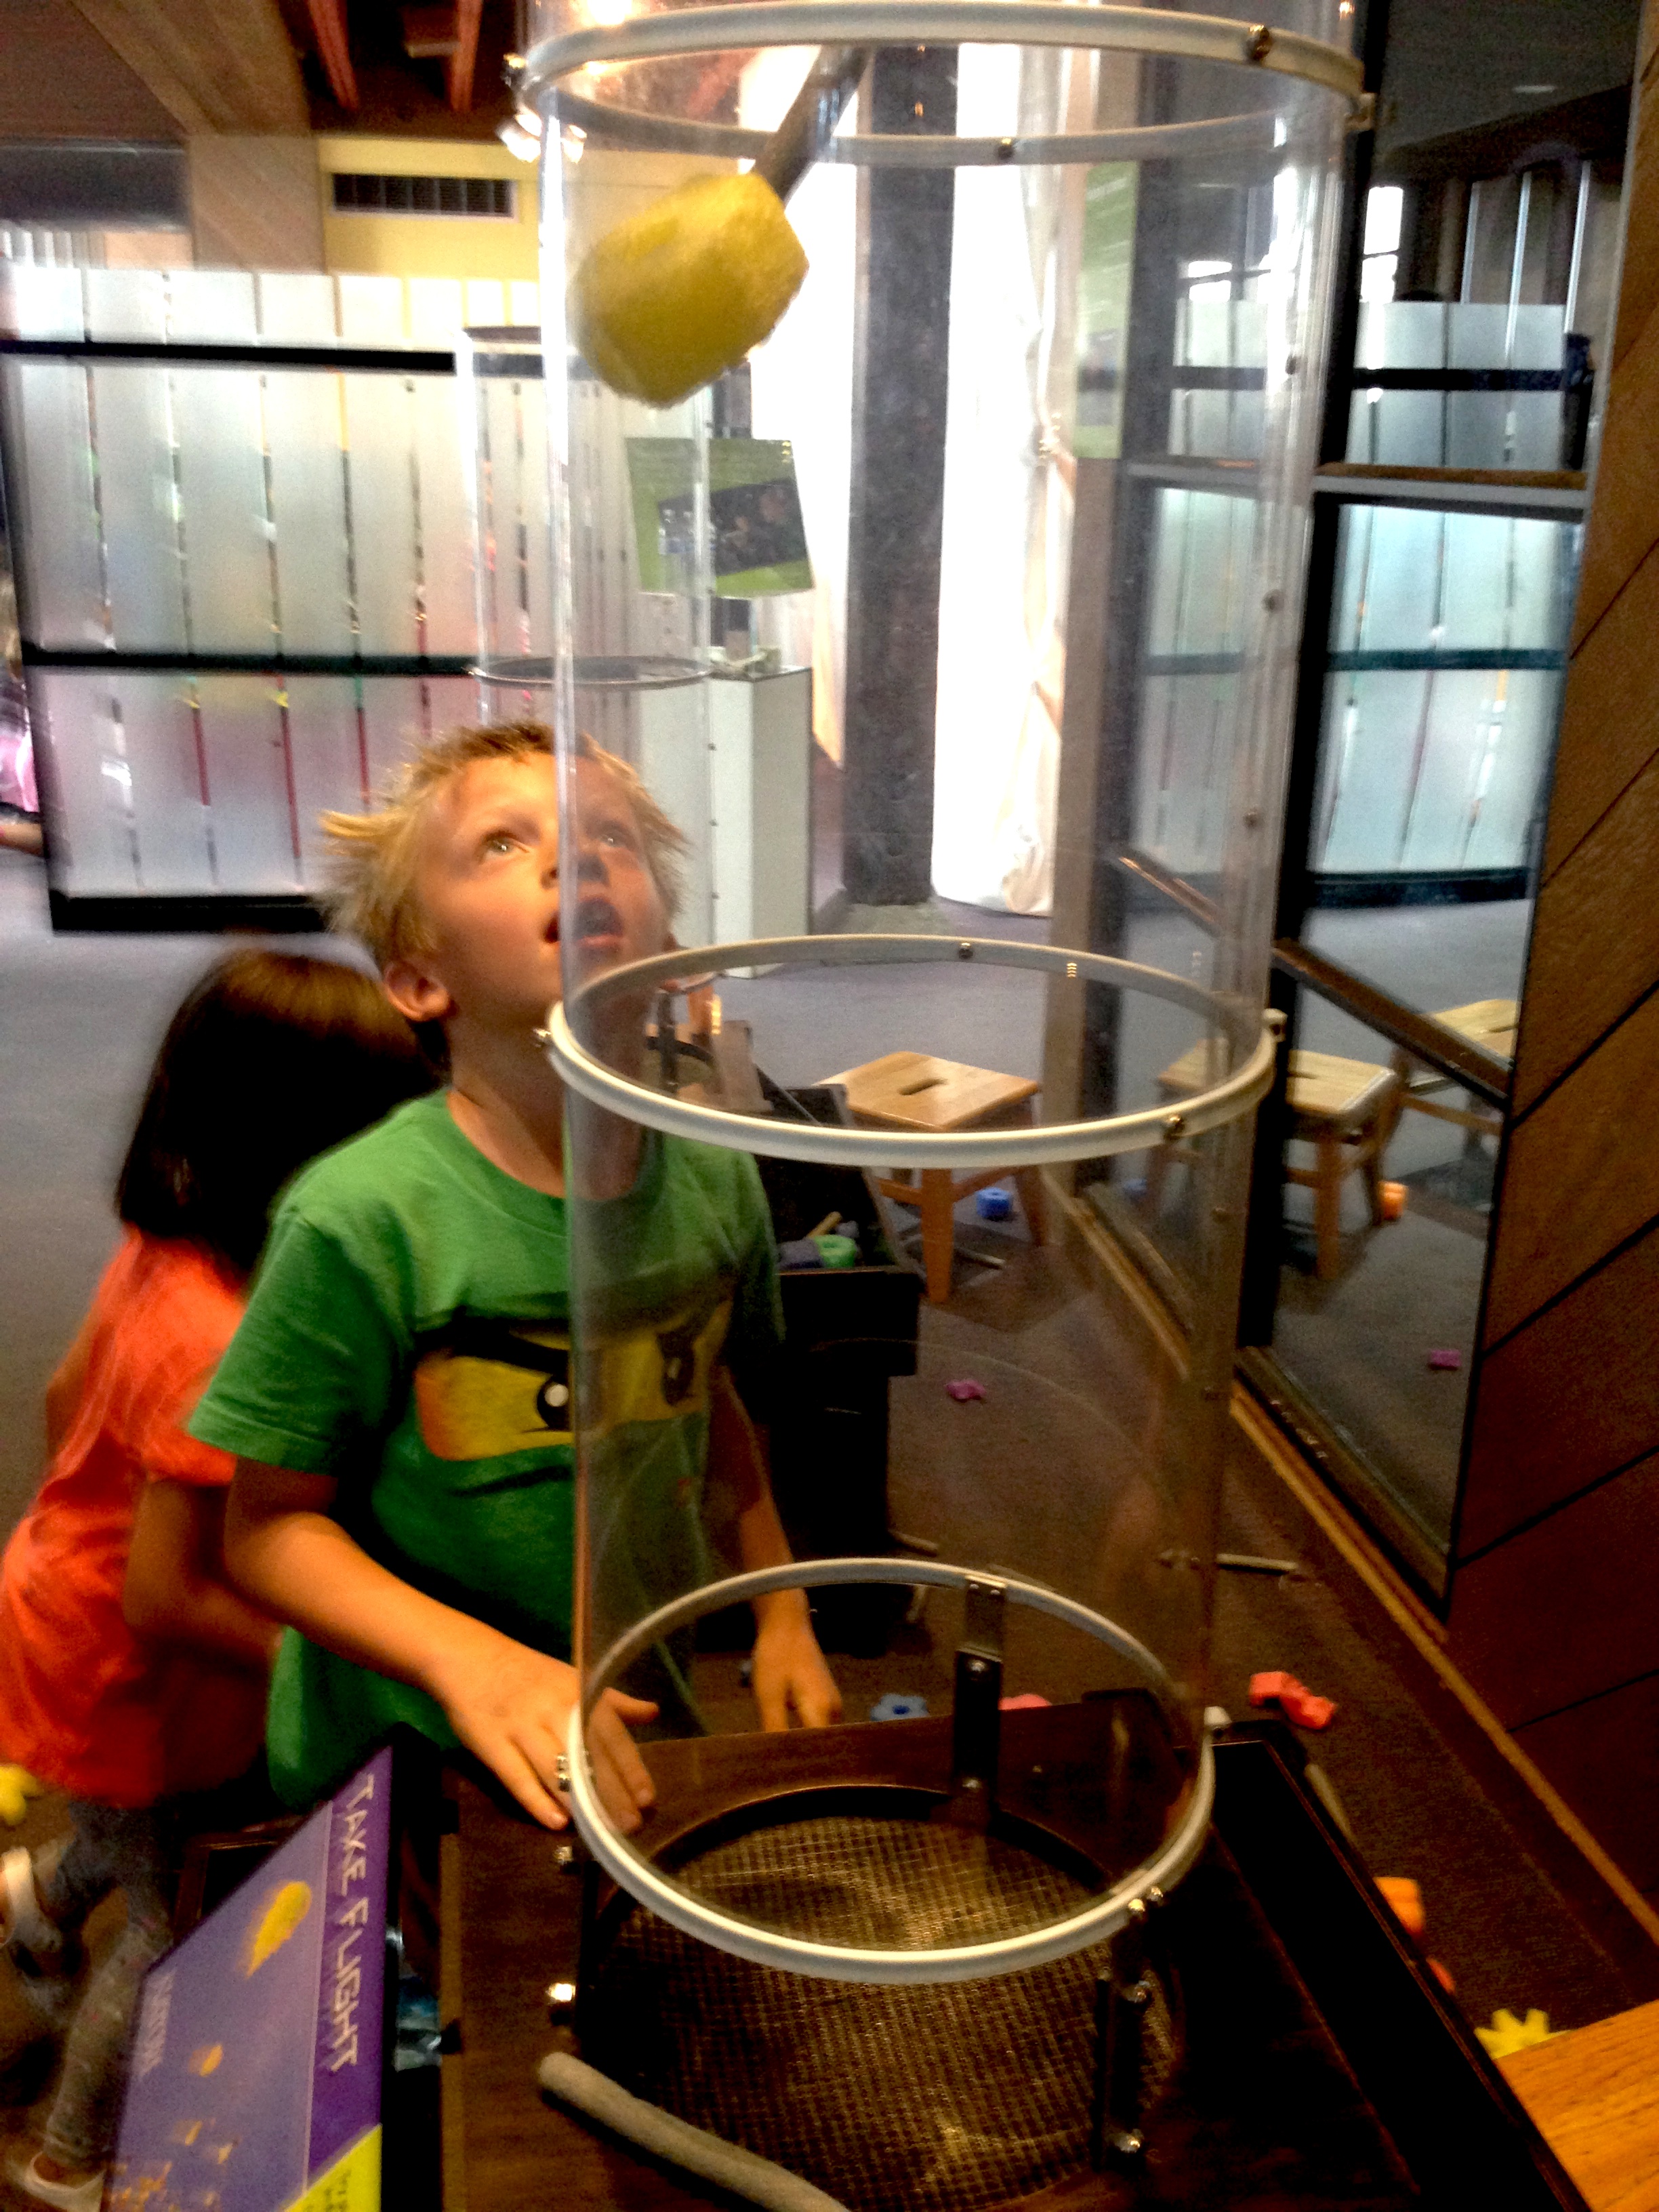
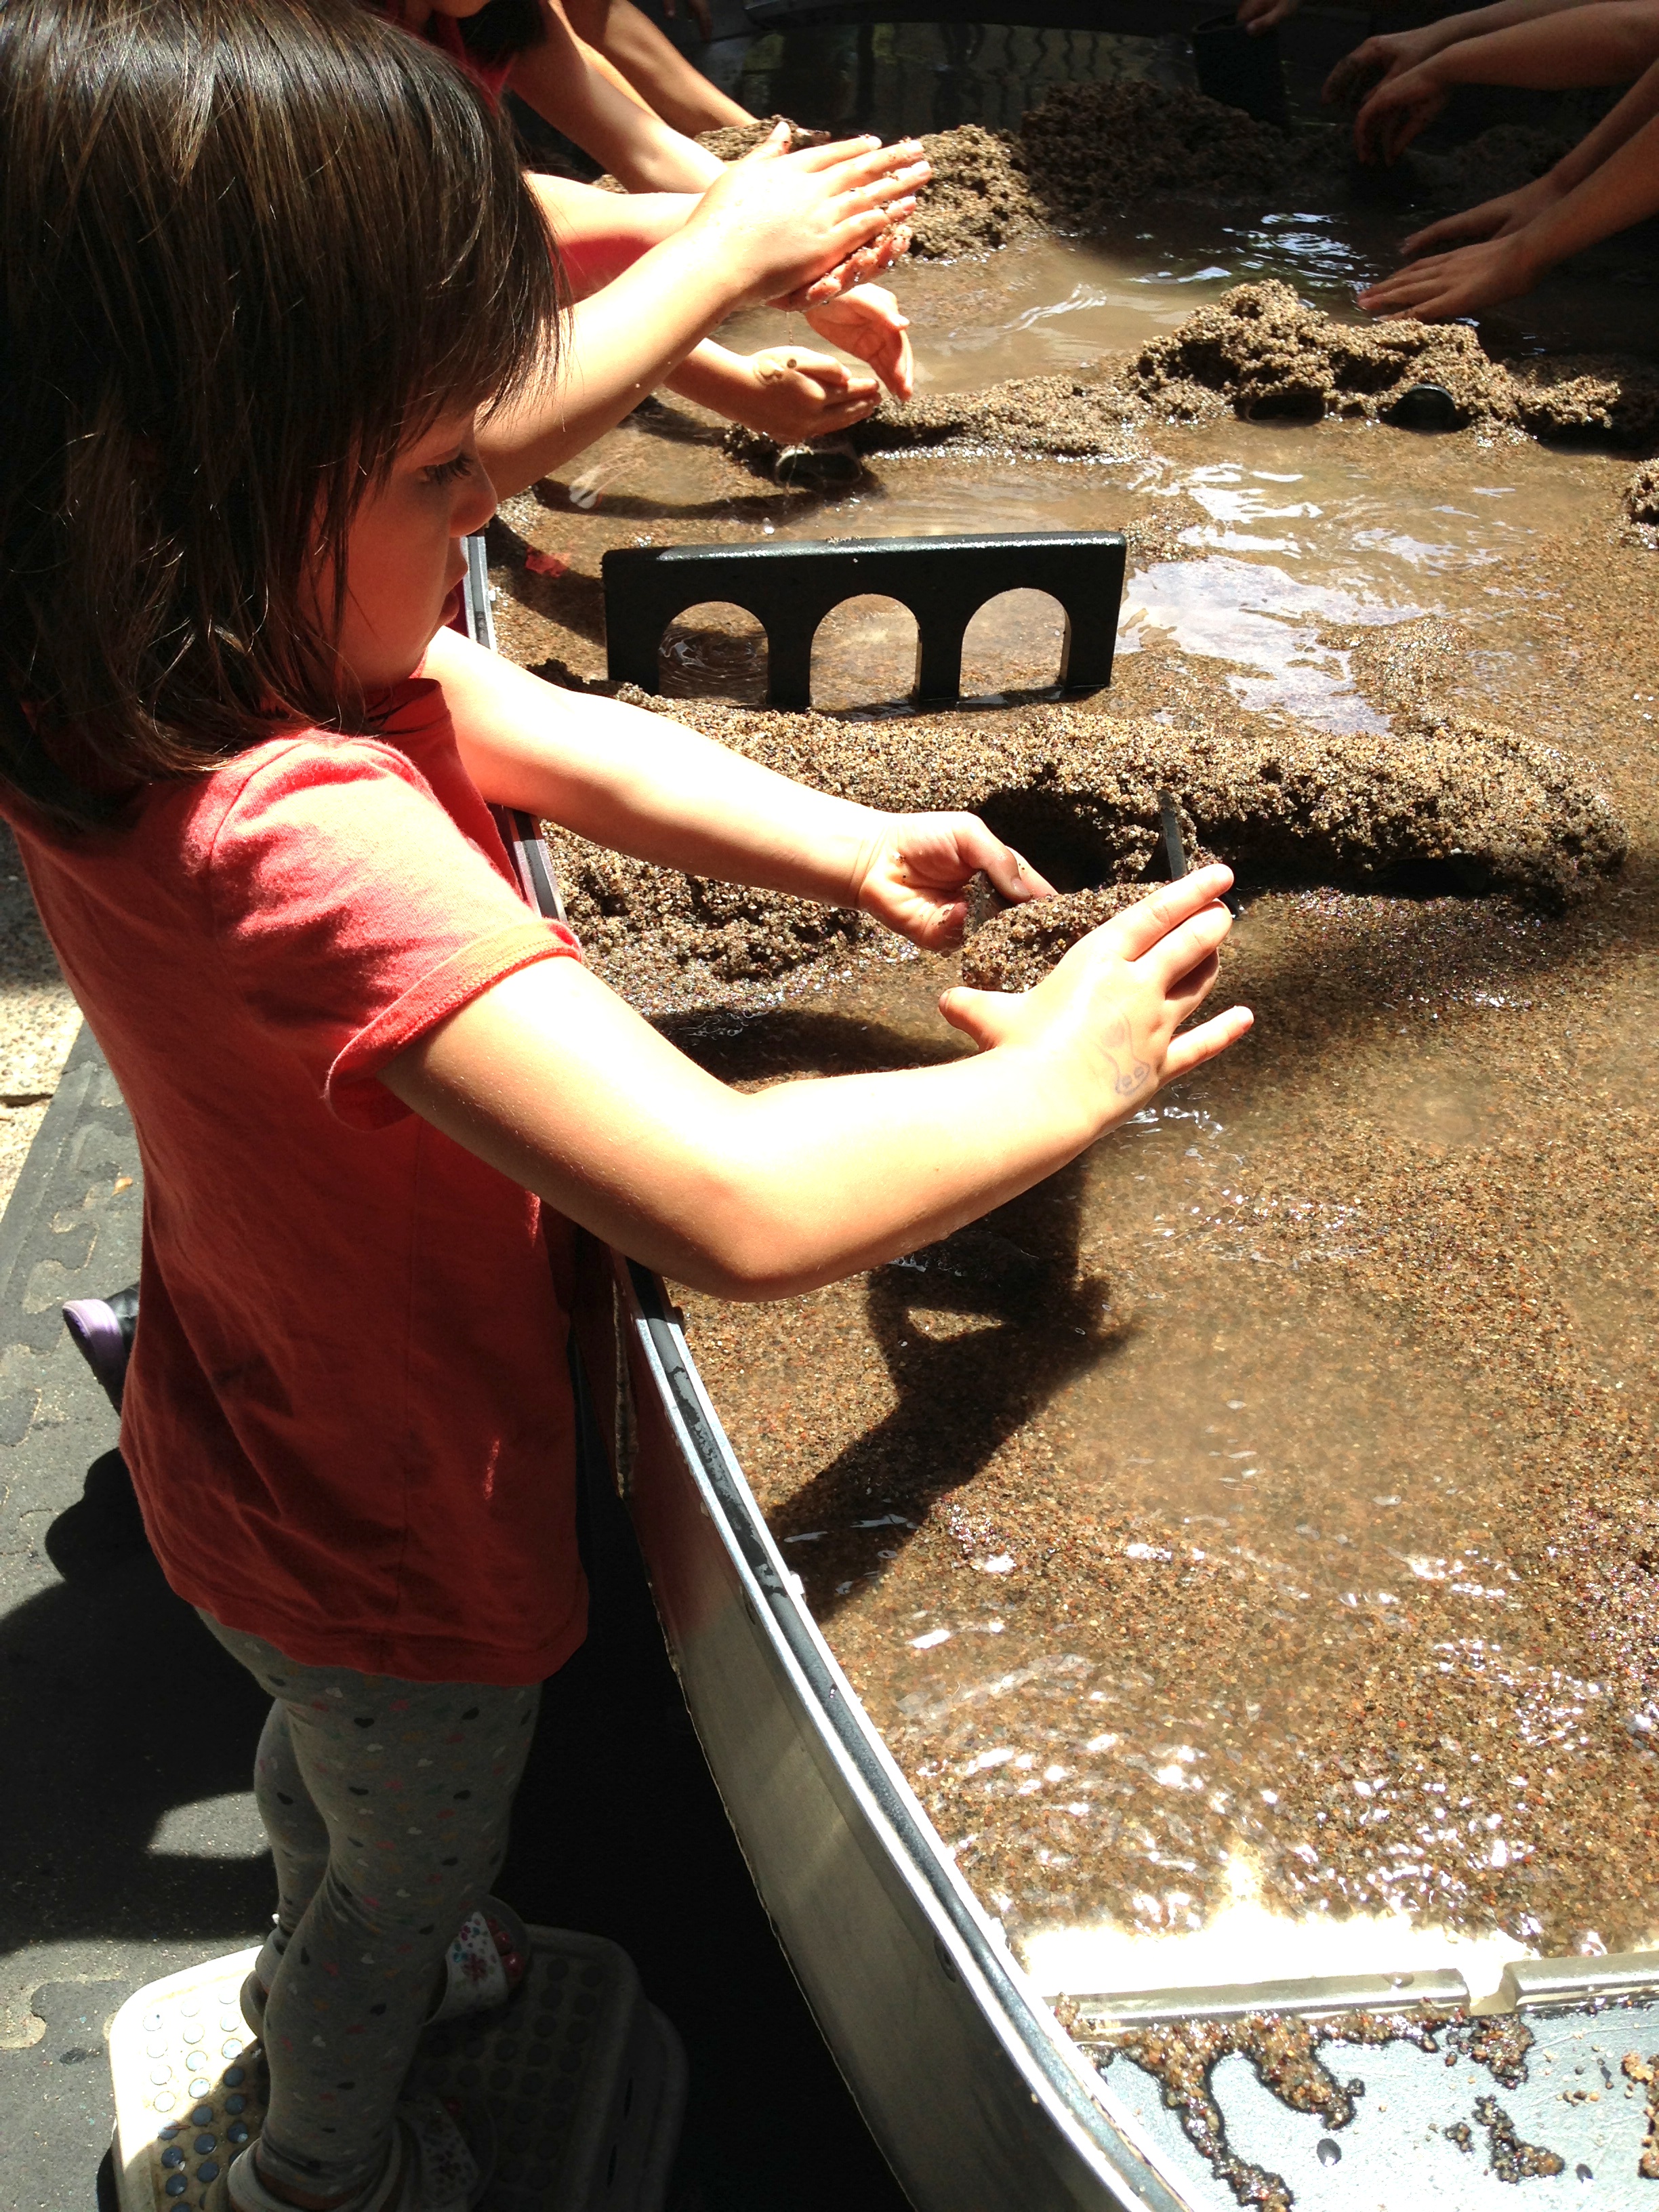
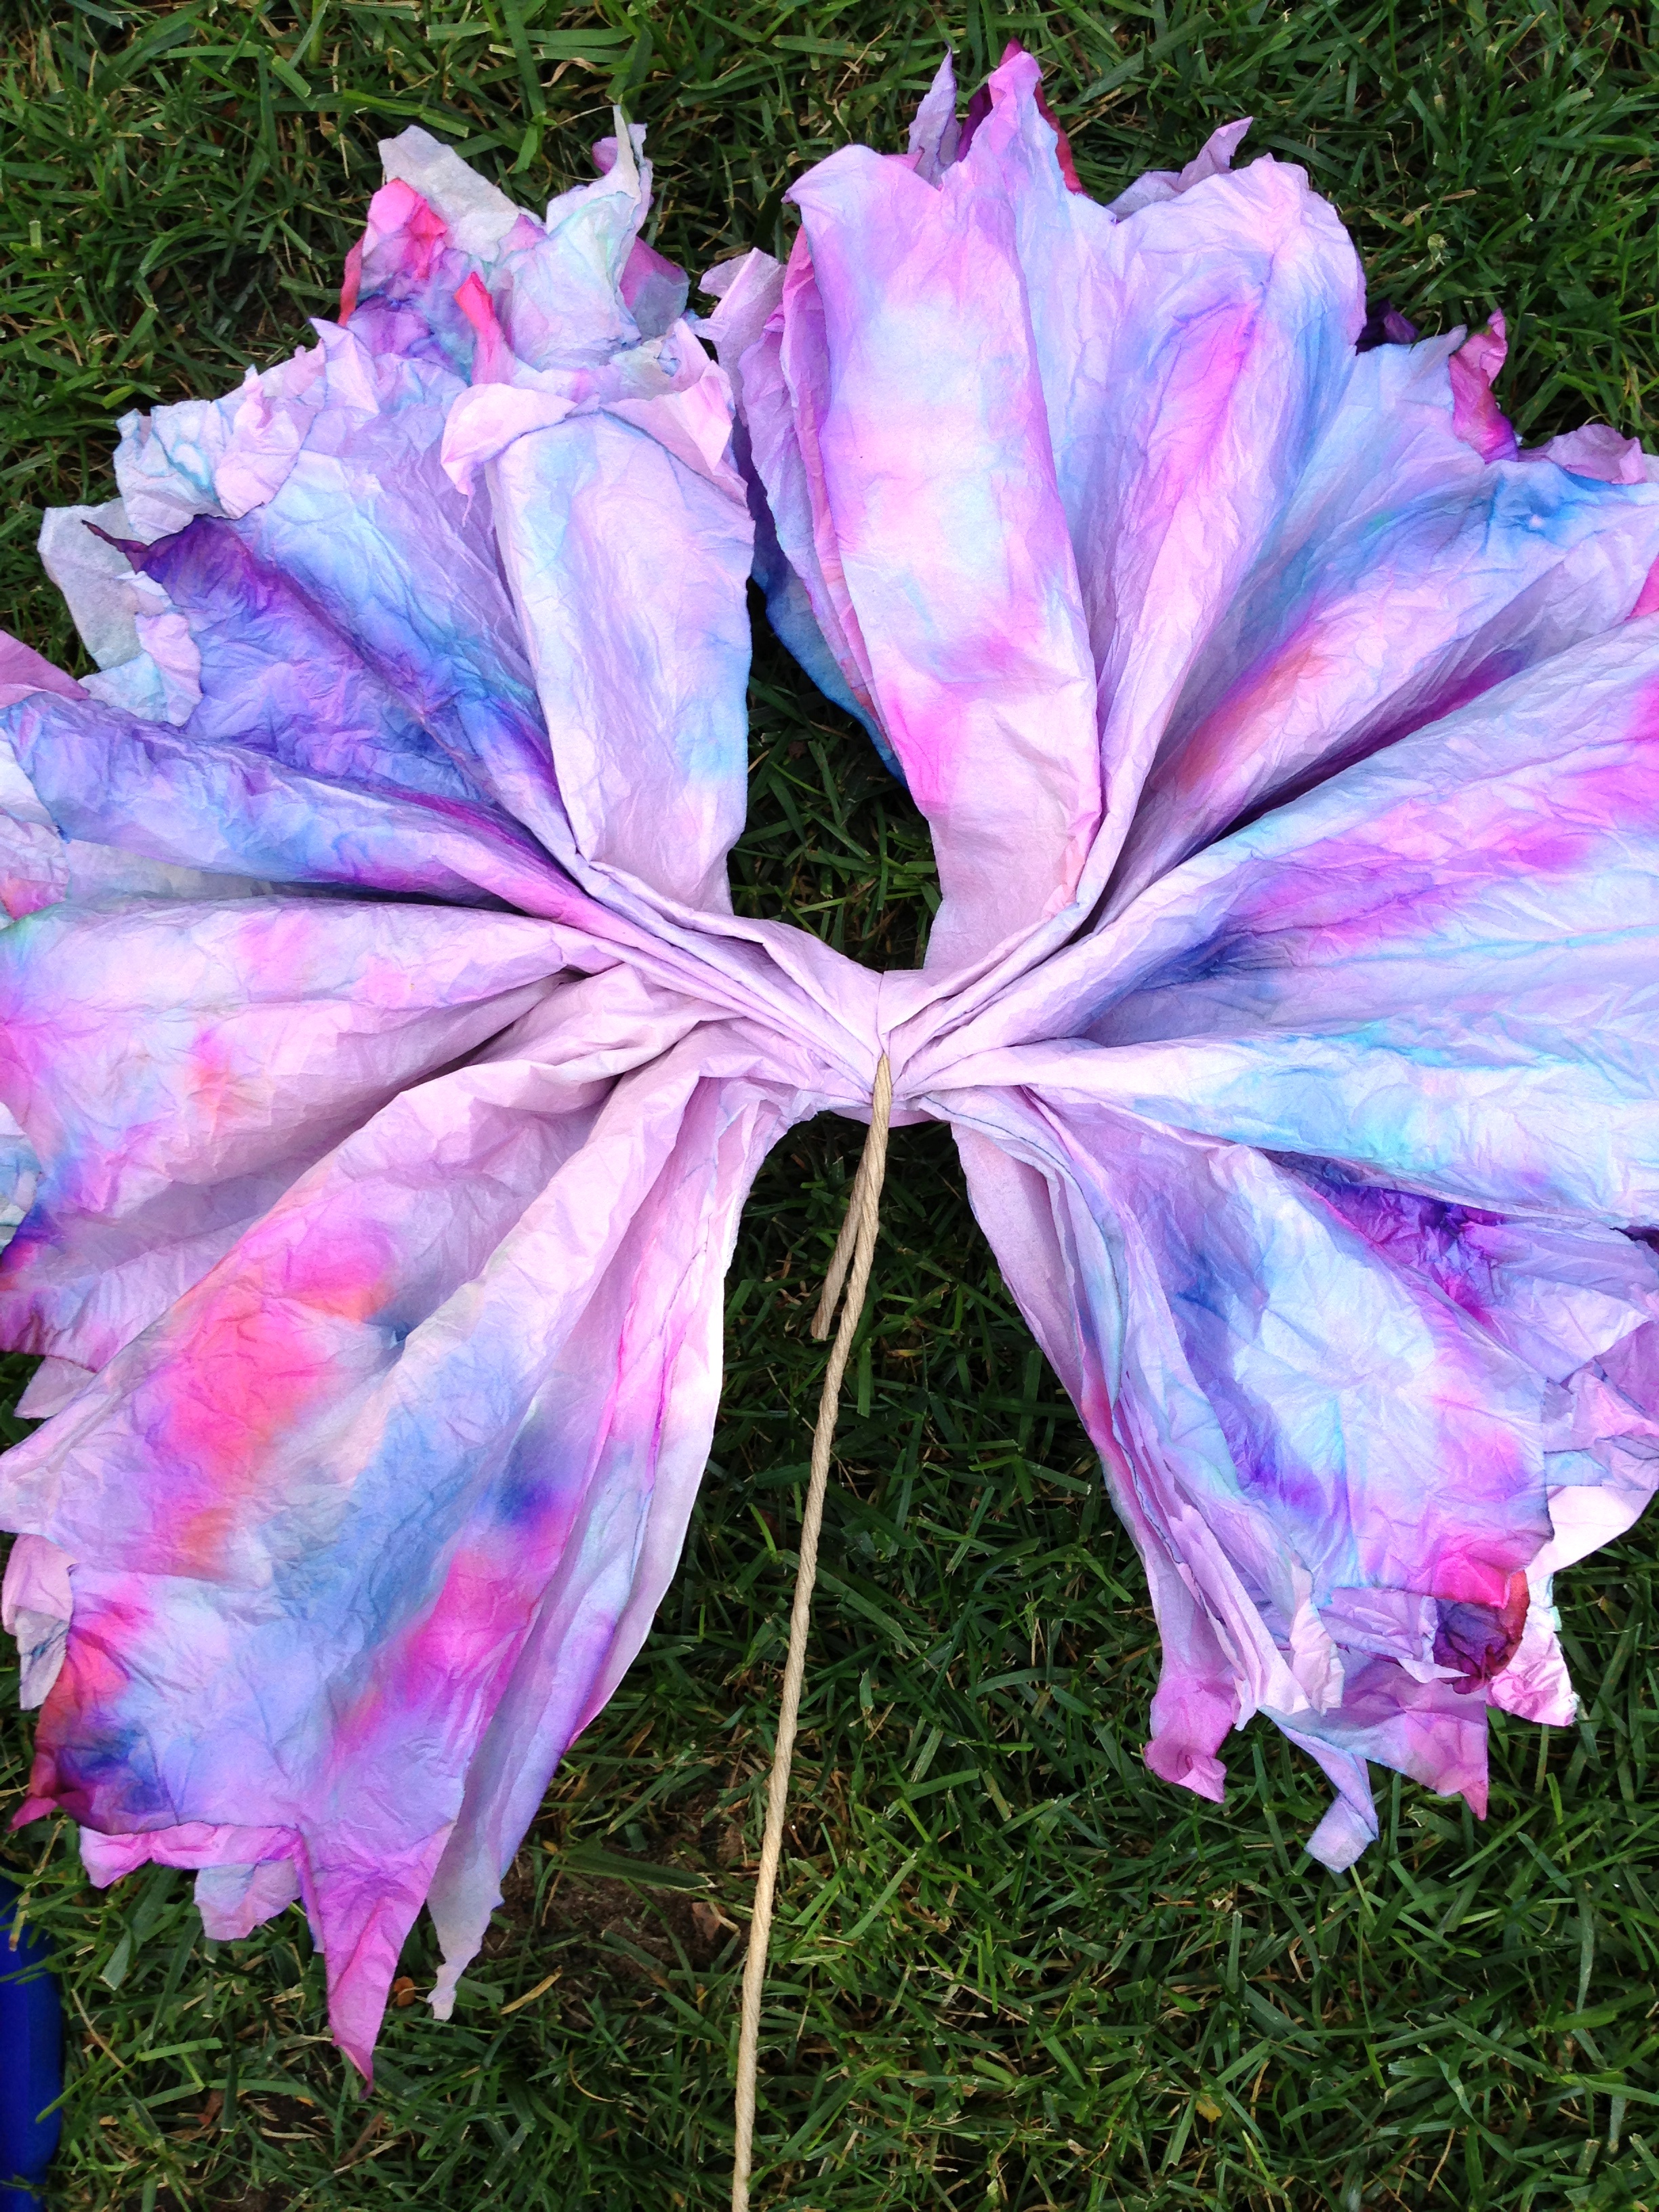
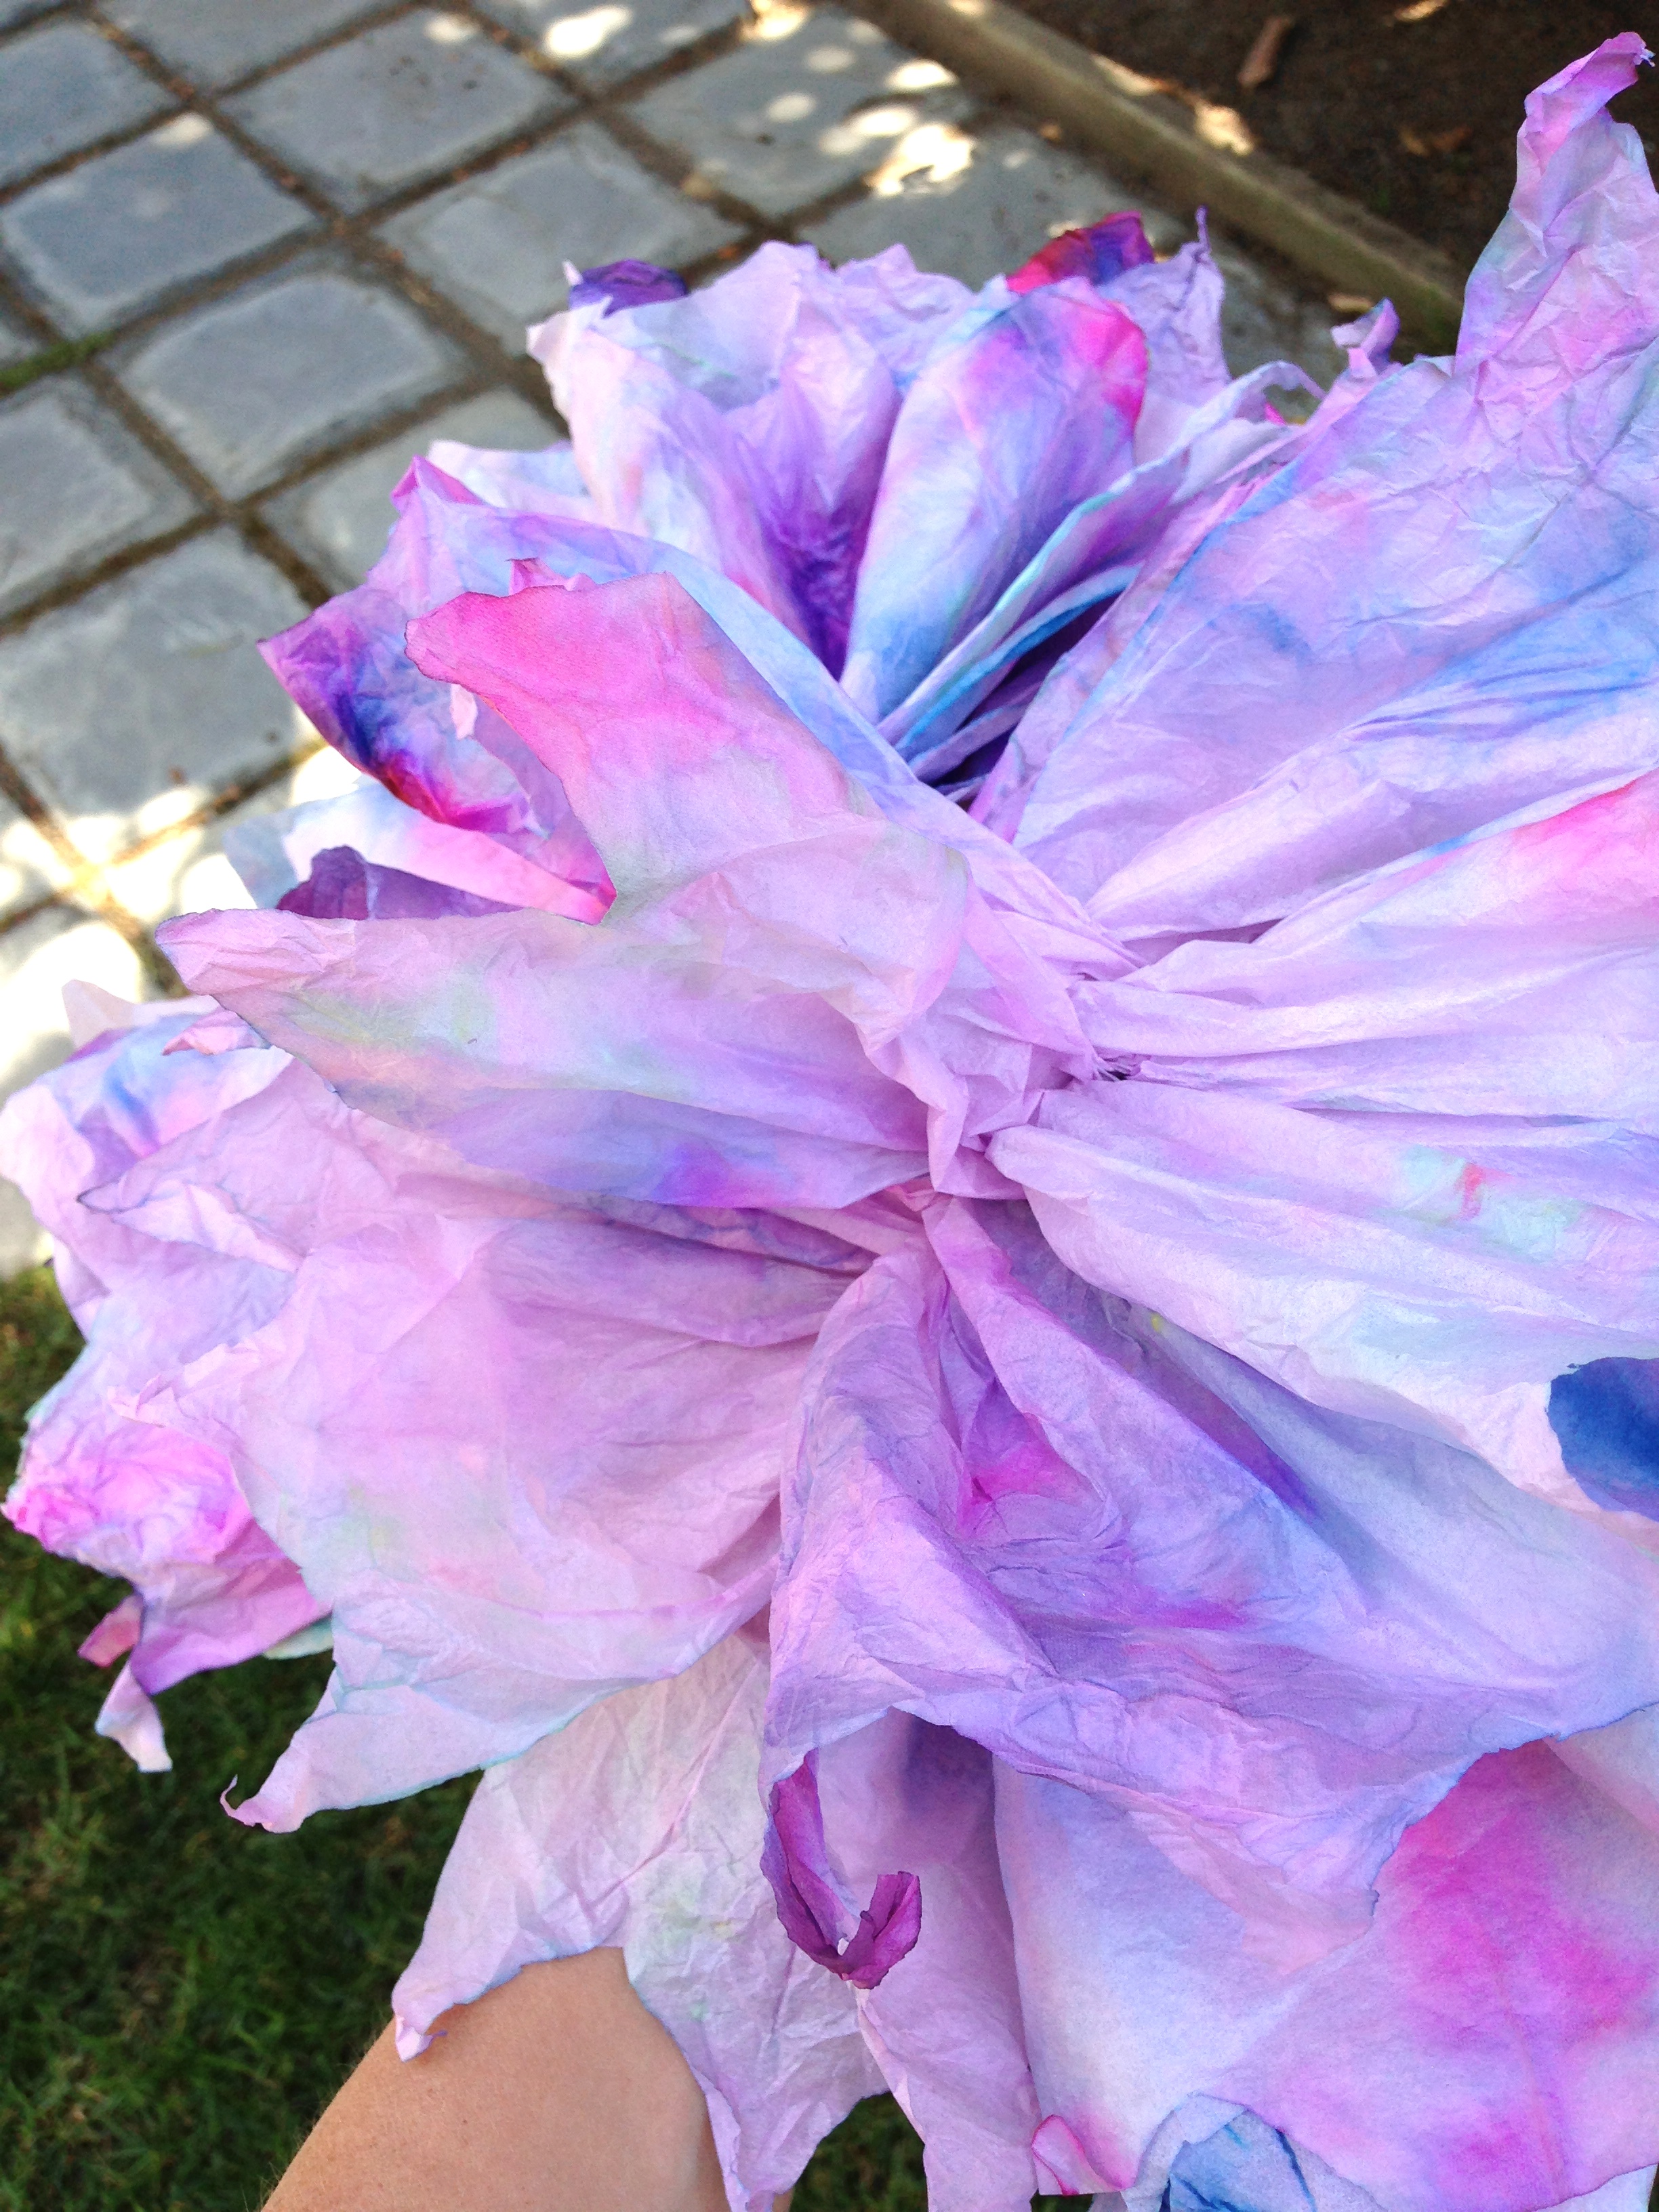
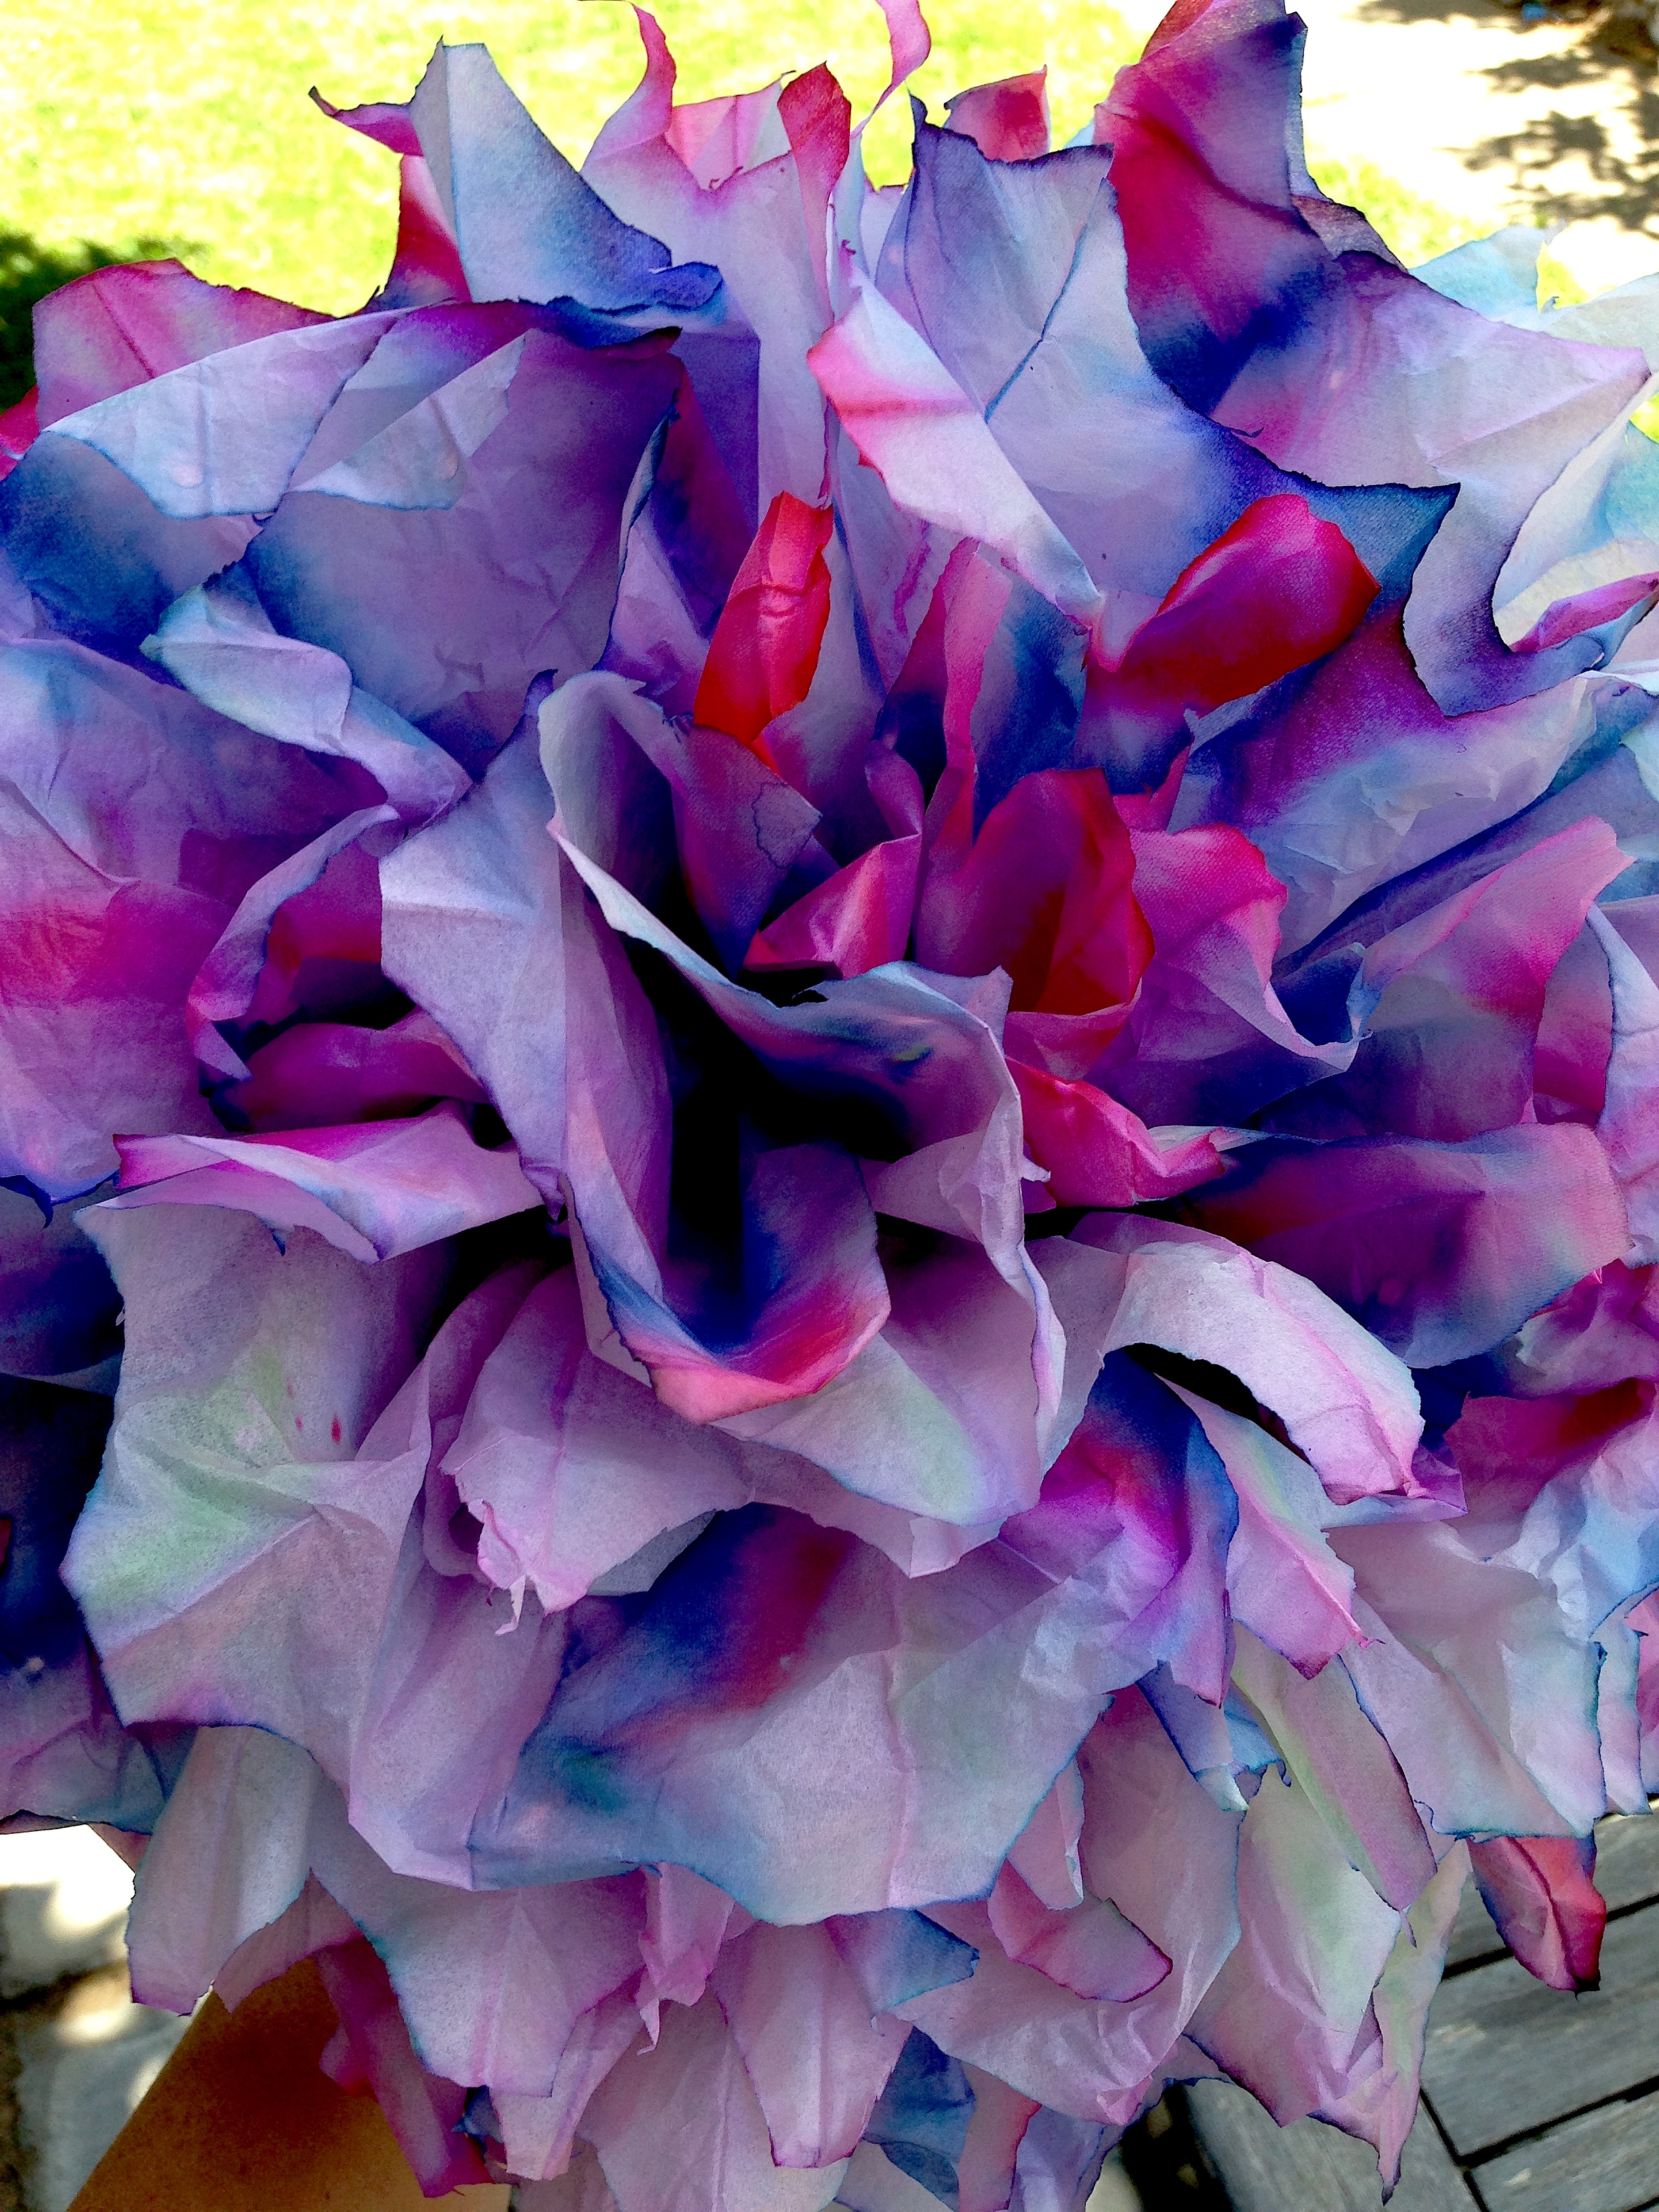
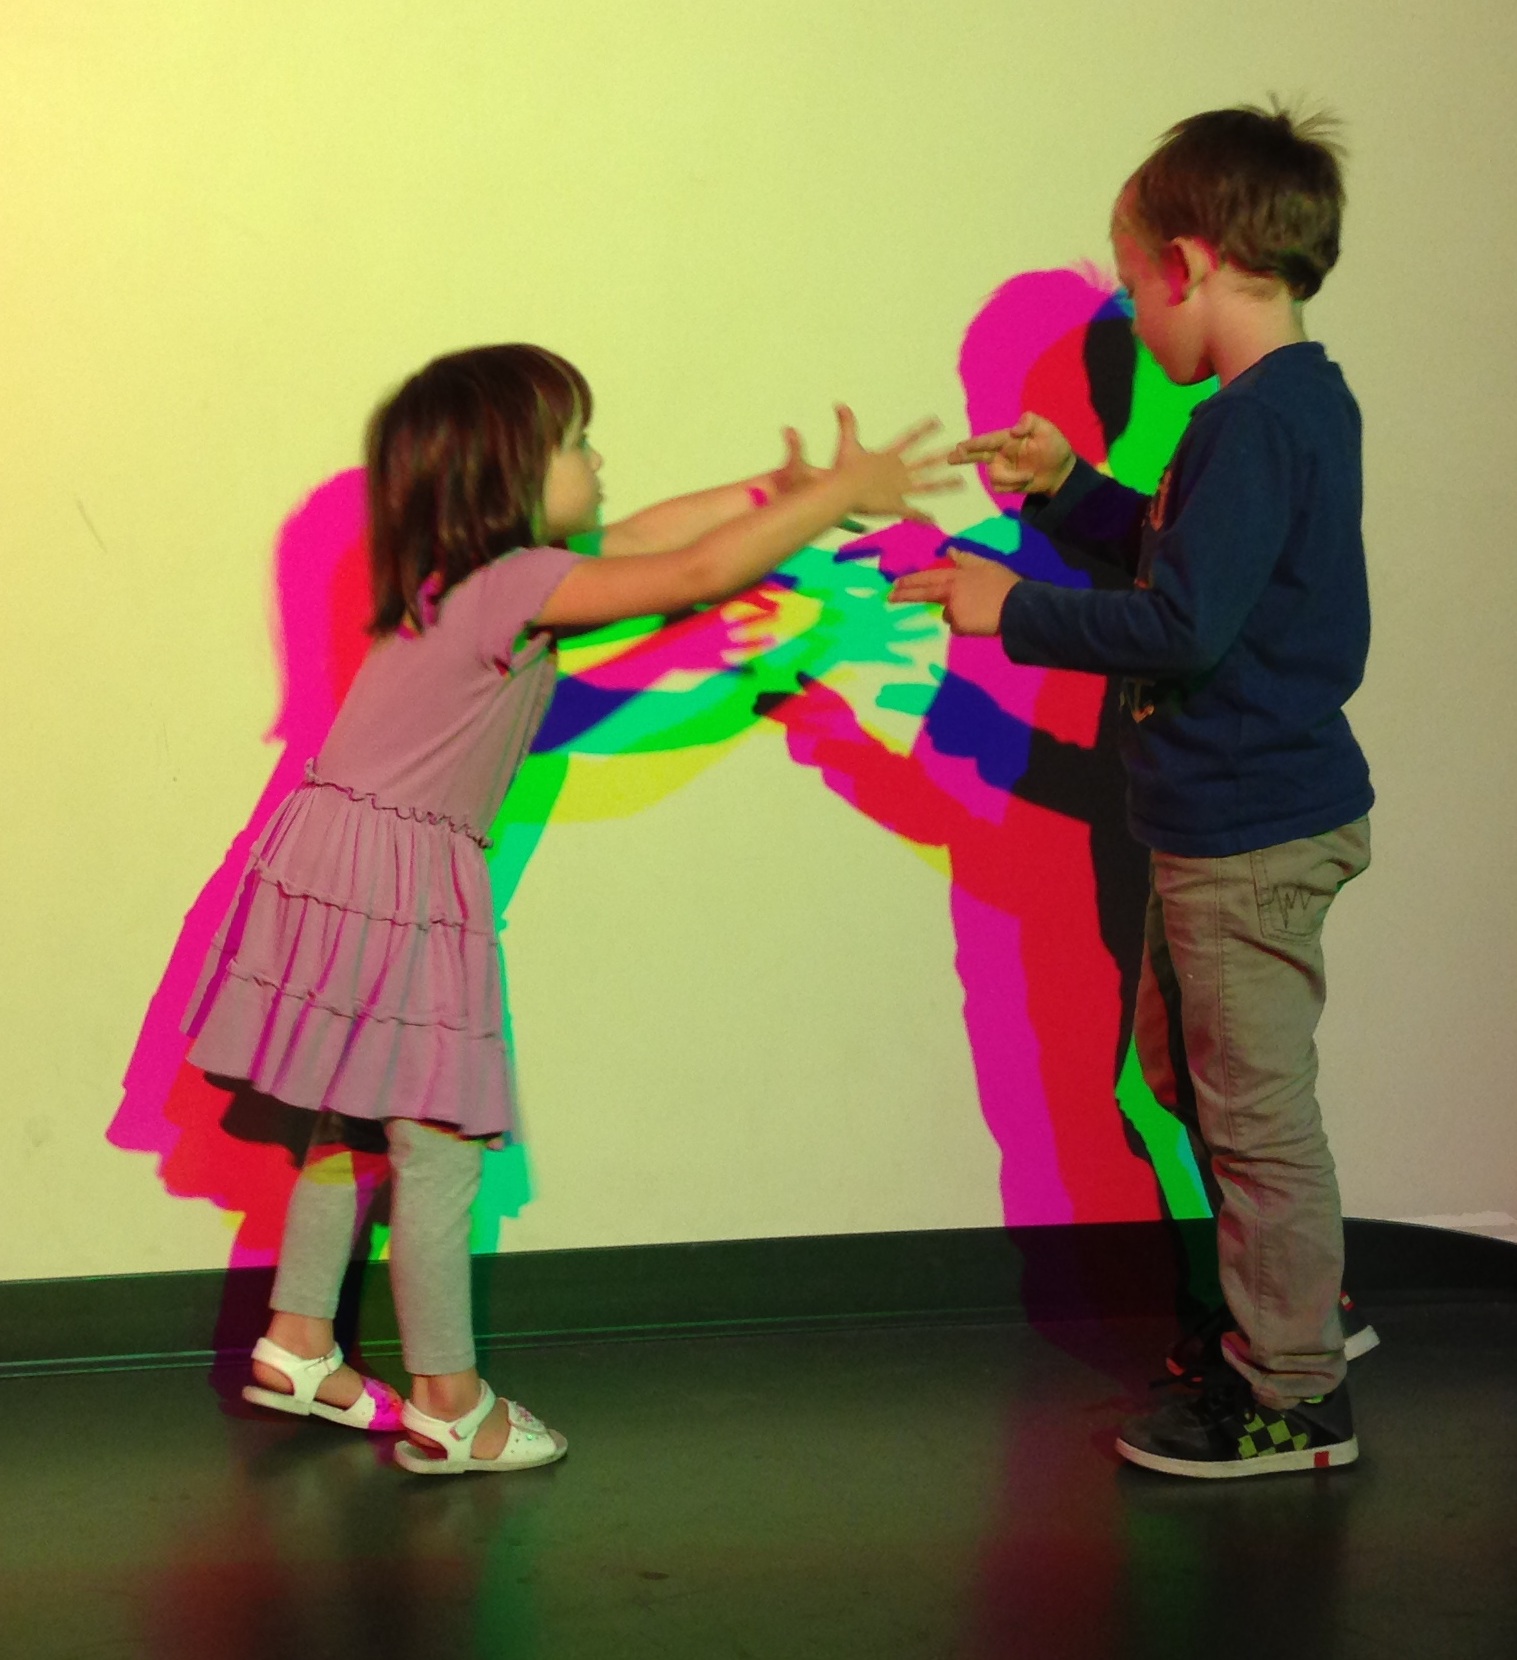
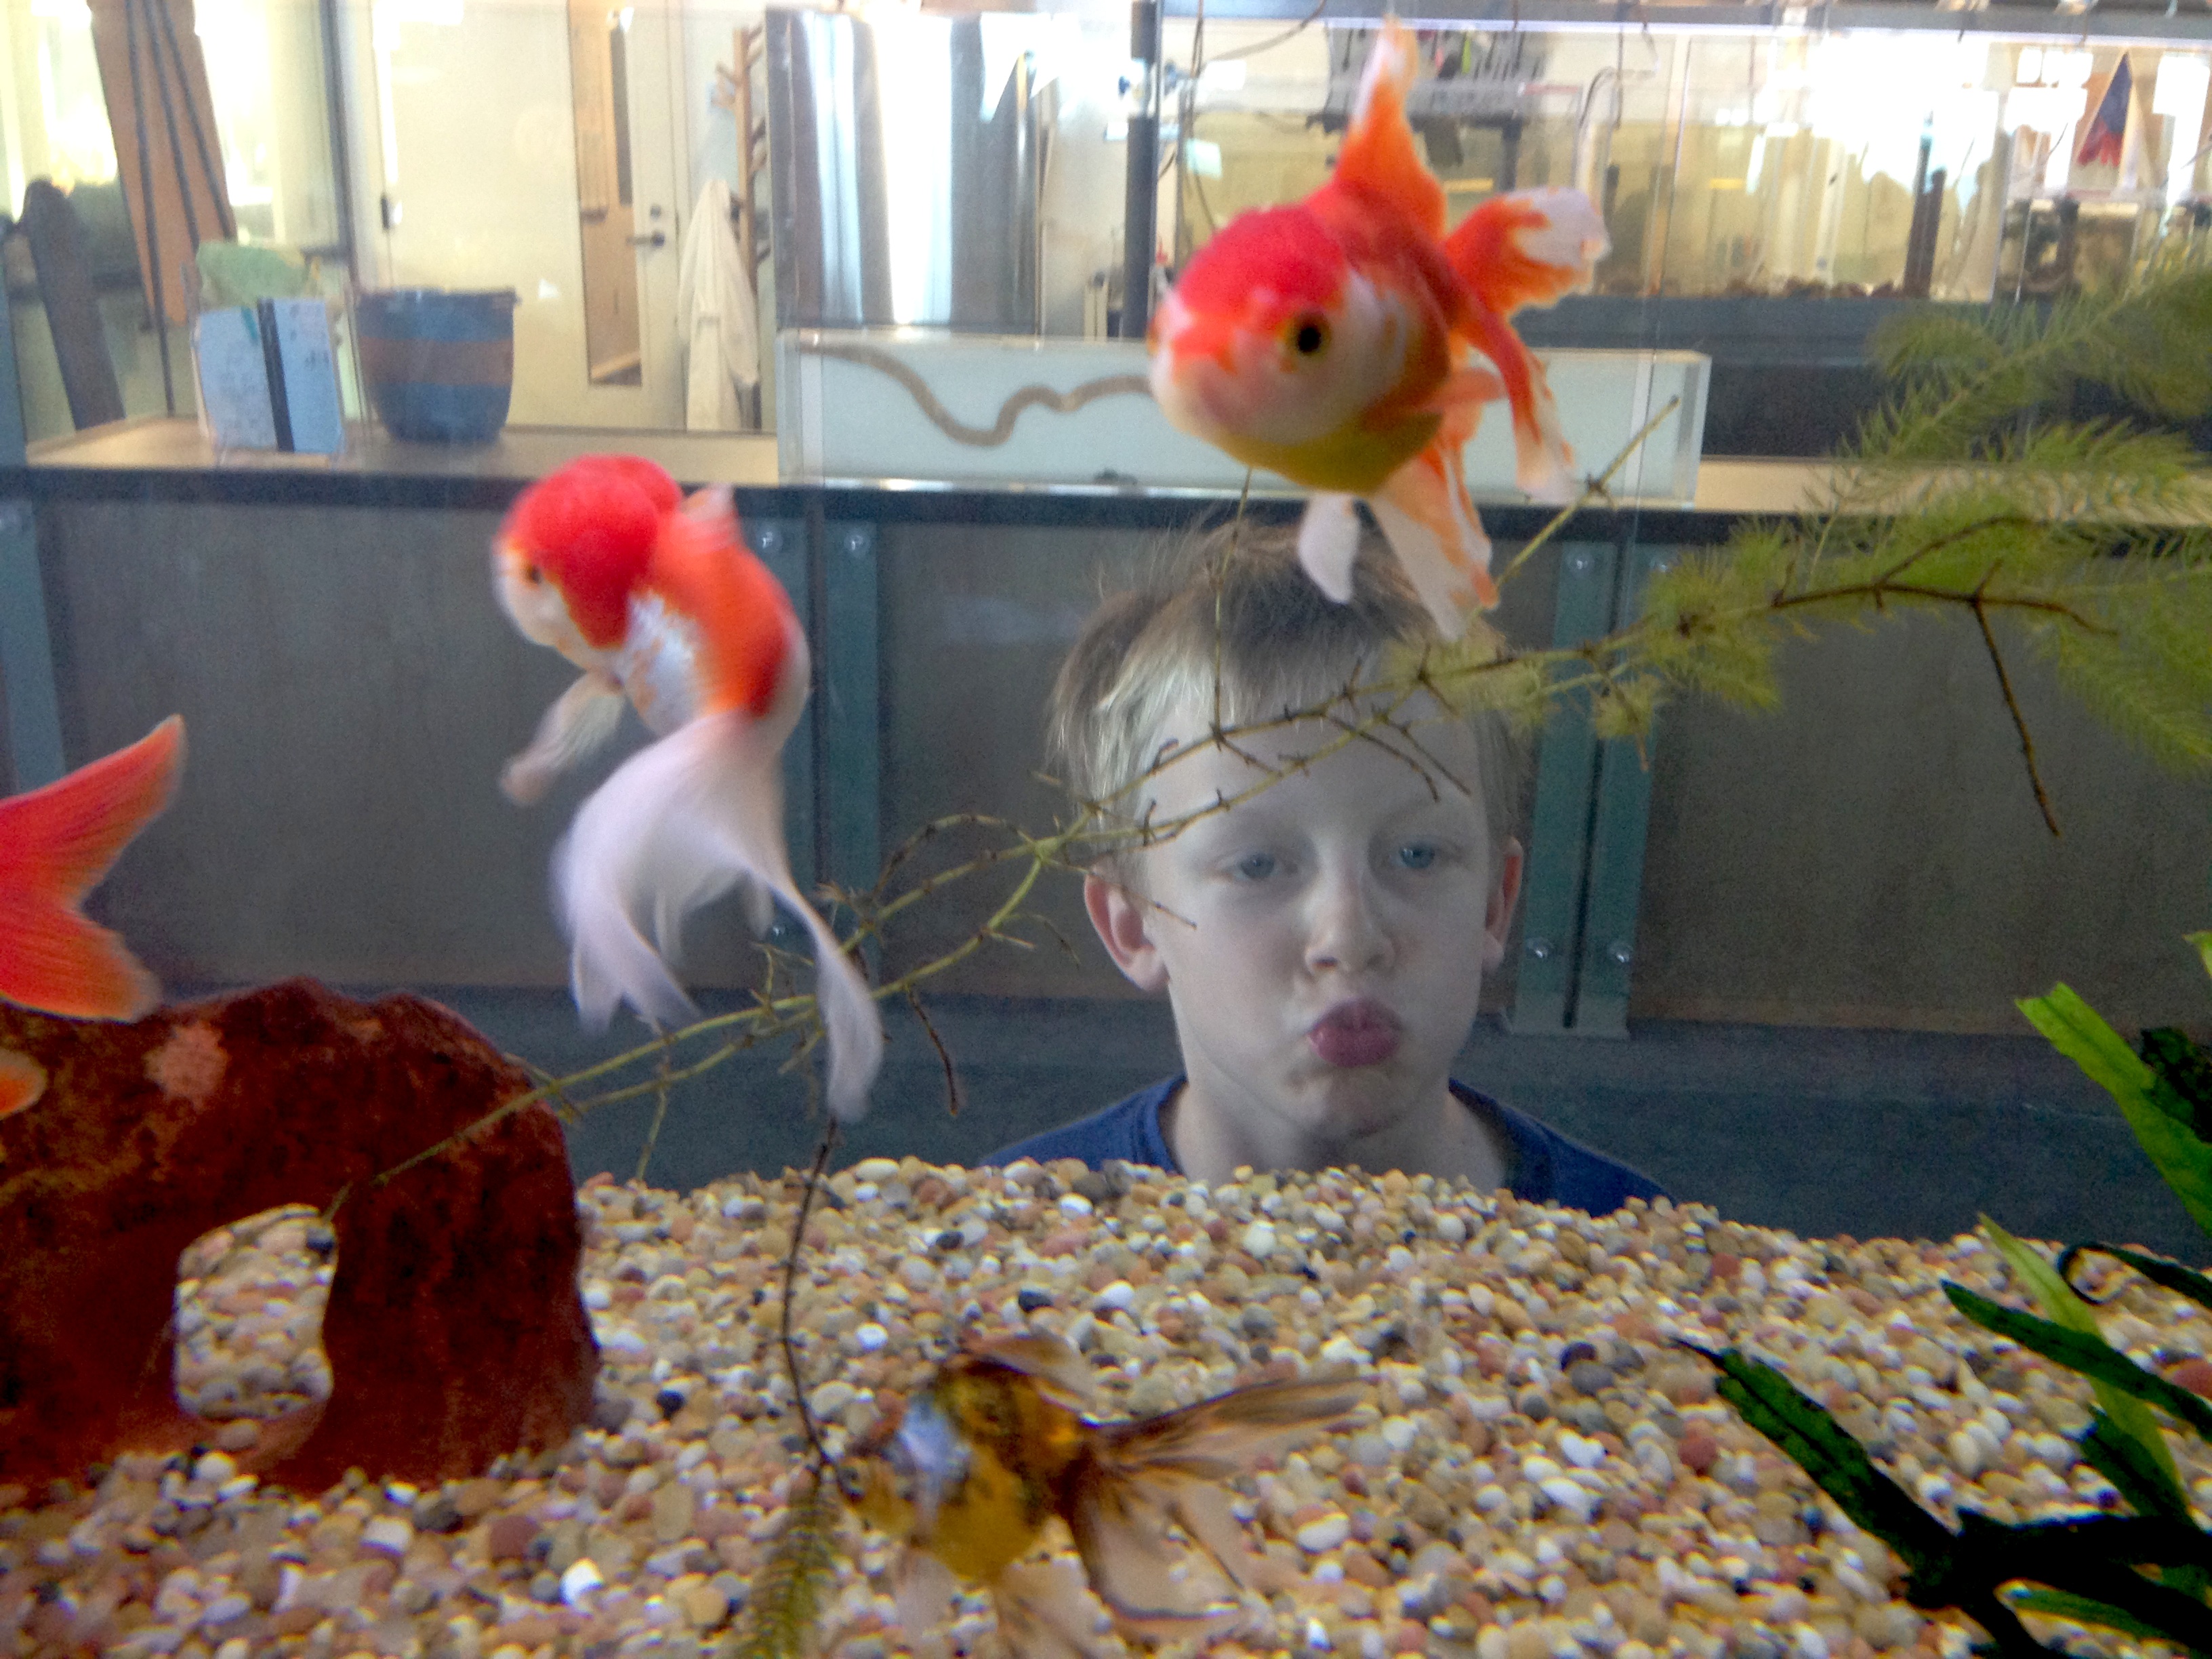
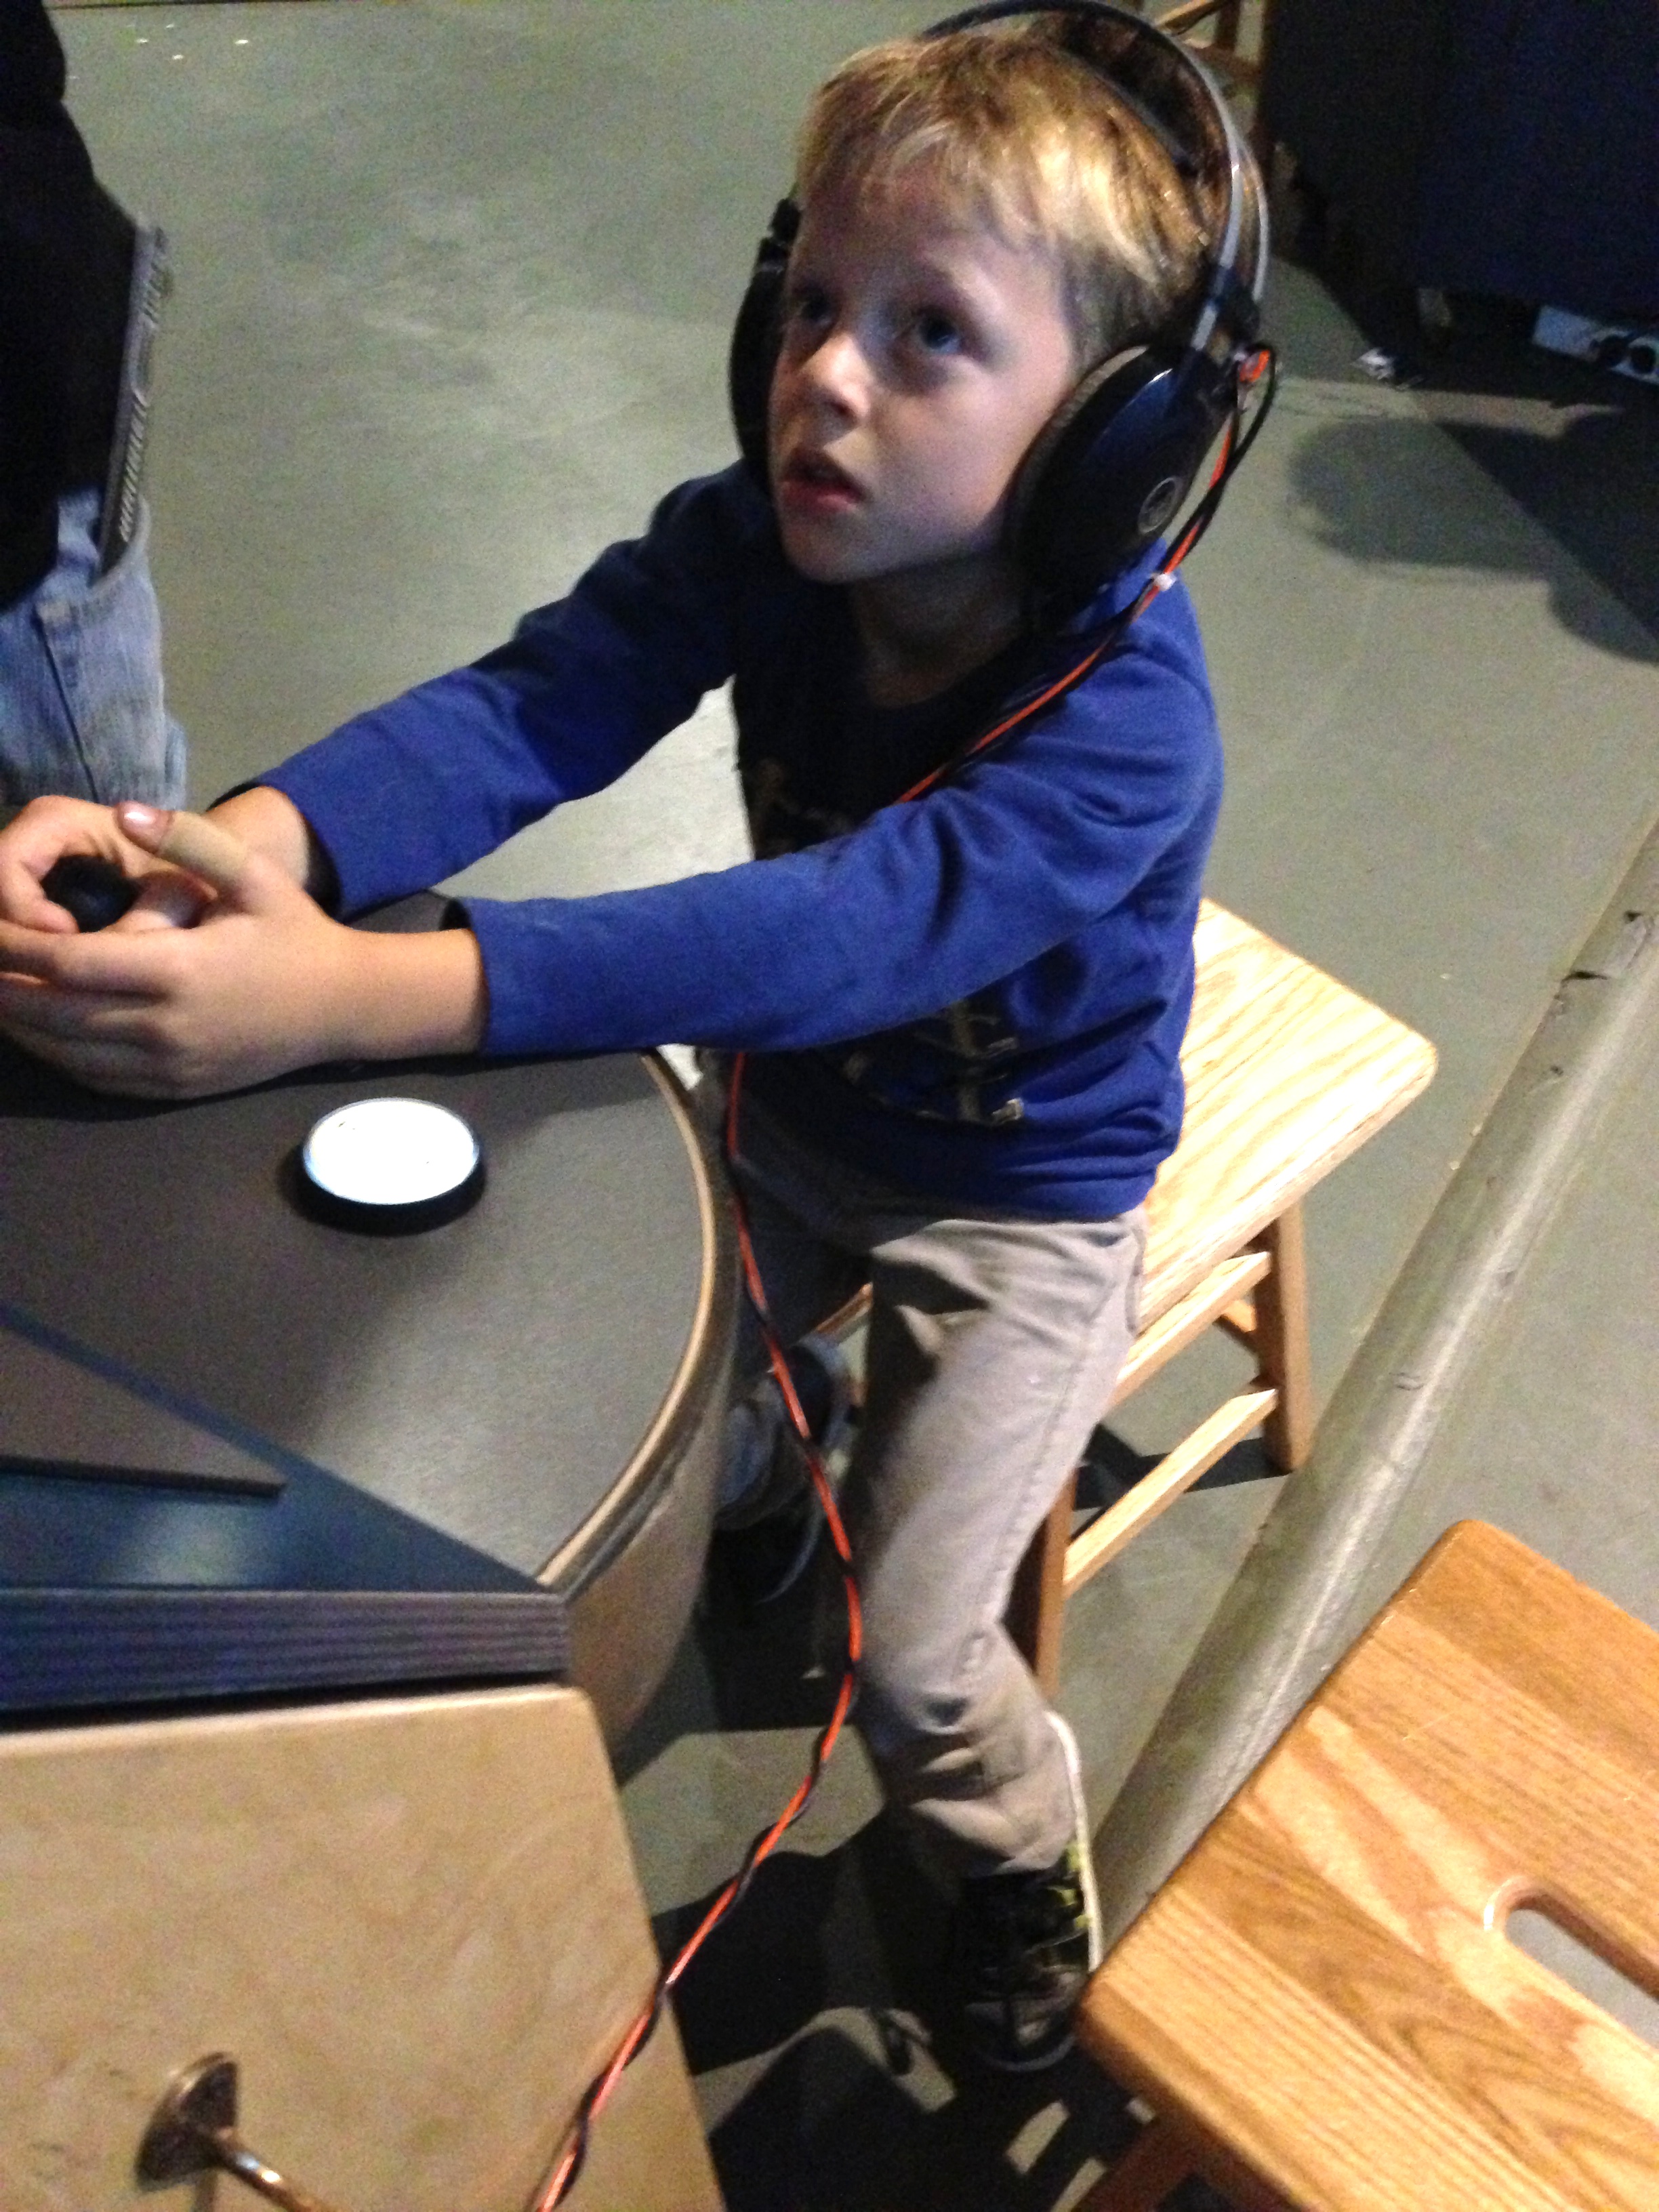
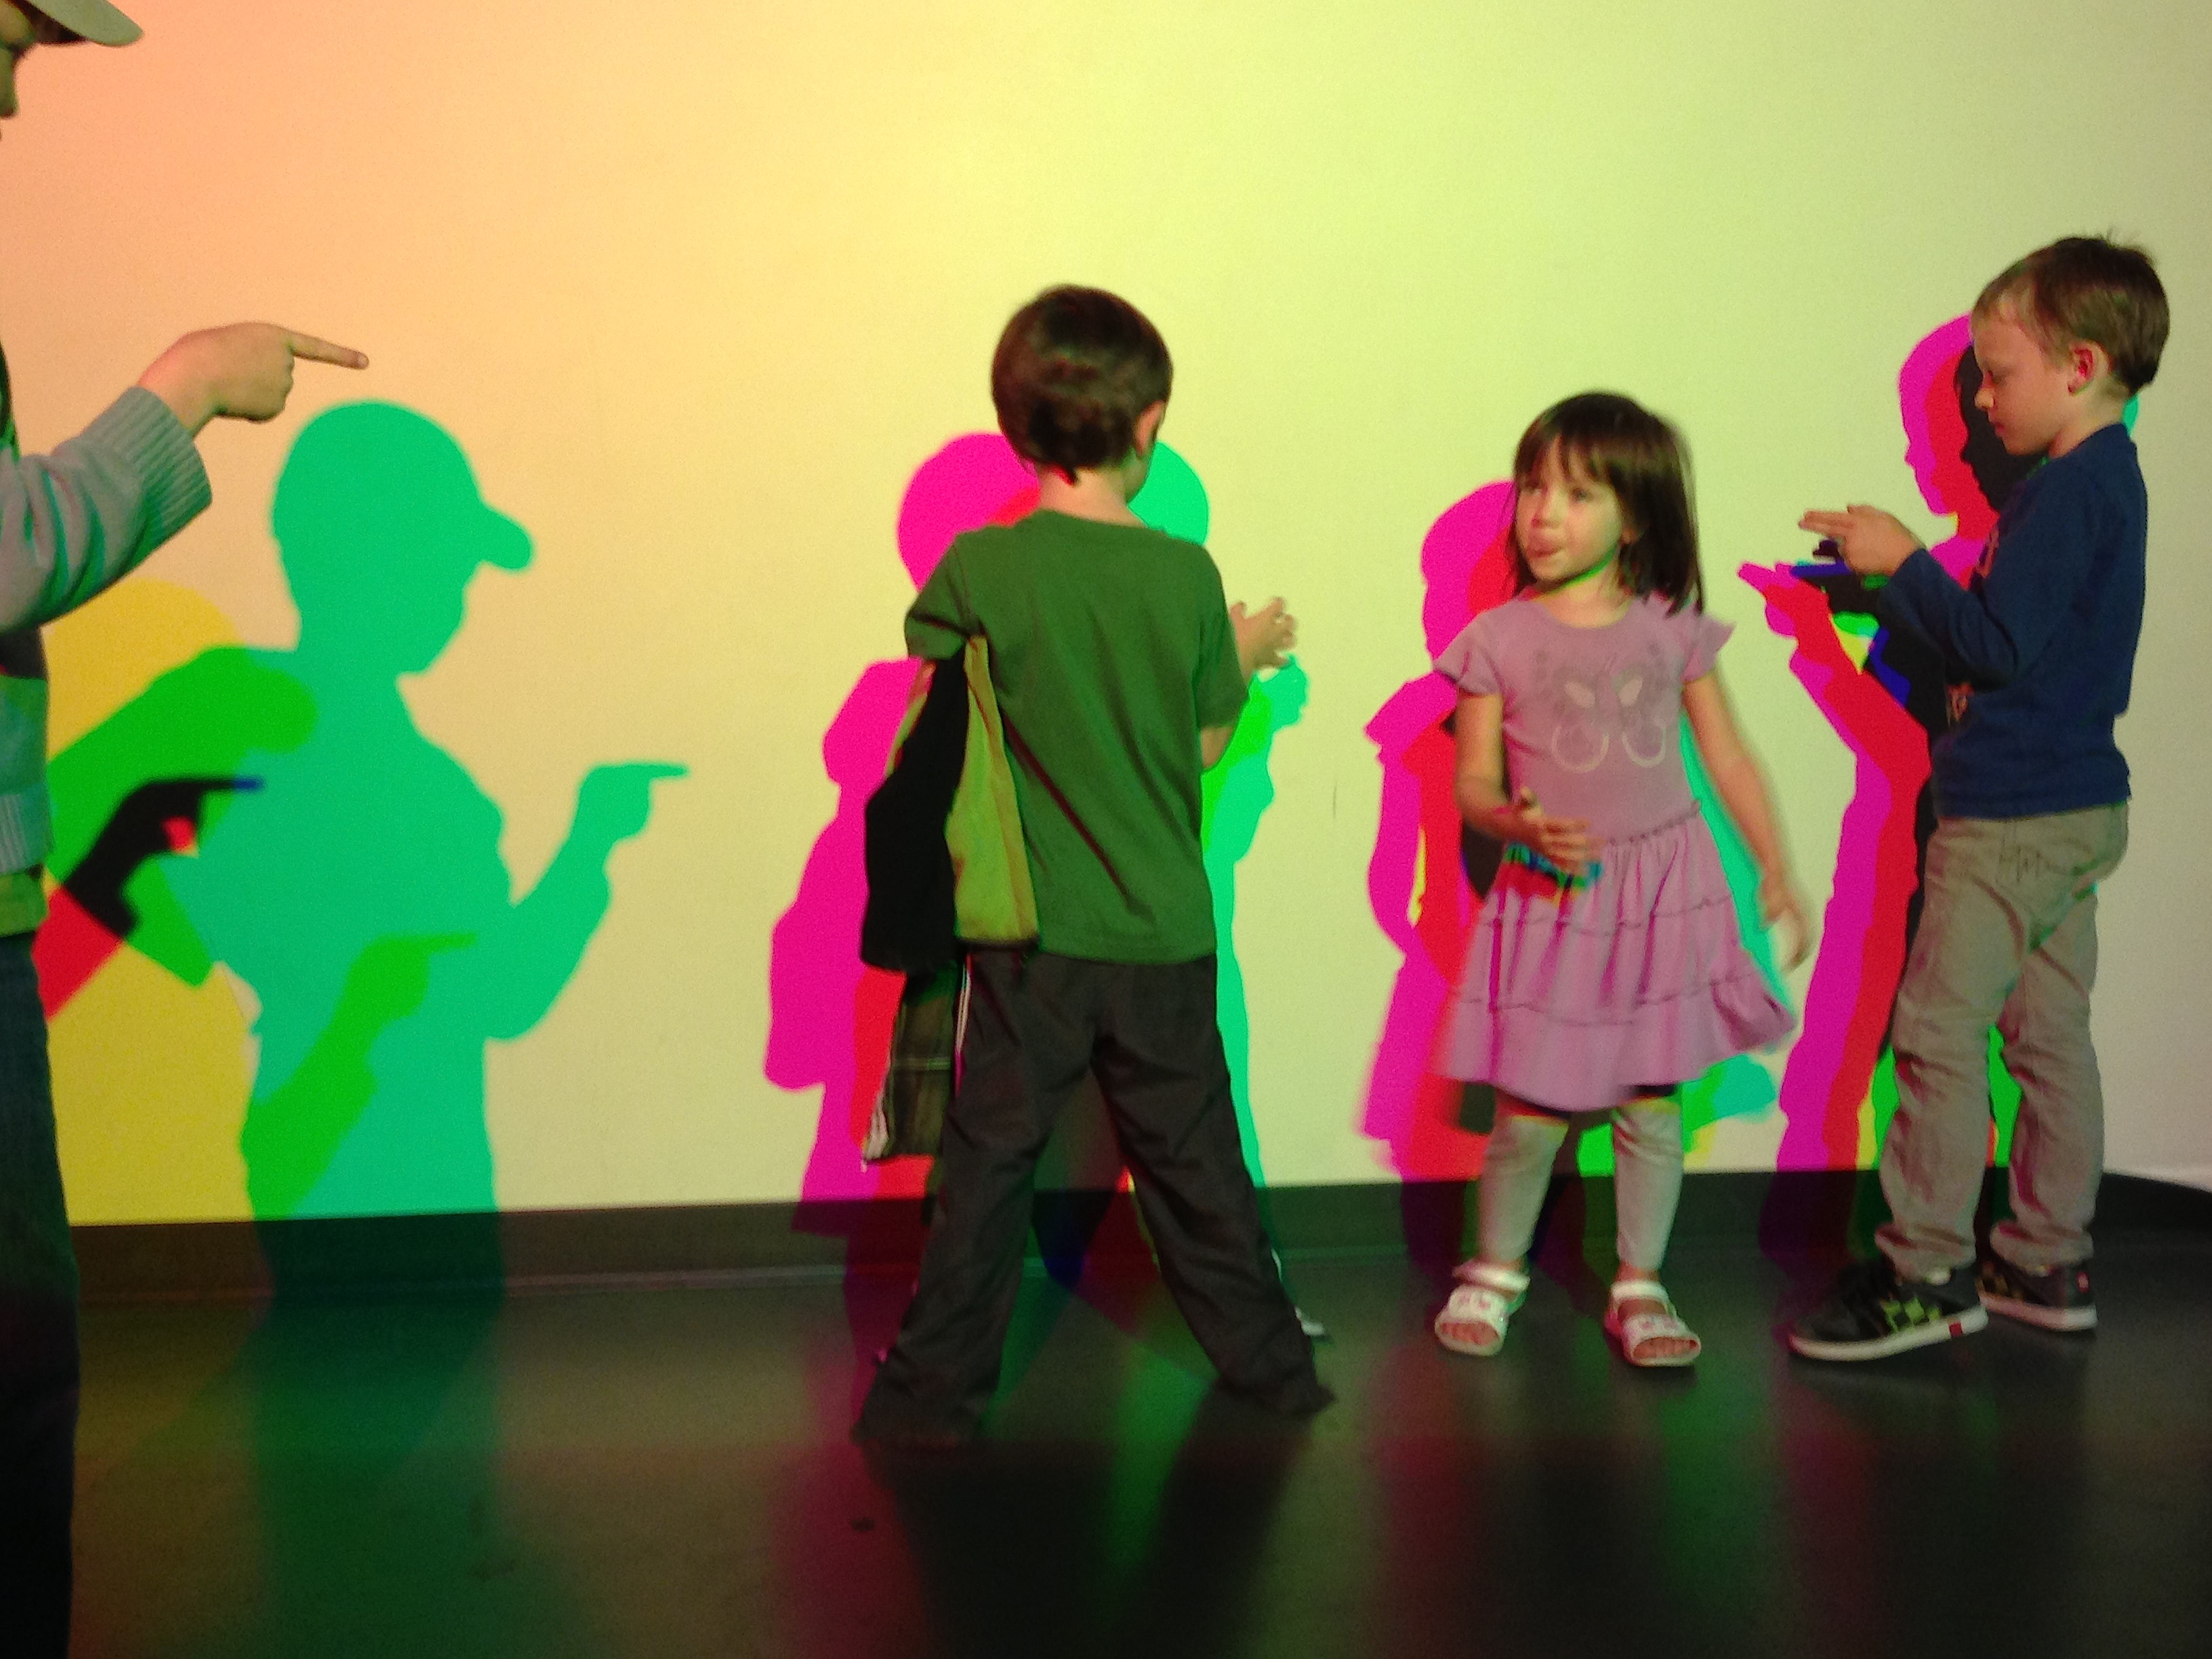
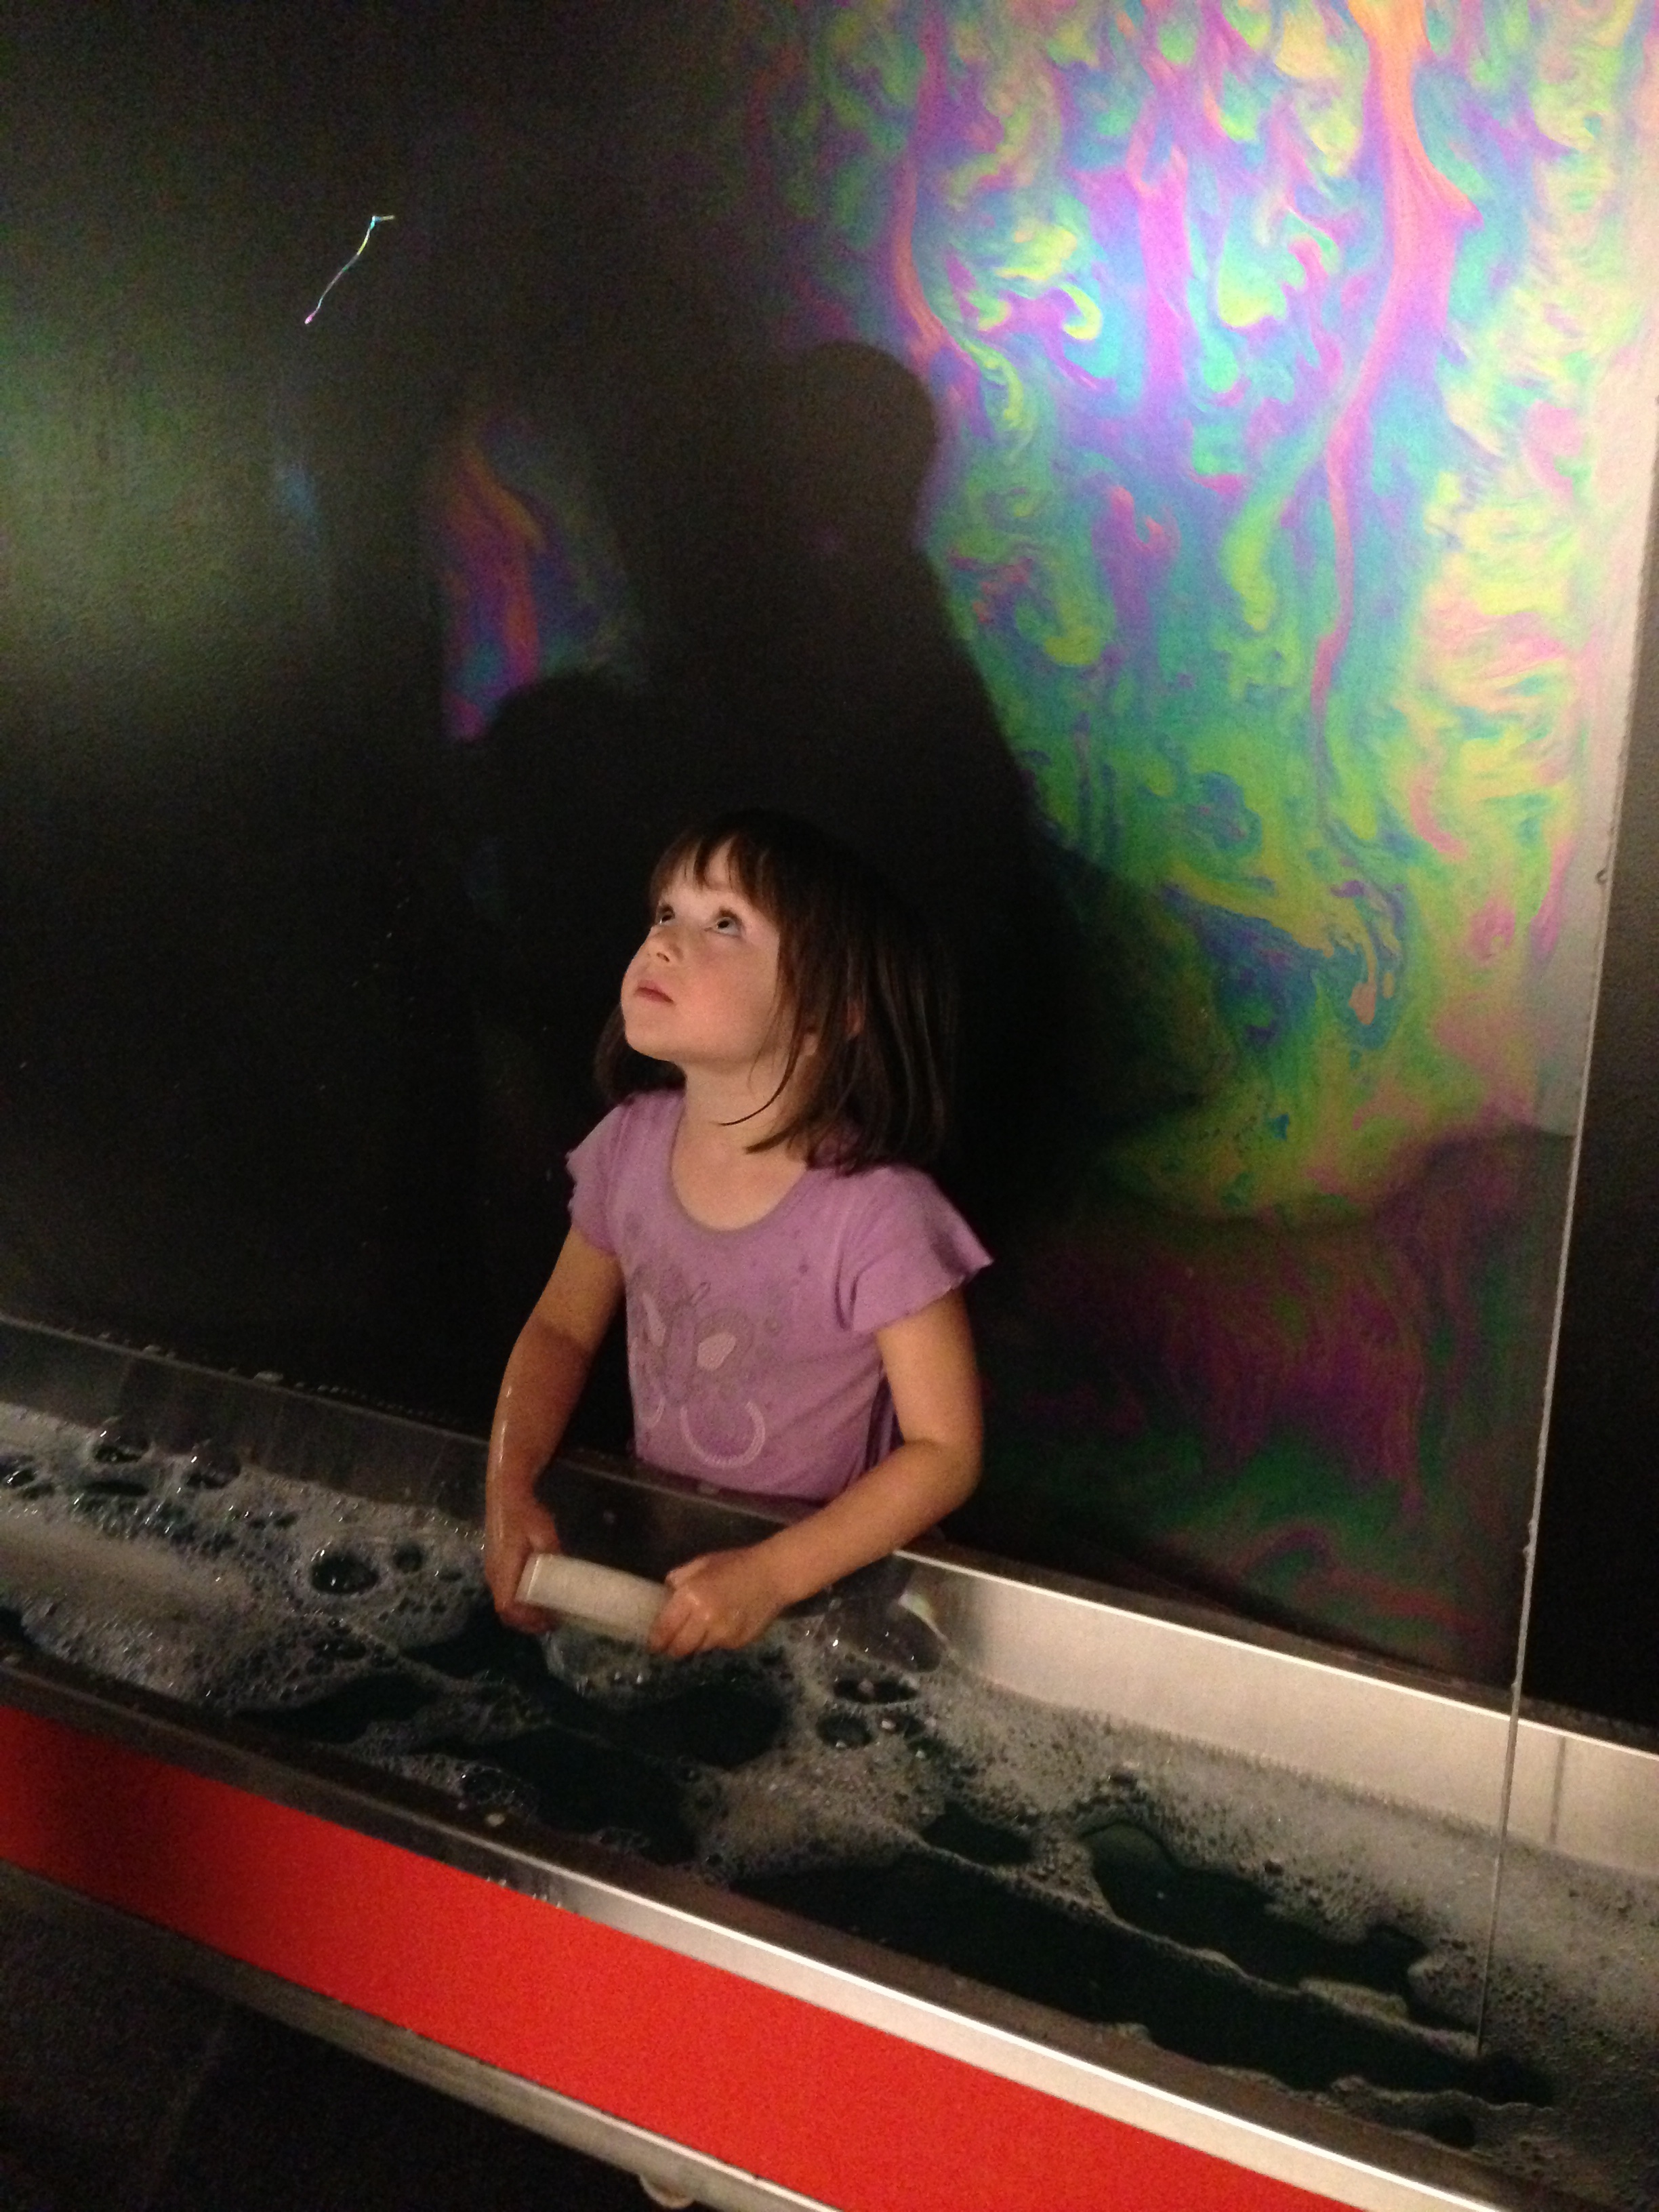
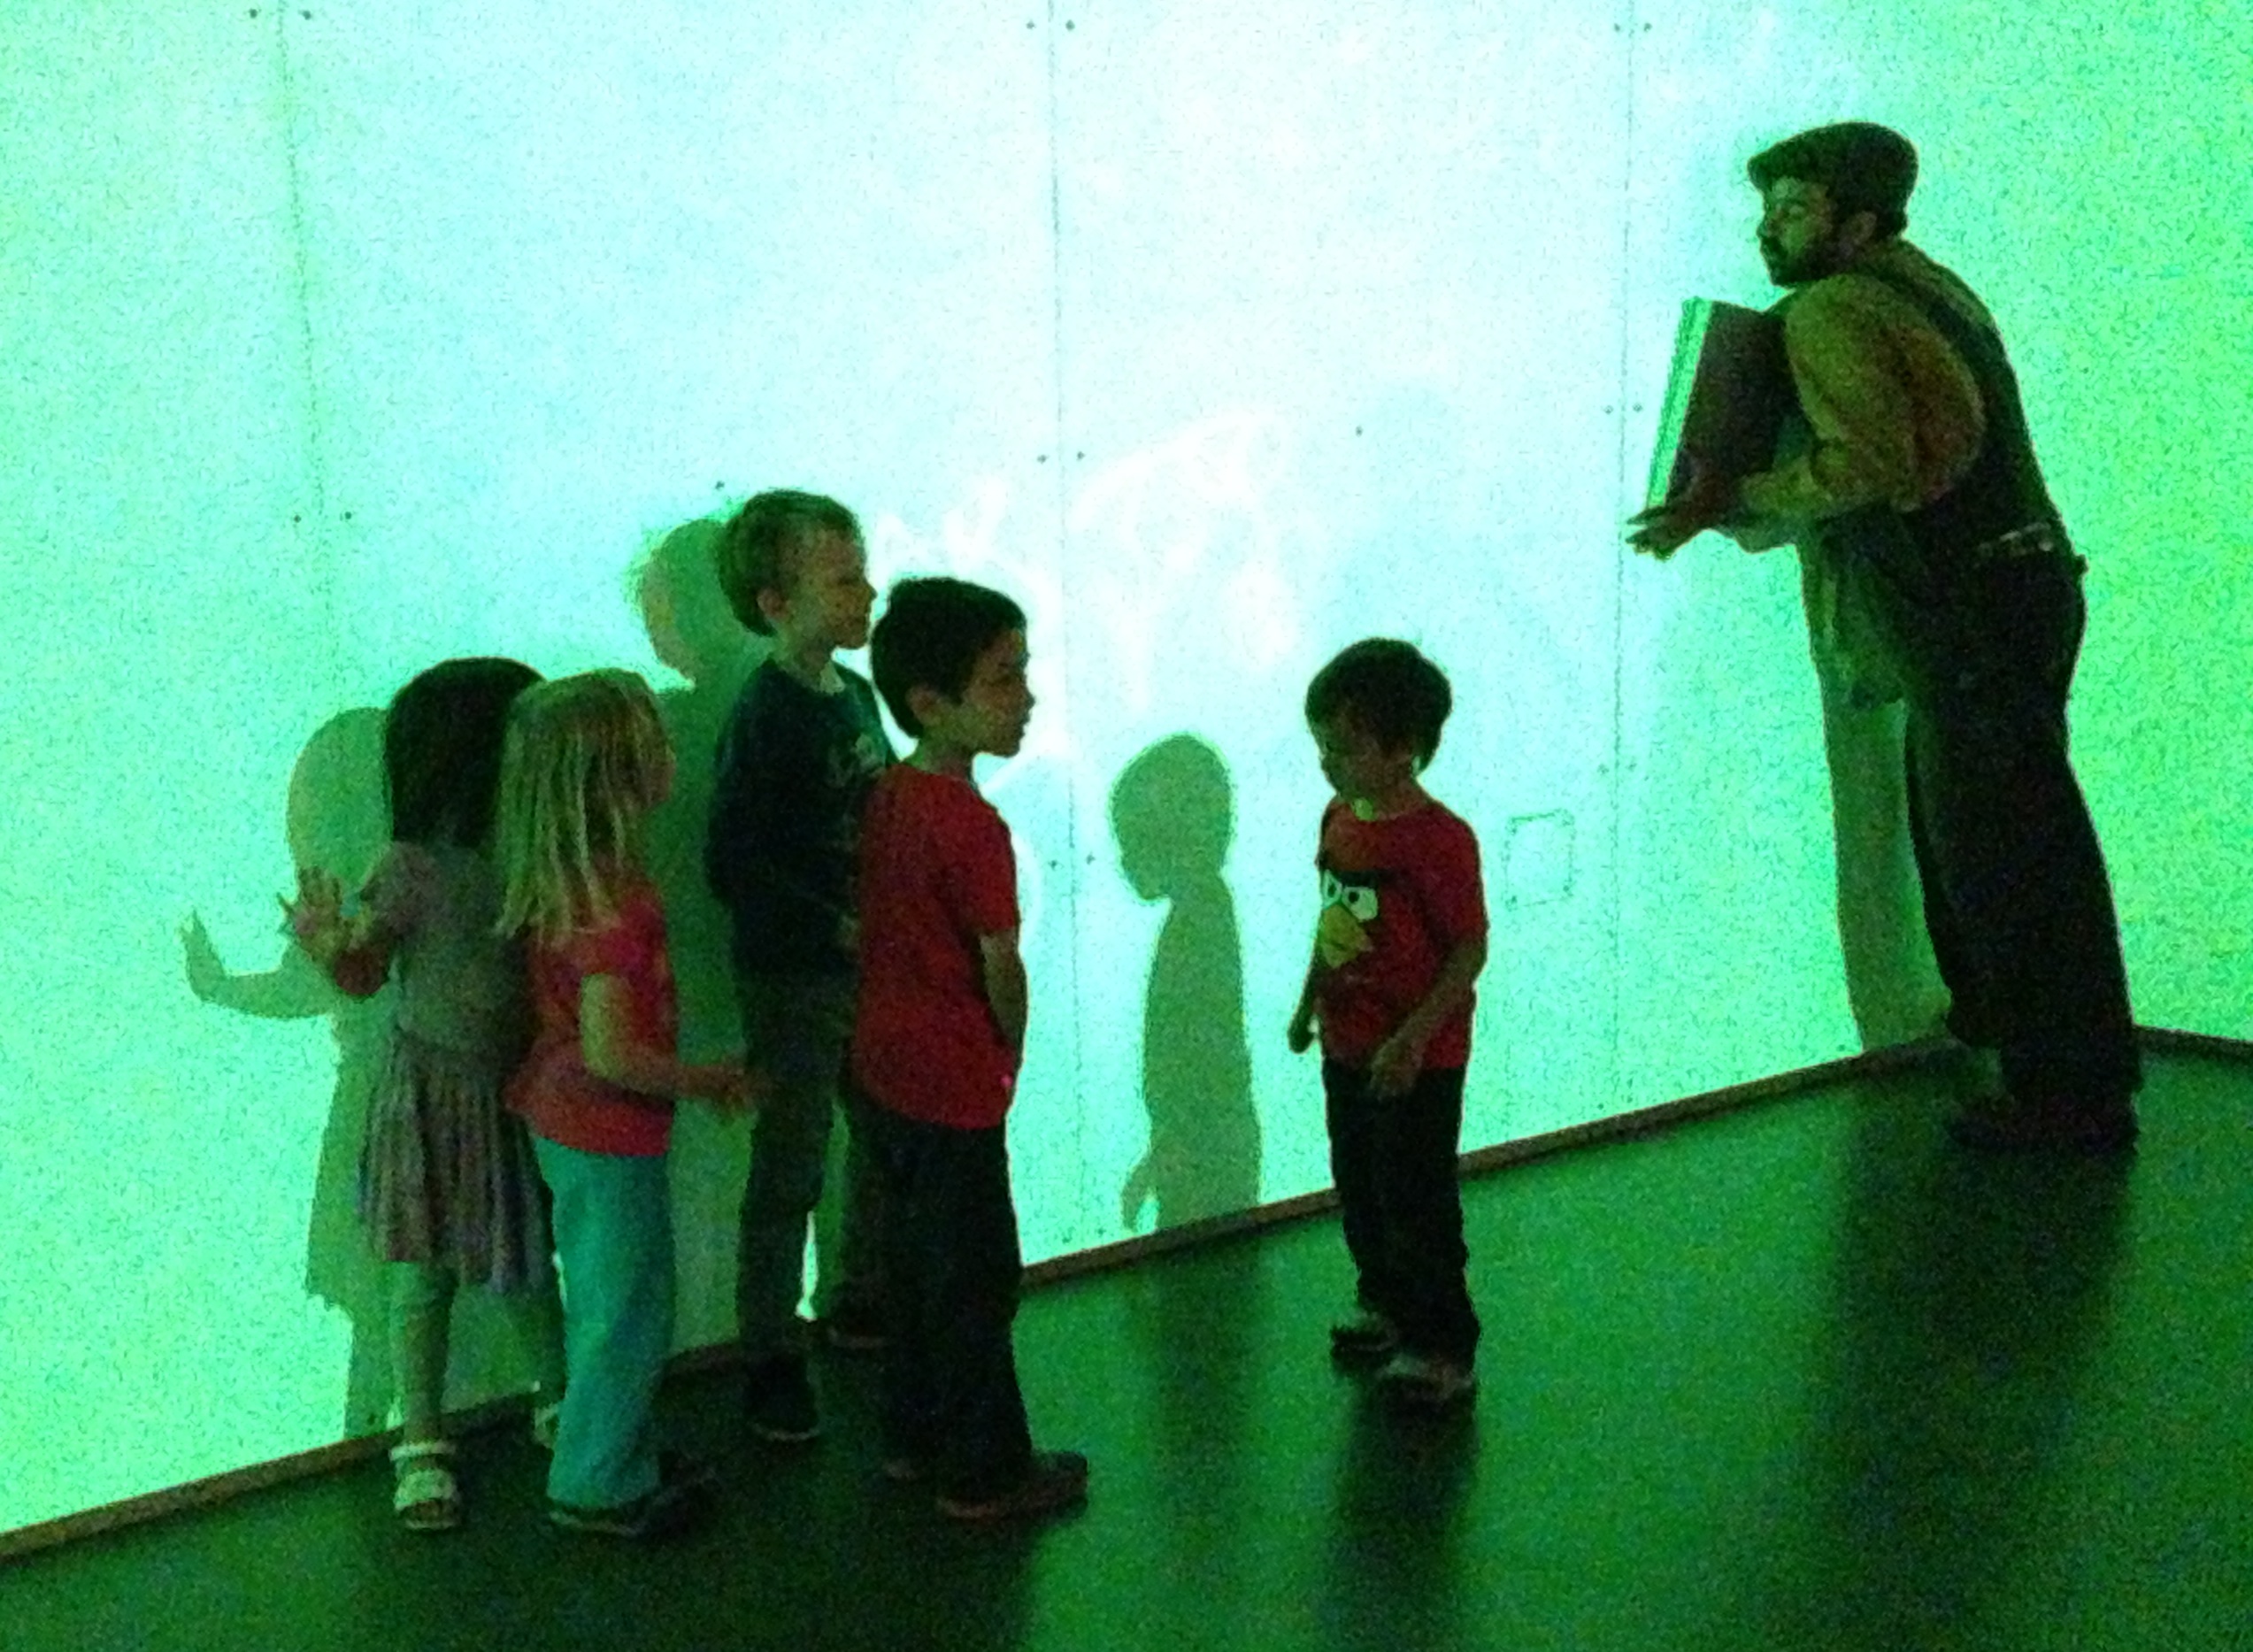
The other thing that remains true in the new version is that it’s full of hands-on science that is equally enjoyed by kids and adults. This is an every age museum. You see tons of adults enjoying it without kids in tow. Like Herbie, the overall and page boy wearing pied piper of the Exploratorium who had tricks up his sleeve to get the most out of each exhibit. We kept running into him and he kept being super gracious and sharing his exploration with the kids… bubble wands for the colored shadow wall, multicolored jelly beans for the monochromatic room, flashlights to write with in the Shadow Box room. The kids loved running into him. Who was this mysterious hipster? Did he work there??

In Summary: If you live in the area, go here. If you visit San Francisco, go here. Even if you don’t have kids, go here. There still is no place quite like the Exploratorium.

Plankton Map
Plankton Map

glub, glub
glub, glub

Leave it to Jack to find the "game"
Leave it to Jack to find the “game”

Color Shadows
Color Shadows

Wall sized bubble wand.

Herbie, the Pied Piper of the Exploratorium

Exploratorium
Pier 15, San Francisco
http://www.exploratorium.edu/

Adventuring: Girls Day Out

Mama - Ellie Day!
Mama – Ellie Day!

My girl and I decided we were long overdue for a Mama/Ellie day. Just the two of us, adventuring in the far-off, exotic lands of Pleasanton where we hit up a tea house and the Build-A-Bear Workshop.

It was a very fluffy-pink-sparkly-floral kinda day, the type of day that doesn’t often happen in our typical adventuring. Truth be told, I know Elise longs for more of these types of days. She’s a girly girl through and through who doesn’t mind scurrying over rocks but would prefer to be doing it in a pink dress and glittery sandals. So we traded in our bathings suits and hiking clothes for skirts and dress shoes and headed East.

Don't mind if I do!
Don’t mind if I do!

The English Rose Tea Room
http://www.theenglishrose-pleasanton.com
This place is the definition of frilly, not an inch left undone. Elise loved it. We settled into our embroidered settee and ordered. The Princess Penelope tea with Chamomile for the lady, the Duchess Anne’s Delightful Tea with whatever black tea has the most caffeine for me.

The highlight of Elise’s food was the marshmallow and jam sandwich(!) and scone with lemon curd. She also asked if she could eat some sugar cubes. Yes, tempting sitting there in that bowl but no, no you can’t. I think you’re good with that marshmallow sandwich.

mmm, cookies.
mmm, cookies.

Chamomile tea with sugar and milk.

Build-A-Bear Workshop
After tea we headed to the Stoneridge Mall to hit up Build-A-Bear. While I grew up in suburbia and spent countless hours of my youth hanging at the mall, I realize it’s a pretty foreign concept to my kids. We don’t really have one near us so it really was a somewhat exotic location. At one point Elise said “I don’t ever want to leave this place” in a voice like travelers say when on a beach in Thailand for the first time.

We found the bear workshop and were ushered through the building of a bear by some very friendly staff. Elise knew exactly what she wanted from the selection of the bear itself, through to the wardrobe styling. Obviously a bathing suit and flip flops, it is summer afterall.

Stuffing the bear.
Stuffing the bear.
A Girl and Her Bear.

                                                 
She also chose the characteristics her bear would have in it’s little red satin heart that they literally stuff inside the bear before sewing the bear up. These were: Sparkly, Nice, Happy, Honest.

Once the bear was stuffed, she gave the bear a “bath” in the touchscreen interactive tub. Clearly her favorite feature at the workshop, she gave her bear about seven baths total before I could get her out of there.

Our 5th trip to the tub.

She named this clean, bathing beauty “Fluffy” and declared she would go nowhere without her new bear.

We headed home, Elise falling asleep hugging Fluffy. I realized I also like a little girly girl time, especially when it’s watching my best girl have a day I could tell she deeply enjoyed. In her words “I didn’t just like today, I looooovvvved today.”

Passed out from cuteness overload.

Bunk Bed Forts!

Bunk Forts!
Bunk Forts!

After all of this adventuring lately, I was itching to do something hands-on creative today so I dug out a project that’s been sitting in the back of my head for awhile. Ever since getting the kids a bunk bed I’ve wanted to make it into a bed-fort and today I finally pulled it off.

My kids share a room and at the rate we’re going with house hunting they will continue to do so until they graduate high school. Lucky for me, at 6 & 4, they don’t mind sharing and actually I don’t think they would have it any other way. But when four people live in 1000 sq ft, it never hurts to find creative ways to carve out a little more personal space and privacy. Plus the fact that bunk bed forts are obviously awesome.

I headed to Ikea to pull together the few items I would need to perma-fort the bunk bed…

BEFORE
BEFORE
AFTER
AFTER

A Few Simple Things
A Few Simple Things
                                                    
MATERIALS
– 2 curtain wire packs
– screws
– wire cutters
– Phillips screwdriver
Curtains
Kura bed tent for top bunk

TOP BUNK
This should have been the no-brainer in the project. Go to Ikea, get the tent thingy that goes on an Ikea bunk bed, put it on the bunk bed. DONE! Nope. Oh Ikea, why do you almost make it easy but then make that last 5% such a pain in the butt? Of course this tent thing doesn’t fit ALL Ikea wooden bunk beds, just the one we don’t have. So it’s up there for now, but the hooks don’t fit so it keeps getting knocked off. I need to rig it to be more sturdy maybe get some velcro strips and wrap then around the tent poles and then around the bed.

Wire curtain hangers in progress.
Wire curtain hangers.

BOTTOM BUNK
For this I got two of the curtain wire packs from Ikea. Dang it Ikea, really? Everything BUT the screws included? Ok, so I fumbled around the tool area in the basement and dug up a couple but I don’t think they were long enough to really anchor in the wood. I went ahead with them and screwed one set in along the inside ledge of the bunk bed along the length, then one along the width (see pic). While the curtain wire did hang, it doesn’t seem sturdy enough and I had one already pull out of the wood. The screws I had were not right. I’ll probably change them out with a screw or bolt long enough to go entirely through the wood and then fasten a nut on the other side. Or maybe just a longer screw and a little wood glue. I am going to research but for now, it’s in place and looks good.

For the fabric, I found these owl curtains in the kids section of Ikea. They were way too long so I cut them to the size I needed and (GASP!) fake sewed them with the iron no-sew adhesive stuff. Let’s see if it holds up. I made the third curtain with the leftovers from the original panels and might make some pillow cases with the remaining scrap.

So there are some things I need to work on to make this concept more solid so that 2 hyper kids can’t take it all down in an instant, but those adjustments should be simple. The entire project, including Ikea-time, took only a couple of hours. The kids seem to love their new forts and, coincidentally, have their first sleep over friends here enjoying them too.

Gotta have lanterns inside, especially happy ones.

Elise's new bottom bunk fort.
Elise’s new bottom bunk fort.
Sleep Over!
Sleep Over!

Bunk Bed Forts!
Bunk Bed Forts!

Adventuring: Lawrence Hall of Science

Not much making has been going on in this house over the last week. With school out, two more weeks work-free for me, and camps yet to start, we’ve been in full-blown adventure mode. Over the last week we’ve been to The Exploratorium, Lawrence Hall of Science, Coyote Point & CuriOdyssey, Japantown SF, The Bone Room and countless trips to the local pool.

Lawrence Hall of Science
Jack and I snuck up to the Lawrence Hall of Science in the Berkeley hills for what was planned to be a quick visit. Some friends had added us on to their membership so we thought we’d cram in a quick session and check it out. I guess I had always assumed it was for older kids though I am not sure why. Many people have told me it’s awesome. People with kids the same age as mine. Yet it somehow didn’t sink in until we were actually there enjoying the exhibits, unable to peel ourselves away. And, when we finally did peel away, it was only because we knew we’d be back with the rest of the family in tow. After all, we had only scratched the surface. There were still lego stop-animation movies to make, animals to hold, Planetarium shows to attend, things to build. Thumbs up for this place, we’ll be hanging out here often.

Oh, and since it’s affiliated with UC Berkeley there are tons of eager Engineering students around to help the kids. Another tip: The cafeteria has $5 kids meals and amazing views of SF and Oakland.

Helix Climb
Helix Climb
We spent lots of time building, testing, rebuilding our ball runs. I want this in my house!
Balls + Ramps = Fun
Balls + Ramps = Fun
Views of SF, Oakland, and  basically the entire Bay.
Views of SF, Oakland, and basically the entire Bay.

Lawrence Hall of Science: http://www.lawrencehallofscience.org

Restaurant Challenge: 1400 Bar & Grill

The Restaurant Challenge continues, our latest pick: 1400 Bar & Grill.

Typically we pick from the slips of paper in the pot but tonight Jack preempted this with his own suggestion. See, recently 1400 got a stamp of approval in Jack’s mind because he ran into a friend who had just finished dinner there. His friend was still standing and looked relatively happy so I guess this was enough for Jack. Never mind that his friend didn’t utter one word about the experience directly. Attendance was all it took.

Works for me so we headed for a family dinner there Sunday night.

Ready, set, eat.
Ready, set, eat.

1400 Bar & Grill
Walking in here it looks much like a pub which is a nice change from the very kid-friendly places we typically frequent. But don’t be fooled by the long wooden bar and large number of beer taps, this really is a family friendly place. The minute we sat down we were greeted with a smile, some crayons, and some kids coloring menus. Off to a good start.

Then I saw the large Pink Floyd poster front and center amongst a group of other vintage concert posters. One of my favorite bands of all time. I continued to scan the room and see hand written specials boards, old baseball gloves as decor, a beautiful stained glass ceiling, and lots of other details that made the place lovable, not the least being the neighborhood friendliness.

As usual, we ordered a ton of food…

Kids Burger & Fries
Kids Burger & Fries
Ellie rubbing her belly in approval of the kids mac n cheese.
Belly-rubbin’ good kids mac n cheese.

Fish Tacos with yummy fried jalapenos.
Fish, Chips, & Beer.

As if this wasn’t enough food, we ordered TWO desserts, a banana split and a slice of carrot cake. A man I assumed to be the owner came over to say hello and fill us in on the carrot cake’s old-school Alameda roots. The cake was almost more spice cake than carrot and not too sweet. It was really delicious.

Really though, it almost didn’t matter how good the food was because the overall neighborhood vibe and friendliness of the waitstaff and owner were enough to bring us back.

After dinner we rolled ourselves over to Crab Cove to walk off some of our gluttony along the shoreline…

beach

1400 Bar & Grill
http://1400barandgrill.com/
1400 Webster St. Alameda

Jack’s Review: Thumbs Up for hamburger, fries, atmosphere.
Elise’s Review: Thumbs Up for the banana split and coloring sheet.
Kristin’s Review: Thumbs Up for the friendly neighborhood pub vibe and the carrot. cake
Mike’s Review: Thumbs Up for the vibe & Jack’s leftover hamburger.

Adventuring: Coyote Point & CuriOdyssey

Shhhhh… I’m going to let you in on a little secret. It’s a GOOD one that my friend turned me onto recently. The local libraries in the bay area (and maybe beyond?) offer free tickets to local museums and attractions. Places like the Academy of Sciences and the Discovery Museum. For free.

Right? I know!

The program is called Discover & Go and all you need is a library card. The selfish me didn’t want to tell you because the number of passes to some venues is limited. However the loudmouth me, as usual, won out. This is the same “me” that feels compelled to tell a stranger who compliments my shoes that I got them for a buck at Target when a simple “thanks” would do.

Moving on along, we tried the Discover & Go program today by downloading and cashing in a free admission to CuriOdyssey at Coyote Point. We’ve been to Coyote Point before and it’s a pretty awesome place even without entering CuriOdyssey. It’s a regional recreation area located on the water in San Mateo, not far from the airport. This is key because not only do you have panoramic views of the bay, but the kids get to see large airplanes down low as they go in for a landing. And then there’s the playground, which I’ll get to in a second, but first some tips:

On a walk at Coyote Point a few months back. We love this spot.

Coyote Point Adventure Tips:
– Pack a lunch and make a day of it.
– Start with Magic Mountain playground and hit CuriOdyssey a little later to catch the animal show.
– Have lunch at a table away from the playground so kids actually eat rather than beg to play. Better yet, face the airport direction and you can watch the planes come in.
– Get an ice cream at the snack bar and stroll the path along the water.
– Head over to CuriOddyssey after lunch for a couple of hours.
– At CuriOddyssey don’t miss the animal show. Make sure to line up early to get passes. They are free with admission but they go quickly.

Ok, more detail on each spot within Coyote Point…

Magic Mountain Playground
This is a pretty awesome playground with something for all ages. There’s a huge castle structure with a giant slide as well as a bunch of smaller kid play things. Jack’s slide tip: Go down on your sweatshirt for a turbo boost.

The dragons nose... serious photo op if your kids aren't burnt out like mine.
Castles and Dragons.
Tip: sit on sweatshirt for speed.
Jack’s Tip: sit on sweatshirt for speed.
zip line back & forth

CuriOddyssey
We spent a few hours here and that seemed like plenty of time to meander through things. There are some hands on science exhibits as well as native California animals. The focus on native animals was great to give the kids an idea of what’s around them in our state and what to look for on our next hike.

Science is awesome.
Science is awesome…
and so is sand.
…and so is sand.

and bees are also pretty kick-ass. Especially female bees who we learned basically do everything.

Peregrine Falcon at the animal show.

We learned a number of things today but my favorite? That, when diving for prey, the Peregrine Falcon is the fastest animal on the planet, reaching speeds of over 200mph. The cheetah? 75mph. AND they are local so maybe our next adventure will be Peregrine Falcon spotting.

The Info:
Coyote Point Recreation Area
1701 Coyote Point Dr, San Mateo, 94401
FEE: $6/car park entrance fee

Magic Mountain Playground at Coyote Point
FREE with park entrance

CuriOdyssey at Coyote Point
http://www.curiodyssey.org/
Admission: $4 for 2-12, $6 for 13-17 & seniors, $8 adults

Take-Out Box Thank You “Cards”

Unbelievably, the last day of school jumped on us out of nowhere. I know everyone says it… time flies, it all goes by so fast, etc, etc. But Kindergarten was warp speed ahead. Snip-snap, this year is done.

Sharpies!
Sharpies!

Jack was officially “promoted” to 1st grade today and, since we’ve been spinning in end of school activities, we kept it pretty simple in the thank you department. We made some cookies in custom decorated Chinese take-out cartons for his Kindergarten teacher and his after-school care teachers.

I picked up these blank Chinese take-out cartons at the party store for less than a buck. Rather than make thank you cards, we did it directly on the take-out boxes themselves. Jack was all over the box art, I was on cookie baking duty, everyone participated in cookie eating.

We kept it simple, some Sharpies and some imagination…

Jack's school mascot is the owls.
Jack’s school mascot is the owls.

Nature Scene
Nature Scene

color explosion
color explosion
frog study
frog study


Buerre & Sel Jammers

RECIPE
We filled the boxes with one of our favorite cookies: Buerre and Sel Jammers (Bon Appetit). With “butter” in the recipe’s title, how can one go wrong?

Baking Machines
Baking Machines

Are they done yet?
Are they done yet?

Happy Running Day: My Ultimate Running Music Mix

Happy National Running Day! Yes, it’s an official National “Day”: http://www.runningday.org/

In honor of this occassion (and to complete the Make Stuff Up challenge for today) I made my ultimate running mix for an 8 mile run. Then I ran to it. Now I am writing about it.

My Run: San Francisco on the left, Oakland on the right.
View on My Run: San Francisco on the left, Oakland on the right.

Now, I didn’t just slap some songs together and call it good. The base compilation is tried and true for me, but this morning I polished it up a bit. Added some songs, removed some dead weight, timed it approximate to my 8 mile pace, and added my favorite cool down song. I just finished my run to it and, I must say, it was timed pretty perfectly and kept me moving. Also, I am fortunately to look at this while I run:

My Run: SF on the left, Oakland on the right
If it makes you feel any better, this stretch is often windy

Ok, so the mix is admittedly Modest Mouse and LCD Soundsystem heavy but, in ratio to how much I typically listen to either of those bands while running, I’ve actually held back. Do you remember that feature in Rolling Stone Magazine… something like what five albums would you be stranded on a desert island with? Well, if I was stranded in a desert marathon (hypothetically speaking of course), these would be my choices:

LCD Soundsystem – Sound of Silver
M.I.A. – Kala
Modest Mouse (a mix from multiple albums)
This American Life (yeah, it’s a radio show)
and then the following compilation…

MY 8 MILE RUNNING MIX:
(This was timed for an 8 mile, 9:35 Pace)

Blitzkrieg Bop – The Ramones
The Corner – Common
All My Friends – LCD Soundsystem
We Are Young – fun.
Thrift Shop – Macklemore & Ryan Lewis
Cars – Gary Numan/Tubeway Army
Common People – Pulp
Paper Thin Walls – Modest Mouse
Infinity Guitars – Sleigh Bells
Boyz – M.I.A.
The Message – Grandmaster Flash & The Furious Five
Seven Nation Army – The White Stripes
Gratitude – The Beastie Boys
Jerry Was A Race Car Driver – Primus
North American Scum – LCD Soundsystem
Time To Pretend – Mgmt
Jumpers – Sleater-Kinney
Florida – Modest Mouse
Ode to LRC – Band Of Horses
Little Motel – Modest Mouse

LET’S BREAK IT DOWN…
WARM UP
Blitzkrieg Bop – The Ramones (Shock myself into action)
The Corner – Common (Then normalize into warm-up phase)
All My Friends – LCD Soundsystem (a little faster now)
We Are Young – fun. (youth anthems help me run faster)

PACE INCREASE:
Thrift Shop – Macklemore (How can this not make you run with a smile?)
Cars – Gary Numan/Tubeway Army (steady pace)
Common People – Pulp (deceptive at the beginning)
Paper Thin Walls – Modest Mouse (continue the increased pace)

PUSH IT!
Infinity Guitars – Sleigh Bells (crap, the wind on this stretch! Help me blown-out guitars!)
Boyz – M.I.A. (push it harder!)

HALF WAY THERE CRUISE:
The Message – Grandmaster Flash & The Furious Five

PICK IT BACK UP:
Seven Nation Army – The White Stripes
Gratitude – The Beastie Boys
Jerry Was A Race Car Driver – Primus

CRUISE IN THE ZONE:
North American Scum – LCD Soundsystem
Time To Pretend – Mgmt (A new addition and maybe my new favorite)
Jumpers – Sleater-Kinney
Florida – Modest Mouse

HOME STRETCH:
Ode to LRC – Band Of Horses (could overlap as either a run or cool down walk depending on your pace)

COOL DOWN – WALK:
Little Motel – Modest Mouse

Give it a try and tell me what you think. Or, better yet, tell me what you run to.

Link to my mix on Rhapsody: http://www.rhapsody.com/members/e5gu/playlists/mp.170616073

Button Bracelets: An Addict’s Story

I am kinda cheating because I really didn’t make this today for the Make Stuff Up Challenge. I am writing about it today but really it was part of a making binge on Sunday.

Finished Button Bracelet

If you recall, on Sunday I made some tie dye tissue paper flowers for my neighbor girl’s birthday. But what I didn’t tell you was that there was a bit of a compulsive edge to that day. Really, I couldn’t stop making things. And in between waiting on my tie dye paper to dry for the flowers, and my bead bowls to melt in the oven (more info on that another day) I couldn’t just let it go and do something responsible like clean the house, hang out with my family, or shower. Like I said, it was a binge. It was not healthy.

The kids, who originally were planned participants, had realized by the third craft that I had moved into crazy town. They headed off to play in the backyard. But come on kids… button bracelets?!?!

And to be honest, while I loved how the paper flowers turned out, the other crafts of the day suffered from manic energy. I like the concept of these bracelets, I like the buttons, I am just not sure I love how it all came together. Plus this was really meant as a kid’s craft activity so I’ll try it again sometime when I haven’t burnt out the family with my addictive behaviors.

Things You'll Need
Things You’ll Need

SUPPLIES:
– Elastic Cord
– Buttons
– Crimp beads

HOW TO:
– Cut a piece of elastic cord about twice as long as you want the finished bracelet to be
– Weave the elastic cord in and out of the button holes from back to front, then repeat.
– Once it’s the right length, put each end through a crimp bead (or two for extra strength)
– Use needle nose pliers to “smash” down the crimp beads
– cut the extra cord off

Stringing the Buttons

Finished Bracelet
Finished Bracelet

I got this idea from a Martha Stewart Kid Craft Article. This would be cute with vintage buttons but things were a little limited in the Notions department of my local craft store so I ended up with these transparent glittery ones. This would also make a good craft for a kids party with lots of bright colored buttons to choose from.

Oh, and BTW… I craft-crashed over the last 24 hours which is why I have nothing new to write about. I am going to recover over the next few days with some more abstract interpretations of “making.”

Up Next: Something with music.

Tie Dye Tissue Paper Flowers

Tie Dye Tissue Flowers

It was my lovely neighbor Vivian’s 8th birthday today. I’ve known her since her chubby toddler cheeks moved in six years ago so I wanted to make her something special. I didn’t have all the time in the world, her party was in a few hours, so I landed on giant paper flowers. Simple, I had all the stuff, and still a bit of a new challenge for my Make Stuff Challenge. Not nearly as time consuming or precise as the paper flowers I made for Teacher Appreciation Day, these were fun and very free form. So free form that to be honest they were one big experiment.

I based the flower design on those tissue paper pom-poms. The paper dying job was a guessing game but turned out pretty well for it being the first time.

Here’s what I did…

Supplies
Messy Stuff

SUPPLIES:

  • Plain white sheets of tissue paper
  • Food coloring and/or watercolor paints
  • Paintbrush
  • A bowl
  • Floral Stem Wire (thick, like 18 gauge)
  • Scissors
                                                                               
    First I stacked 8 sheets of the tissue paper and accordion folded it. Then I cut a half circle on each end.

    Accordion Fold
    Accordion Fold
    Petal Cut
    Petal Cut

                                                                 
    I filled a small bowl with water and some drops of pink food coloring. I then dripped various colors of food coloring straight onto the white tissue paper on both ends and then quickly dunked the entire paper into the bowl. I then flattened it out and painted some green watercolor on randomly and left it to dry on the grass.

    Food Coloring Drip
    Food Coloring Drip

    As the paper dried a bit, I carefully pulled the sheets apart to help speed up the drying.

    Wet version
    Wet version

    Once dry, I then re-folded the sheets in an accordion fold and tied a floral wire stem around the middle and twisted it tight. Then I carefully pulled up each sheet on both sides until it was puffy.

    Fold
    Fold
    Twist
    Twist

    Carefully Pull Up Each Sheet
    Carefully Pull Up Each Sheet

    Close Up
    Close Up

    Both Flowers
    Both Flowers

    Things I Learned:
    – Tissue paper is surprisingly tough, it withstood all of this dying and pulling pretty well.
    – The color dried much lighter than I thought it would.
    – Don’t worry if your hands are all dyed up, it comes off after a couple of hand washes.
    – The experiments could go on infinitely. I think it would be cool to paint glue on each tip and dip in a little glitter. Or watercolor paint a bunch of colors all over the paper rather than drip color on. Basically I learned I will be playing around with this concept more.

    Vivian loved her flower as did Elise who got the other one of the two. I twisted it around the post of her bed… floral stem wire is good that way.

    Elise with Flowers
    Elise with Flowers