Crazy Calzones (aka: Kitchen Sink Calzones)

Not going to candy coat it, a daily creative challenge was a lofty goal. I mean, some days are just not made for making.

I thought today was one of those days, I really wasn’t planning on making anything more than a standard cheese and pepperoni pizza. Nothing to blog about really, especially since I already hit the grilled pizza topic. Then I found myself with a small ball of left over dough. In the past I might have made it into a mini-pizza, or just tossed it, but this creative challenge is working! Today a neon question mark popped above my head, “What should I do with this?” and just like that nothing became something. Not an earth-shattering something… but something.

Elise named it: Crazy Calzones…
…because we put whatever crazy stuff we could find in it. I think it’s also fitting to call them Kitchen Sink Calzones because of that idiom “throw everything in but the kitchen sink” but either way the point is gather up whatever is sitting unused in your fridge and throw it in some dough with some cheese and pizza sauce.

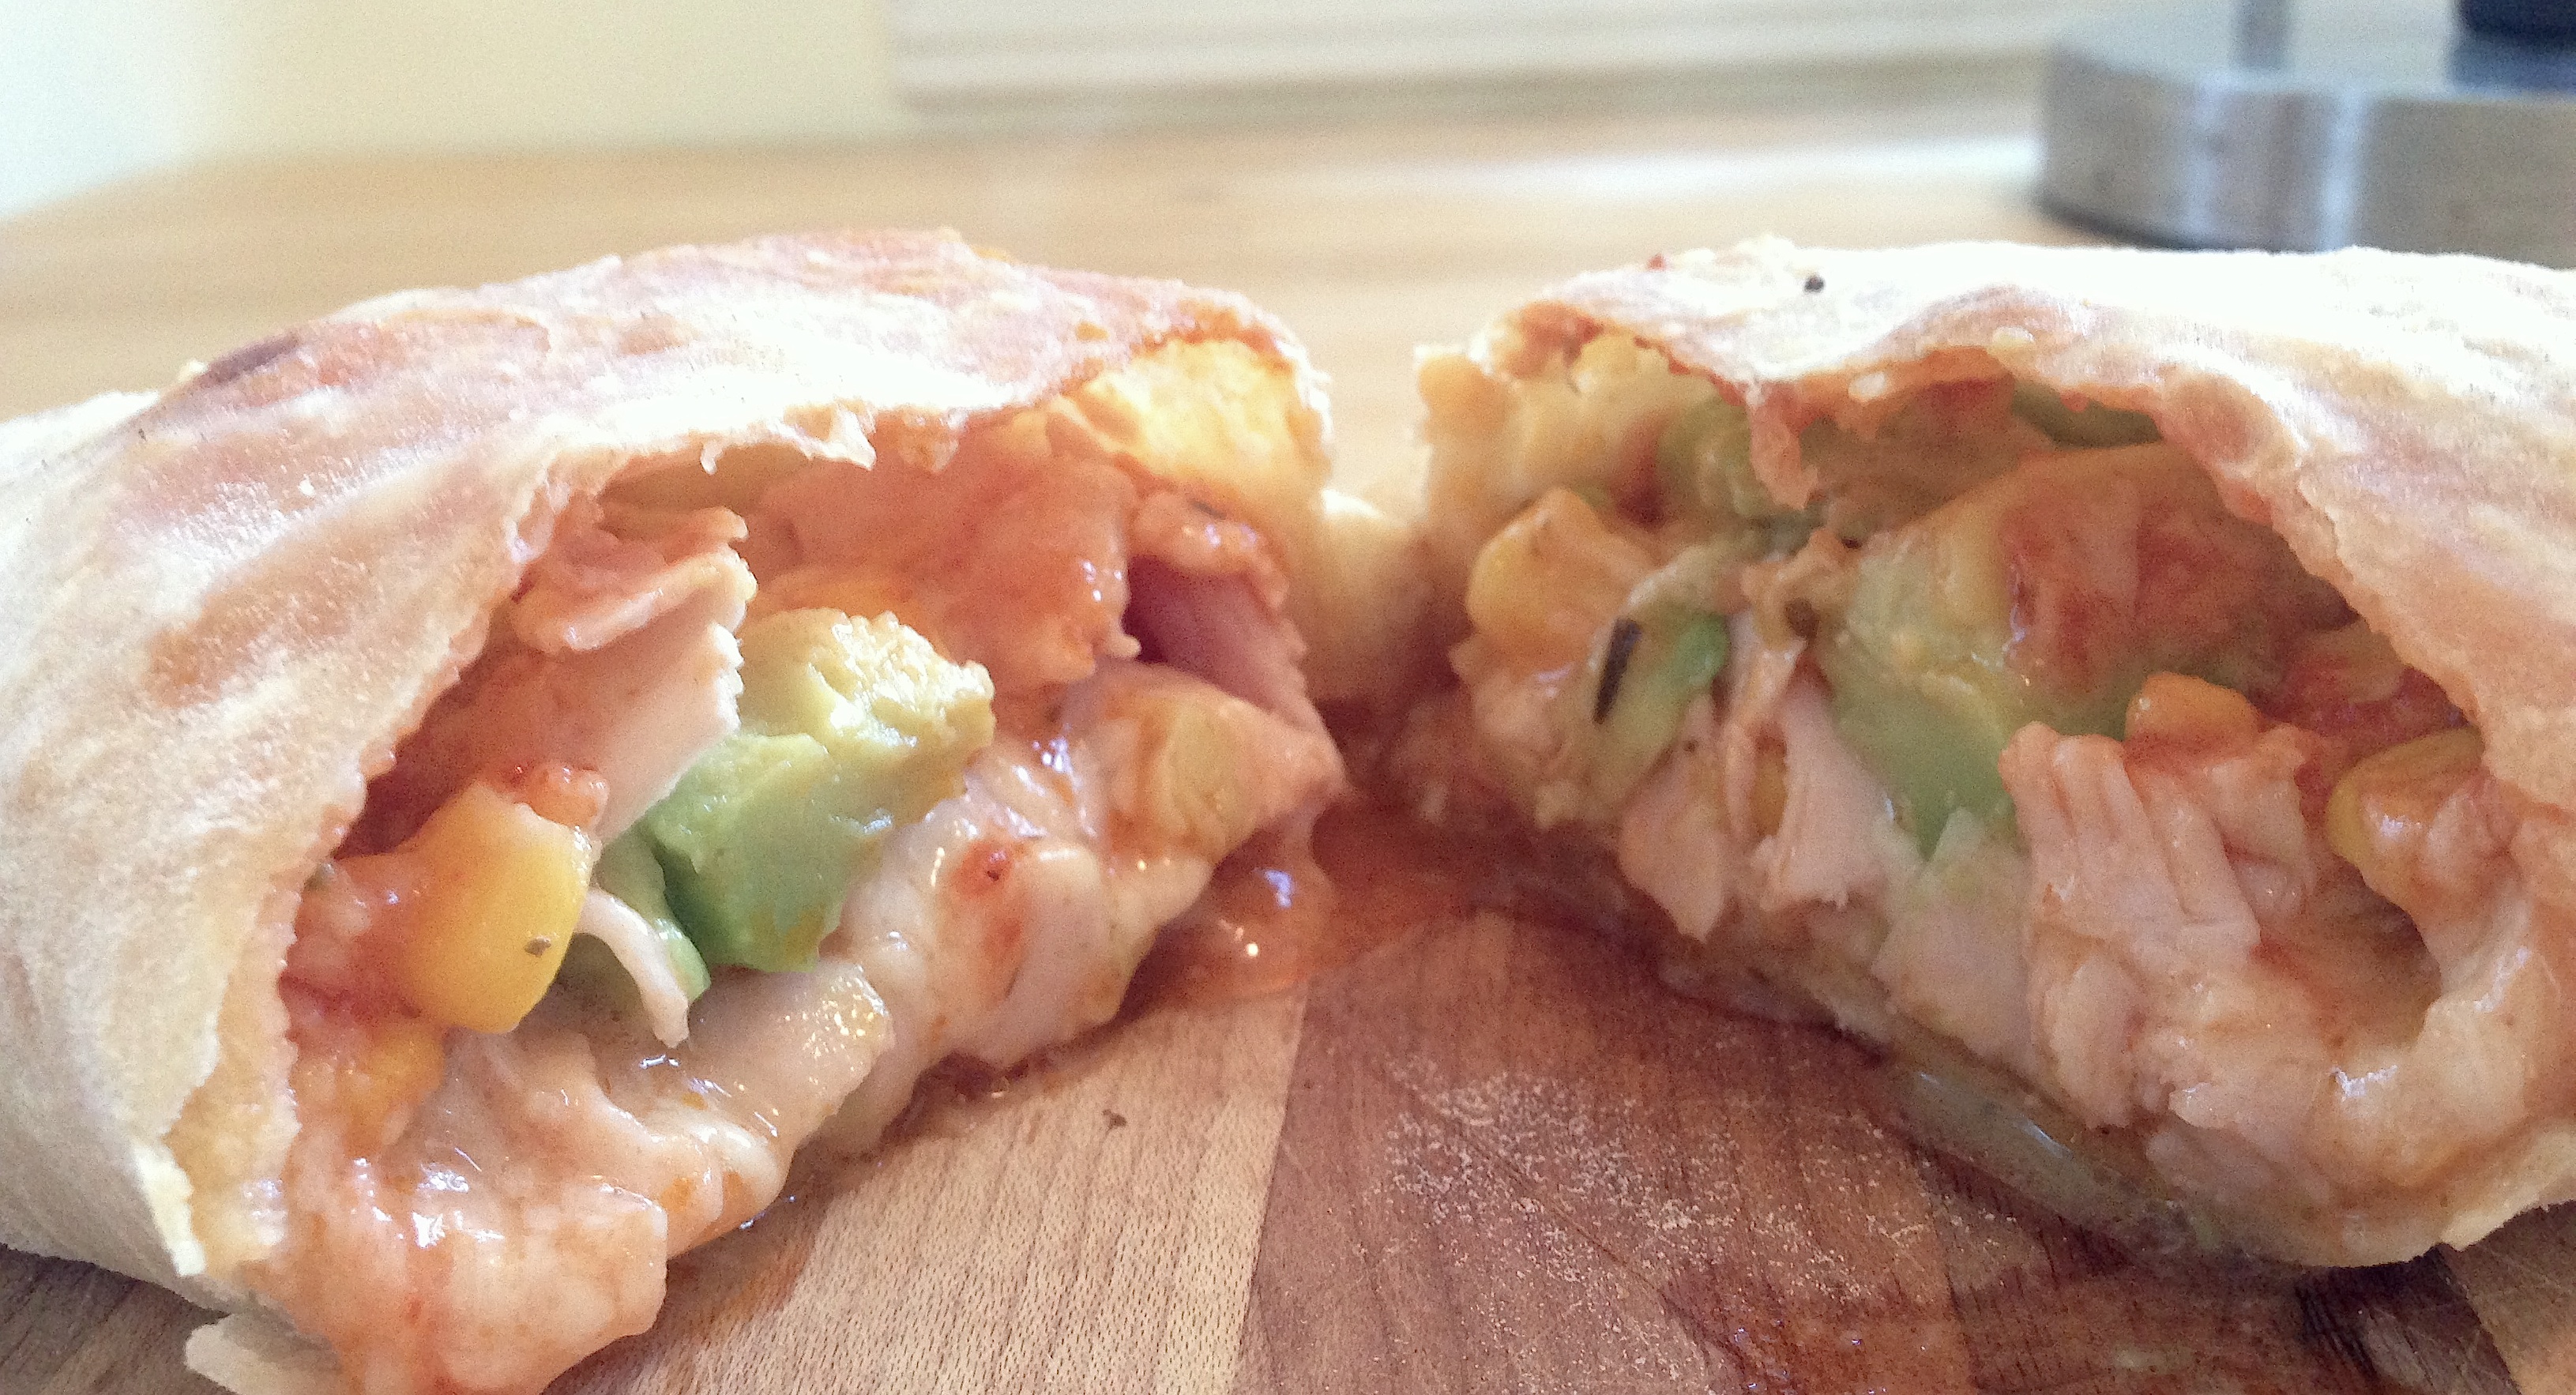
She embellished a bit in the video, we didn’t really put strawberries in ours, though she’s mostly accurate on the other ingredients. We used pizza sauce, shredded fontina, turkey meat, avocado, and corn because that’s what we had. The point here is creative reuse not fine italian cuisine.

HOW TO MAKE
Ingredients:
– Trader Joe’s pre-made pizza dough (found near the cheese area of the store)
– That nearly empty jar of pasta sauce sitting in your fridge
– Whatever cheese you need to use up
– Random ingredients from your fridge and pantry

Preheat the oven to 450. Cut the dough ball into 4 mini-doughballs. Because my dough was leftover from making a pizza, I only made one small calzone but it would be even more fun to have everyone take a mini-doughball and concoct their own creation out of weird ingredients and see who’s tastes best.

Rolling out the dough
Roll out the mini-dough on a floured surface. I think a rolling pin is best rather than hand-shaping these so that the dough is even, otherwise it’s a little hard to fold. Also, if you don’t have a rolling pin you could use a large can or pint glass.

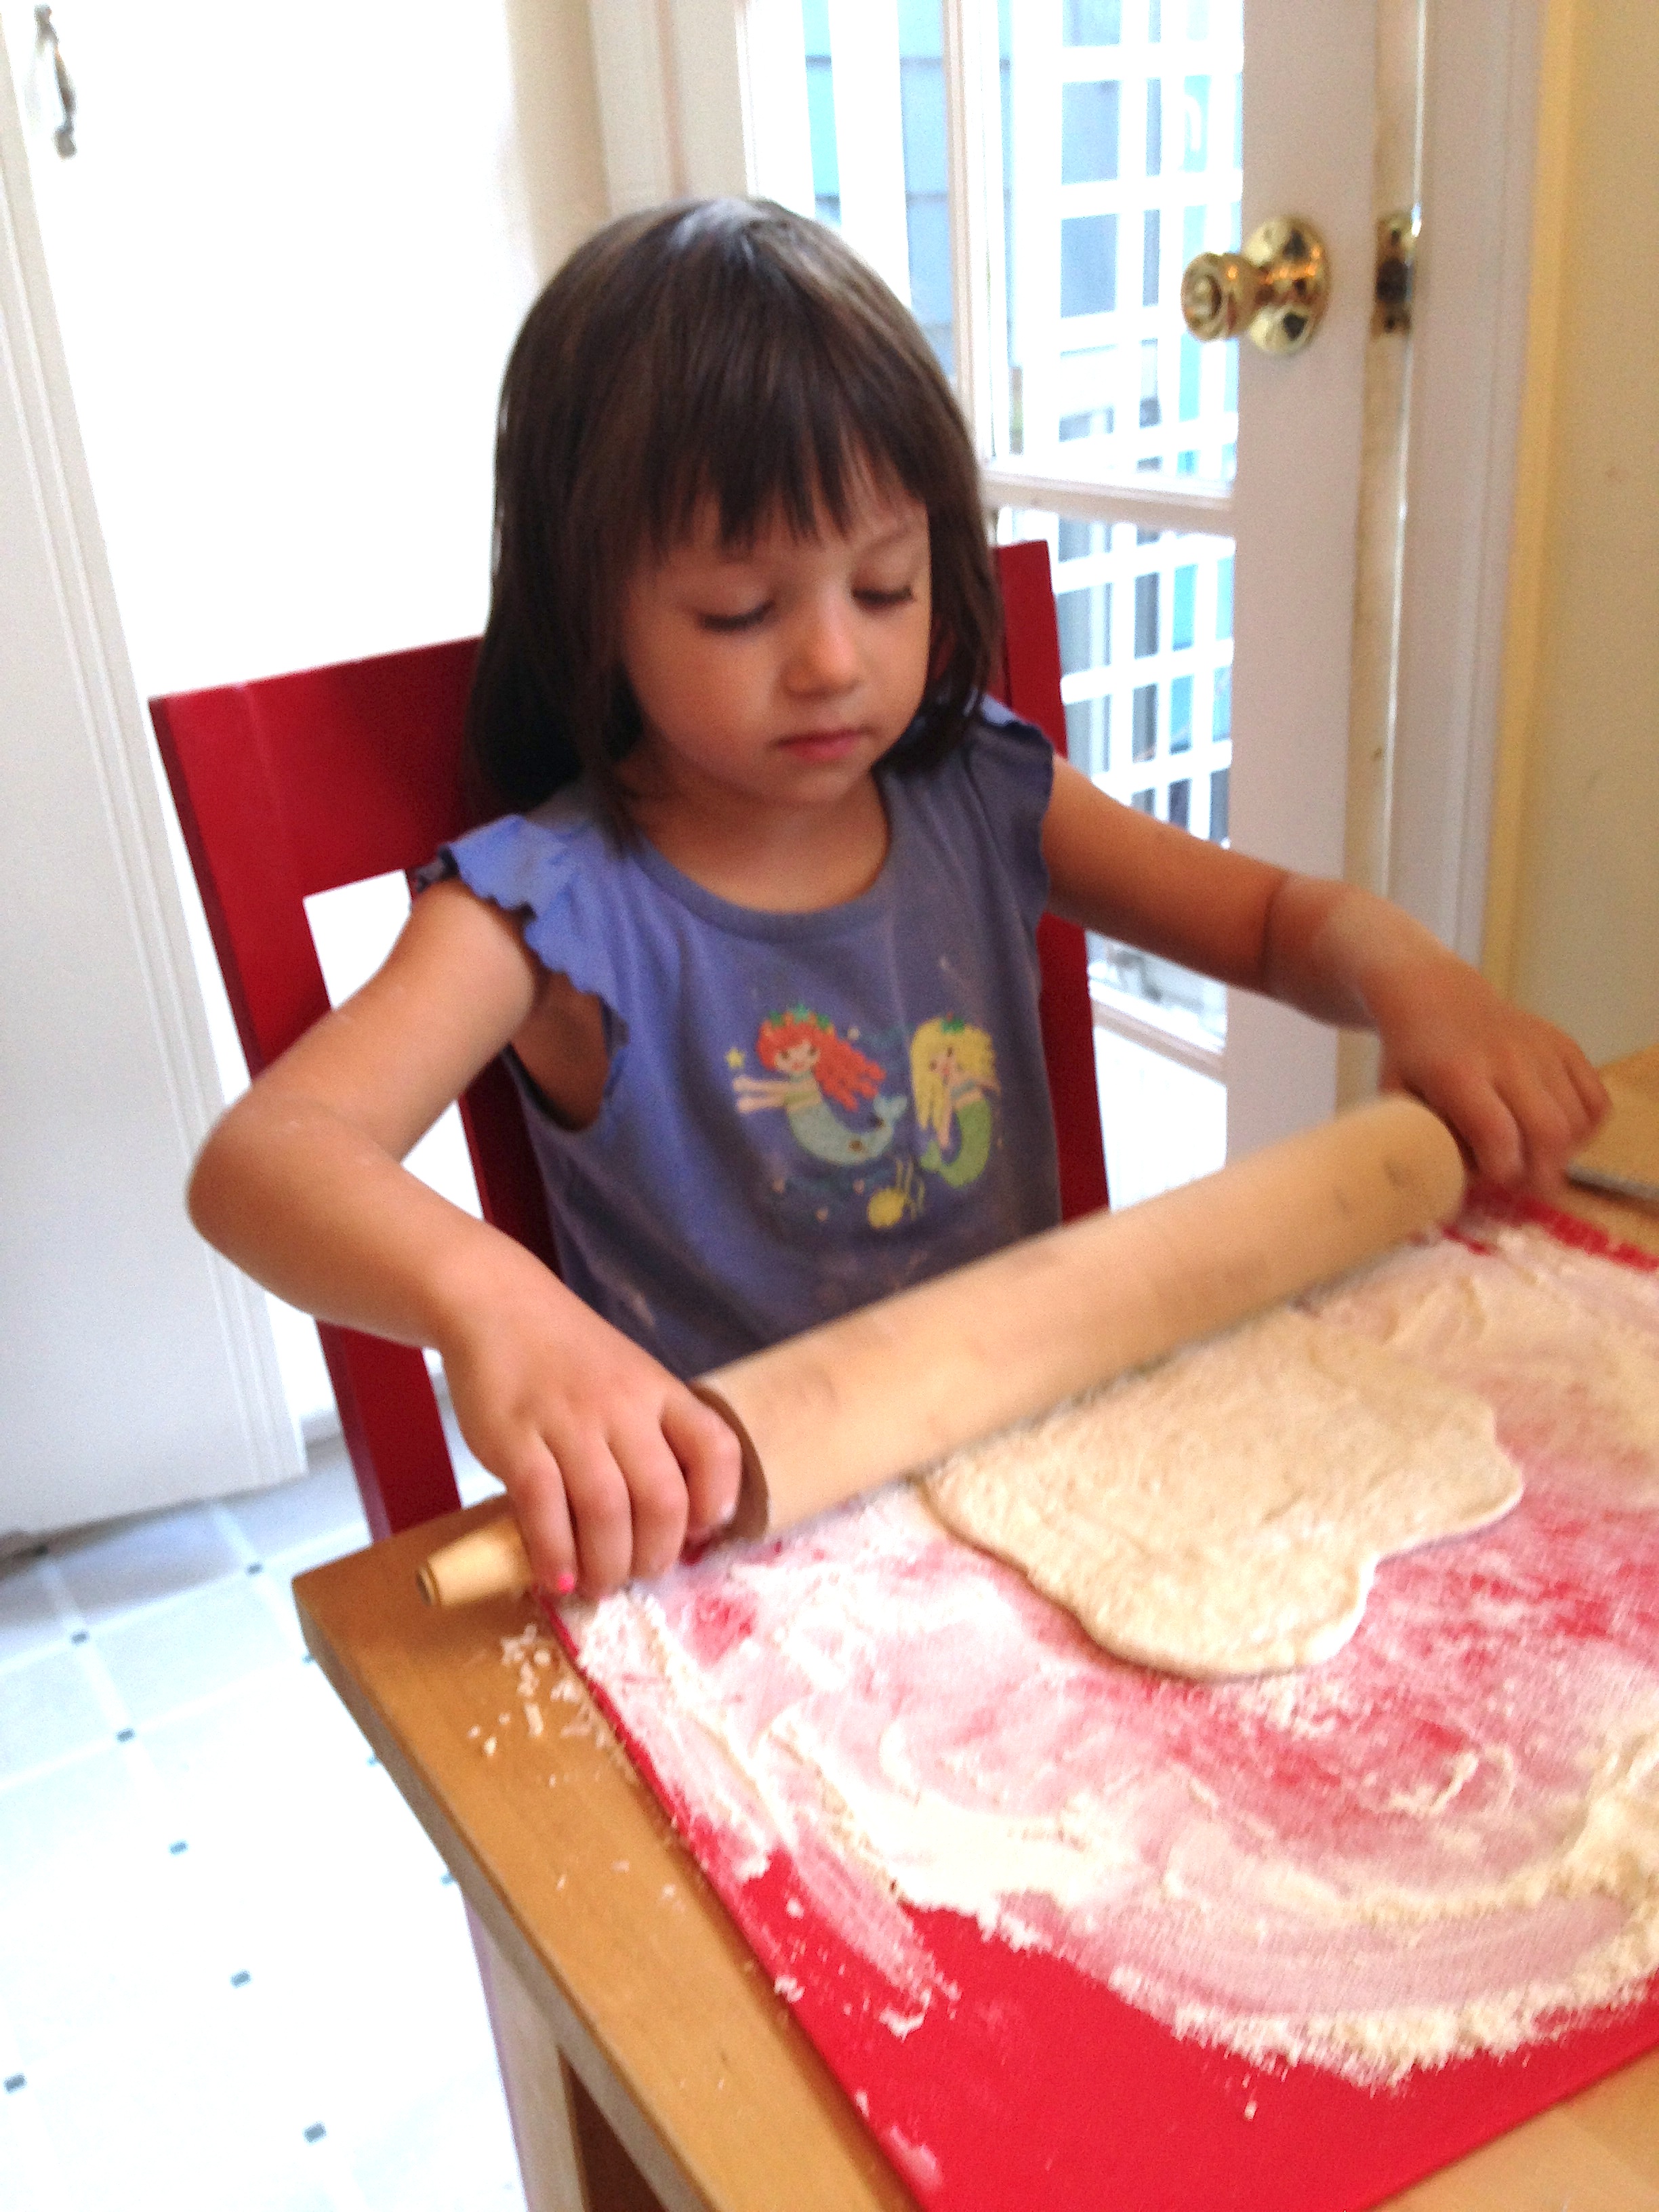
Once the dough is rolled out, take a fork and poke little holes all over the dough. Kids love this part!

we're curious how this avocado will taste.
we’re curious how this avocado will taste.
Next spread some sauce in the middle, not too close to the edge. Sprinkle some cheese over the sauce. Then pile in your ingredients.

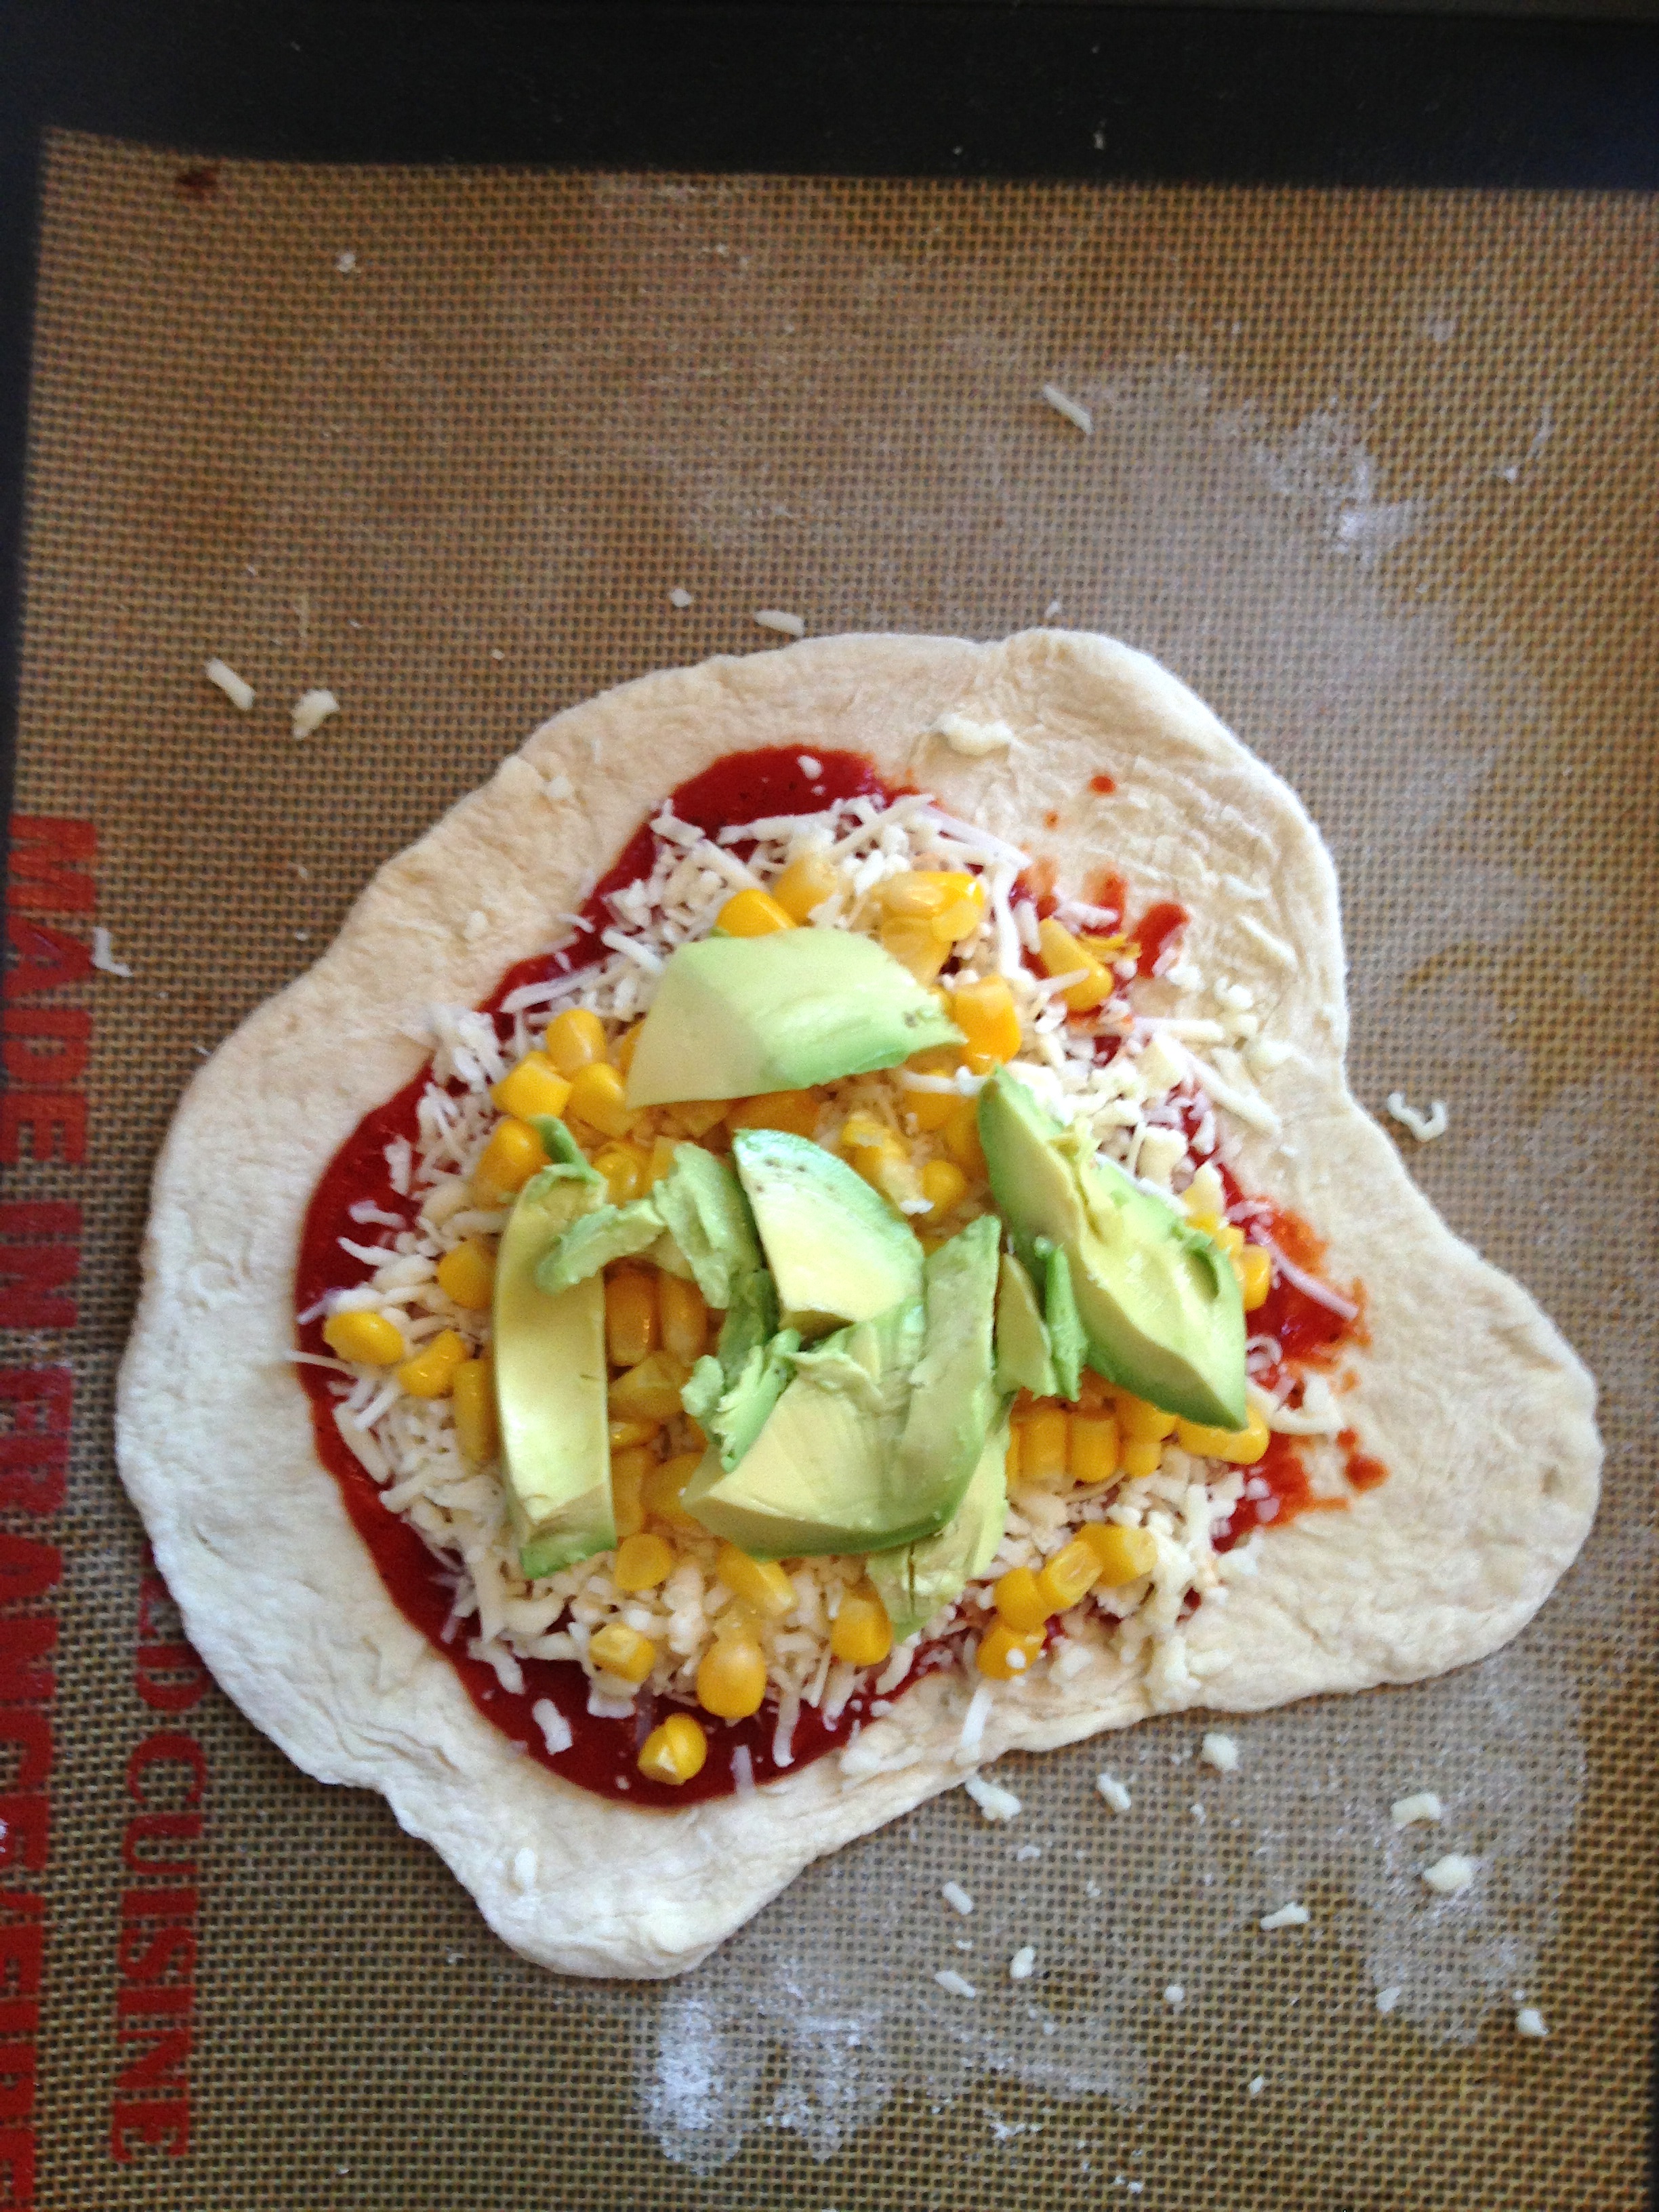
Fold one side over the ingredients to make a half-circle. Then pinch together the dough to make a tight seal. This prevents the ingredients from oozing out while it cooks.

Brush with some olive oil and bake at 450 for 15-ish mins.

Finished Calzone
Finished Calzone
Inside crazy
Inside crazy

This was not a mind-blowing meal. It was decent. What I liked most about it was the concept. It opens up endless options to reuse leftovers in a creative, easy way. For example, throw a bunch of leftover BBQ steak and grilled veggies in with some cheese or all those veggie remains towards the end of the week with some pesto and cheese.

Or just go for it, through the weirdest crap you can find sitting on your shelves. Just don’t forget to tell me how it went.

Our Veggie Garden: Pt 2

Our Seeds Sprouted

It worked!
The egg cartons did not turn to mush.
The seeds did turn to sprouts.
We did not fumble this ball… yet.

Tonight we replanted the first batch of our sproutlets into an actual planter. By “we” I mean Elise and me. Jack was “having a bad night” and chose to sit this one out. Yep, totally get it. After a day of field trip fun at the Discovery Museum, Jack’s evening took a turn for the worse with a couple of playground injuries, one invoking a fat, bloody lip. Tomorrow we’ll plant his peas.

Please, no pictures
Please, no pictures
So it was just me and my girl. We really don’t know much about farming so we’re starting with a small parcel, a mere 1’x2′ plot. Riding our initial surprising success (Our Veggie Garden, Pt. 1) we were feeling slightly hubris and a bit daring in our approach. i.e. we just kinda shoved them in as neat and tidy as seemed right.
We planted green beans, carrots, and broccoli. It’s possible they are too close, too far, too shallow, too deep. We’ll ride this one out.

Planting our sprouts
Tucking this bean sprout in
Watering our garden
Watering our garden

Oh, and there are a couple of reasons we started so small. Our “yard” is basically 12 square ft of space and about 1’x2′ of that space gets direct sun. Not really sure where we’ll shove the other sprouts, I might go out and randomly plop them where rays of light hit throughout the day.

To be continued…

DAY 15: Jack Makes Stuff Up Too…

I make things for two reasons: 1) I love doing it 2) I want my kids to grow up knowing the importance of creativity, hands-on problem solving, and the joy of making stuff.

Tonight I realized my six year old gets it. Not just likes to do arts and crafts gets-it, but actually finds joy in making things up from scratch in his head. What a cool moment to watch him, all on his own, create layers of stuff all from his own mind, enjoy doing it, AND be doing it to gift to someone else.

JACK’S MAKE STUFF UP:
Tomorrow is the last day of Teacher Appreciation Week so I asked Jack what he’d like to do for his teacher to say thanks. He thought about it for a sec, walked out of the room, and returned with a handful of various erasers. Earlier that day, his teacher had mentioned to him that she was out of erasers so Jack pinpointed this as the perfect gift for her. We continued scavenging around the house pulling together pink pearls, dinosaurs, random Japanese food erasers, etc into one bag to give to her. She might look at this bag of erasers and think huh? But I trust she’ll understand the completely thoughtful gesture.

He also made her a bracelet but my favorite is the card…

Jack is a bit of a jokester, loves a good prank and has lately started making up his own material. The jokes started off really obvious, as you’d expect for a six year old. But tonight, he worked it out. He started it off, tried a few punchlines, kept iterating, and BAM you could see it on his face… he HAD it. And it made me frickin laugh. It was super contextual and it worked. The backstory: His teacher has tadpoles in the class, she feeds these tadpoles lettuce all the time. This is his Teacher Appreciation Day card for her…
OLYMPUS DIGITAL CAMERA

OLYMPUS DIGITAL CAMERA

It’s funny right? Too much lettuce? Gets tadpoles to take care of the problem? ok. I am his mom but I won’t laugh at every joke. I loved this one.

Also, I am a little creatively tapped today and needed someone else to take the reigns on the Make Stuff Up Challenge so thanks Jack!

DAY 14: Clue Party Invites!

Jack Won!
Jack Won!
My son is addicted to Clue. Not an app, not online… Good ole, low-fi, board game, CLUE.

Don’t get me wrong, he begs for the iPad like no other, and has built more pixelated structures in Minecraft than I would like to admit, but he’s a gamer through and through loving all types indiscriminately. Battleship, Temple Run, Wall-ball, board games, Uno, Chess, Angry Birds, Tic-tac-toe… he would play games all day if he could.

CLUE PARTY INVITES
Jack is also a Clue evangelist, plotting to host multiple Clue parties with various groups of friends over the coming weeks. He insists that he will sit out to help teach the friends who don’t know how to play. Love him.

DIY Clue Party Invites

So we set about to make invites. Not evites, not emails. Paper invites in paper envelopes to go with the low-tech vibe of the night. Jack picked who gets which character/weapon/room and I whipped up the rest with the help of my scanner, printer, and abundance of card stock surplus I’ve been chipping away at.

Clue Party Invites
Clue Party Invites

There are tons of versions of Clue out there but I LOVE the illustrations in this Vintage remake.

Invite Copy
Invite Copy

The first Clue party is this Saturday. It’s truly an experiment to see how six, 6 year olds handle playing Clue against one another with one very zealous “instructor” watching over them. Well, there’s always pizza and ice cream as a distraction.

DAY 13: Paper Flowers – Teacher Appreciation Day

DIY Paper Flowers - Teacher Appreciation Day
DIY Paper Flowers – Teacher Appreciation Day
What’s wrong with going to the flower shop and buying a nice little bouquet? WTF was I thinking setting out to make 24 individual paper flowers for Teacher Appreciation Day at 10PM last night? And no, I didn’t buy a kit from Paper-Source like a smart person might. With respect to my Make Stuff Up challenge I decided to do it DIY and use up some surplus card stock I had. Starting at 10PM. Brilliant!

This all started last week when I was trying to think of something special for Jack’s Kindergarten teacher for Teacher Appreciation week. (remember: banking those uber-mom points while I am on a work break)

I asked each kid in the class what they liked most about their Kindergarten teacher. The plan was to make a card from the class with these quotes written out. But yesterday things took a turn in my head and the card concept morphed into individual paper flowers, one for each kid to give the teacher with his or her quote on it.

Fast forward to 2:30AM this morning, project finally complete and ready for the kids to give the teacher today for Teacher Appreciation Week. I think when the kids gave them to her this morning she was touched. And I was pretty pleased to go back home and sleep for two more hours.

DIY Paper Flowers - Teacher Appreciation Week
DIY Paper Flowers – Teacher Appreciation Week

HOW TO MAKE:
– Card stock of various colors
– Scissors
– Cloth Stem Floral Wire
– Brads in various shades of pink
– a printer
– a flower petal template

For the template, you can Google “Paper Flower Template” and find a bunch of variations. I chose this template originally created for ranunculus but I simplified for these flowers.

I then chose three colors of card stock that I could intermix and used this for printing the template out. This particular template has multiple sizes so I cut out 24 small, 24 med, 24 large flowers so that I would have 3 sizes per flower.

Then I made a word doc with the kids’ quotes and printed on beige cardstock. I cut these into strips, leaving an inch border to attach under the flower and cutting a triangle out of the end to look like a ribbon.

Next I took a push pin and poked a hole in the middle of each flower size (sm, med, large) and the quote. I then worked a brad into the hole starting with the smallest flower and ending with the largest flower.

I put the stem on next by making a small circle at one end of the wire, then putting it on the brad. I then slid the quote onto the brad next and then bent down the brad “prongs” to secure everything in place.

The last step was to curl the flower petals into shape. It was 2:30AM by this point so I was ready for bed. If I had more time, I would have “worked” the paper more by rubbing it into shape to give a better look. But I needed sleep!

DIY Paper Flowers - Teacher Appreciation Day
DIY Paper Flowers – Teacher Appreciation Day

DAY 12: A Really F-ing Good Tri-Tip Sandwich

For years now I’ve had this work-fantasy of dropping the rat race and being a mail carrier or owning a sandwich shop.

The mail carrier seems obvious, right? Seriously, get paid to walk around all day in the beautiful California weather, listening to your earphones, leaving your work at work?

Then there’s the sandwich shop thing. If I won a significant chunk of money, not enough to retire but enough to take a career risk, I would open a sandwich shop. It would probably also have beer and wine, coffee, art shows, bands, sell cool gifts, have a kick ass patio, etc, etc. (yes, this is really like five business dreams wrapped in one but let’s just roll with it.) So basically a place serving great sandwiches where you might also like to hang out.

Tonight I think I made up a sandwich worthy of my pretend establishment…

TRI-TIP, ARUGULA, GRILLED ONION, “GREEN SAUCE” MAYO SANDWICH
Make each of the components below and then stack in your favorite crusty bread. I sliced a slab of herb Focaccia and grilled it for a short time but I think a good, crusty italian or torpedo roll might be even better.

ouch, I hurt from eating too much of this.

GREEN SAUCE MAYO:
The green sauce without mayo is a Saveur recipe found HERE but this will make WAY more than you need so I’ve scaled it down below and added the mayo part.

– 1 packed cups of fresh parsley leaves chopped coarsely
– 8 anchovy filets (little less than 1 2-oz. can)
– 1 garlic clove, peeled and minced
– 1/2 tbsp. capers
– 1/2 tbsp. red wine vinegar
– 1/4 cup extra-virgin olive oil
– 1 cup mayo

Mash anchovy filets with a fork and add to parsley. Add garlic, capers, and vinegar. Mix well with a wooden spoon while drizzling in olive oil. Then mix this into 1 cup of mayonnaise. Make this ahead and store it in the fridge until you’re ready to build your sandwich. And for those who are anchovy shy, trust me it’s fairly subtle when all ingredients are together in this, you can barely notice them but it adds a nice flavor.

TRI-TIP:
– Grill up a tri-tip until Med-rare. I did a small 1.5 lb that was marinaded in Bourbon, brown sugar, star anise, garlic and salt. I grilled it for about 15 mins and then let it stand for 15 mins. Then sliced it up and put it on the sandwich bread.

GRILLED ONIONS:
– Slice 1 sweet onion into 1/2″ thick slices, coat with olive oil and salt
– Grill until soft and slightly charred on the edges, 15-ish mins

ARUGULA SALAD:
Mix the following ingredients together while you’re meat and onions are on the grill. This will go on the sandwich too. Don’t be shy with the vinegar, it adds a nice tanginess.
– 2 cups Arugula
– 1/4 cup grated parmesan
– 1 tbsp olive oil
– 2 tbsp White Balsamic Vinegar

BUILD YOUR SANDWICH:
Slather the Green sauce mayo on the toasted bread, stack some tri-tip slices on, then add a handful of the arugula salad and some onions.

Tri-Tip, Green Sauce Mayo, Arugula, Grilled onion on Focaccia

It’s rare that I try out a new concoction and don’t have major changes or criticism. But this was so good my husband and I couldn’t stop eating it.

Enjoy!

DAY 11: Prosecco, Ginger Lemonade, Mint Cooler

Lemon trees, unnecessary overachievers really.

In our small yard we have a plum tree that rarely fruits. A fig tree that gives off mealy figs. A mandarin tree that shows some hope of eventually giving us edible mandarins and one small lemon tree that generates 1000lbs of lemons, year round.

So lemonade, and various items revolving around lemonade, were the focus of today’s Make Stuff Up challenge.

GINGER SIMPLE SYRUP
I guess the name says it all… making simple syrup could not be easier and it really is better when making lemonade. Straight up sugar never dissolves enough AND the best part is that you can easily flavor simple syrup by adding ingredients. I added ginger.

Makes 1.5 cups:
– 1 cup of sugar
– 1 cup of water
– two large slices of fresh ginger

Simple Syrup
Simple Syrup

Put sugar and water in a saucepan and bring to a boil. Add ginger, lower heat and simmer for a few minutes. Turn off heat but leave sitting for 20 or so minutes. Then pour in a jar and there you have it.

GINGER LEMONADE
This is pretty easy:
– squeeze the juice from about 8 lemons
– add about 6 cups of water
– Add Ginger Simple Syrup to taste.

Cutting Lemons
Cutting Lemons

Prosecco with Ginger Lemonade and Mint
PROSECCO, GINGER LEMONADE, MINT COOLER
– Fill a large glass with ice
– Pour in half lemonade
– Add a little more of the ginger simple syrup
– Fill the rest with Prosecco or a dry Sparkling Pinot Grigio
– Stir in chopped mint to taste

Tasty, refreshing, and enjoyed with great friends during a very nice backyard BBQ.

And now it’s off to bed.

DAY 10: Prettying up the Breakfast Nook

I live in a little blue Craftsman that was built in 1911. It has about 1,000 square feet of living space which can feel rather cramped at times with 2 adults, 2 kids.

When you live in this small amount of space, you either: A) responsibly purge unneeded items, or B) Shove them in every closet, drawer, and spare basement space.

Oh, or there’s also my personal favorite:
C) Irresponsibly accumulate cute but unnecessary items from various stores, estate sales, flea markets, and so forth. Then let them gather dust in the basement or haphazardly place them here or there.

So I’ve decided, as part of the Make Stuff Up challenge, to start recreating spaces around the house with these items. Just quick refreshes for now, we all know I already have a bigger remodel to attend to.

Today I started with a quick update to the breakfast (/lunch/dinner) nook.

BREAKFAST NOOK UPDATE:

Last weekend I popped into an estate sale for the first time in awhile. I am really trying to be better about all this accumulation. On the other hand, I have been wanting to replace the ugly Ikea chairs in the kitchen with some bright red schoolhouse style chairs for awhile now and NO JOKE, what do I see as soon as I walk in? Two bright red schoolhouse style chairs. $15 each. Sold!

This got me recharged to rework the breakfast nook a bit by hanging my favorite plates by Nathalie Lete (Anthropologie) and a sweet little needlepoint I found at the Oakland Museum Annual White Elephant sale.

BEFORE:
(Yes, the light is intentionally crappy to make you waaaay more impressed with the after)

Kitchen Breakfast Nook before minor refresh.

AFTER:

Quick refresh with new chairs and hanging some things I had around.

Really, this took about 15 minutes to run to the hardware store to buy plate hangers, 5 minutes to dig out a vintage frame from the basement for the needlepoint, and 10 minutes to pull it all together.

And a close-up of the Home Sweet Home Needlepoint:

Found at the Oakland Museum White Elephant Sale. Finally hung up.

Oh, and I also found this at the Estate Sale and could not leave it sitting there. It’s an oven mitt! I don’t need an oven mitt! This is my accumulation dysfunction at work. But really, could you leave him behind?

actually, I think it might be a tea pot mitt. but whatever.

DAY 9: Our Veggie Garden, Pt. 1

Jack with his various seeds
Our heat wave continues in Nor Cal with record breaking 90 degree temps today in Alameda.

90. Degrees.

To frame this for you, May is typically 65.

It got me thinking that it might just be a great time to get our garden started. Hot sun, some seeds, a bunch of dirt & water. According to my brown thumb and me, this is the recipe for success. So we pulled together a few supplies and started our starters.

I had it in my head that egg cartons would be perfect for starting seeds off in, until we watered them. This may evolve into more of a science project to see how many days one can water a cardboard garden before it disintegrates. Will it sprout or turn to mush first? Only time shall tell.

But I guess this is the point of the Make Stuff Up Challenge, and this Fumbleweeds experiment overall. Make first, ask questions later. I am typically such a researcher, looking into a thousand ways to do something before jumping in. But this daily-ish challenge doesn’t allow for a lot of contemplation time and instead has me moving on the ideas as they pop into my head. What’s today? Garden. Boom. Done.

STARTING OUR VEGGIE GARDEN
We started with a couple of egg cartons, some Black Gold organic soil, a couple of plastic bottles, and lots of seeds.

Today we’re planting:
– Broccoli
– Green Beans
– Peas
– Carrots

We then made these little water bottles, one for each kid, to keep their starter seeds moist. Take any bottle out of your recycling, poke some holes in the top, and there you have it.

The kids are strangely fascinated with the bottles themselves and their newfound responsibility to keep their seeds moist.

DIY watering bottle
DIY watering bottle
READY to plant
READY to plant
Jack placing dirt
Jack placing dirt, yes that’s various “hot day” accouterment (dirt, sunscreen, popsicle) decorating his face.

Next I covered the holes in the lid of the egg cartons with tape and the kids filled the cartons with dirt. They made teeny, tiny, little holes in the dirt for seeds and carefully shoved 5 times more than required into each hole.

Jack then “put a ceiling of dirt on each little home to keep the seeds cozy and warm.” awww, sweet. Oh jeez, I hope they sprout!

I then labeled each row so we wouldn’t forget what was what.

Then came the water, lots of it, and that’s pretty much it. For today’s Make Stuff Up, we made up our little starter gardens.

Watering our seedlings
Starter Veggie Garden

And now we wait. And water. And wait.

To be continued…

DAY 8: Lemony, Minty, Salad Stuff

Today was meant to be a basement day but guess what I was thwarted by?

A) potential pregnant visitor (primer fumes = no bueno)
B) a bit of a hangover
C) a bit of laziness
D) ALL OF THE ABOVE

DING! DING! Correct! It is indeed “D: ALL OF THE ABOVE”

Yes, logic and good sense would question why I would be hungover on a Wednesday. Well, me and 75ish of my most favorite coworkers ever, helped to close down the MTV Networks SF office in style with a cocktail party at Sens in SF.

And, while the night started respectably enough, it ended in a Chinatown dive bar singing Sweet Child O’ Mine into karaoke mics that didn’t even work (and didn’t need to).

Perfect.

So back to today, I wasn’t really feeling the basement but was feeling the need to beat the heat and my hangover with some healthy food.

So I made up these salads. Both were delicious and super easy. Plus I feel better.

All of the measurements below are estimates because I just threw some stuff in a bowl until it tasted good.

Kale Salad & Quinoa Salad
Kale & Quinoa Salads

Lemony, Minty, Quinoa Salad

INGREDIENTS:

  • 1 cup (dry) Quinoa cooked, like rice, with 2 cups of water
  • 12 or so fresh mint leaves chopped
  • Juice of 2 lemons
  • 1/2 jar of Marinated Artichokes, chopped (optional)
  • 1 tbsp Olive Oil (or oil from marinated artichokes)
  • salt to taste

INSTRUCTIONS:
Mix all of the above together in a bowl. Fool around with amounts until you like how it tastes. See? Easy.

Kale, Parmesan, Avocado Salad

INGREDIENTS:

  • A bunch of Organic Kale, chopped salad-sized
  • 1/2 cup grated parmesan
  • Juice of 1 lemon
  • 1 tbsp Olive Oil
  • 1 large avocado diced
  • 2 tbsp White Balsamic Vinegar
  • salt & pepper to taste

INSTRUCTIONS:
Mix all of the above together in a bowl. I like mixing it over and over to really kinda mash the avocado which gives the salad a creamy dressing feel but healthier.

TIP: Dinner #2: both salads mixed together! Yum!